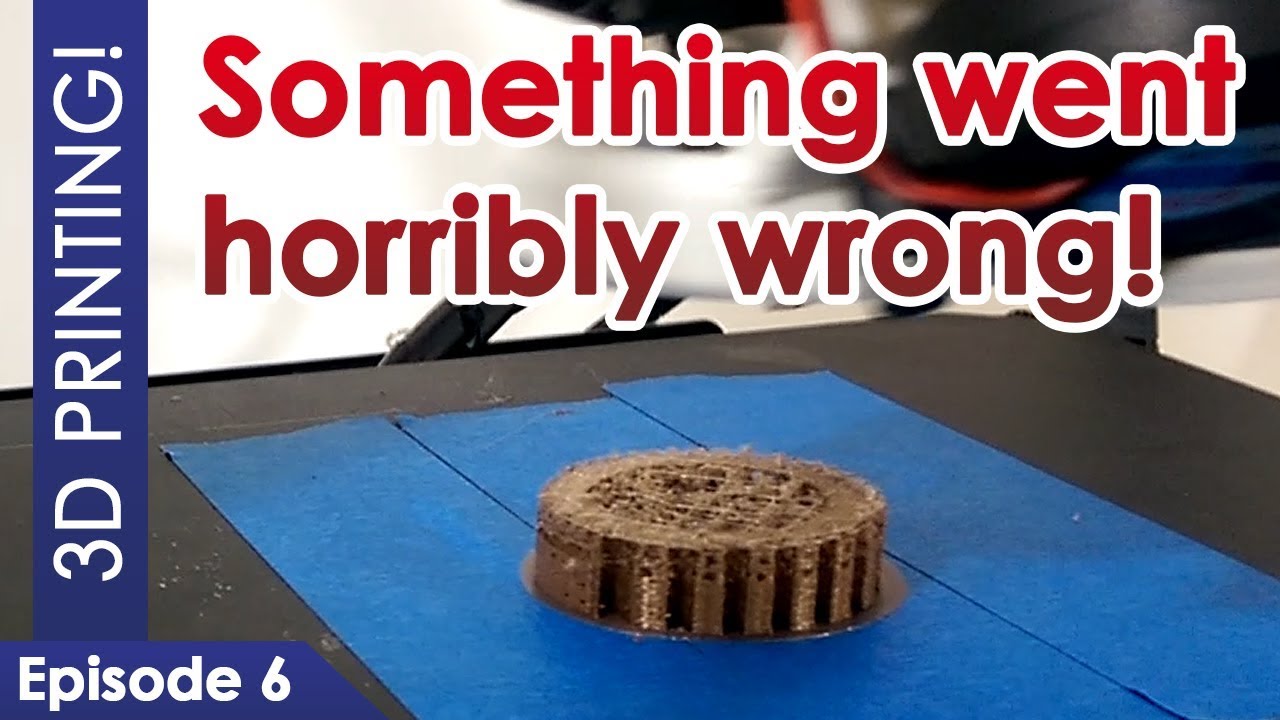
A print turned into a melted mess and every part after came out a fragile husk. Episode six is a full teardown to find the cause, and a five-cent fix that stops it happening again.
Editor's note (July 2026): A repair from my 2017 journey on the now-discontinued Maker Select V2. The specific set-screw failure below is common to any printer using this style of direct-drive feeder gear, so the threadlocker fix is genuinely useful beyond this machine. Newer printers use sturdier extruder assemblies. If you are starting fresh, see the current-printer link at the end.
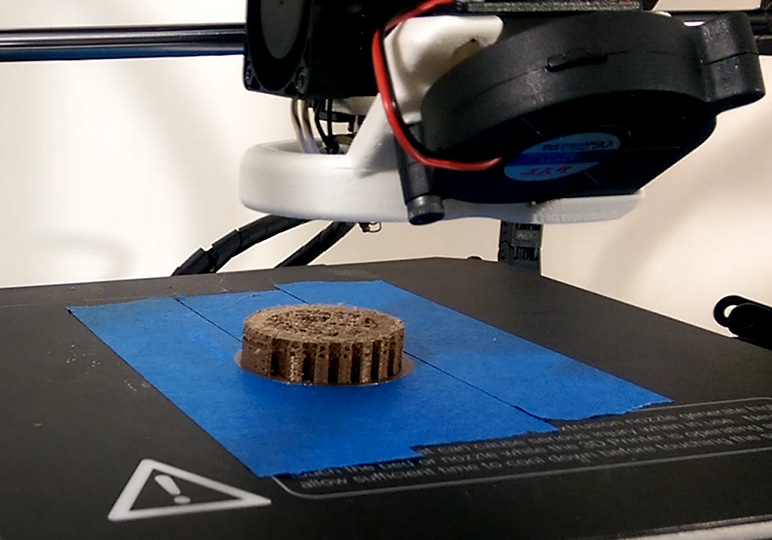
Prints suddenly came out fragile and hollow: classic under-extrusion. The filament was there, the motor was spinning, and the nozzle was not clogged, which pointed straight at the feeder. Tearing down the print head revealed the culprit: the little set screw that locks the feeder gear to the motor shaft had vibrated loose, so the gear slid out of line with the filament. The fix is a drop of removable blue threadlocker on that set screw, and it is worth doing before it fails, not after.
A loose set screw. A blue-threadlocker fix.I checked on a print after five minutes and found the machine happily going through the motions with only a tiny bit of the model done and a mess of melted filament where the rest should have been. I stopped it and ran a test print, which came out with no clean layers, fragile, basically a hollow husk. That is textbook under-extrusion: not enough plastic was making it through the nozzle.
Under-extrusion has a handful of usual suspects, so I ruled them out one by one:
A spinning motor that is not actually pulling filament points squarely at the feed mechanism: the filament guide, the feeder motor, or the feeder gear. With no factory service documentation to lean on, the only way to know was to open up the print head.
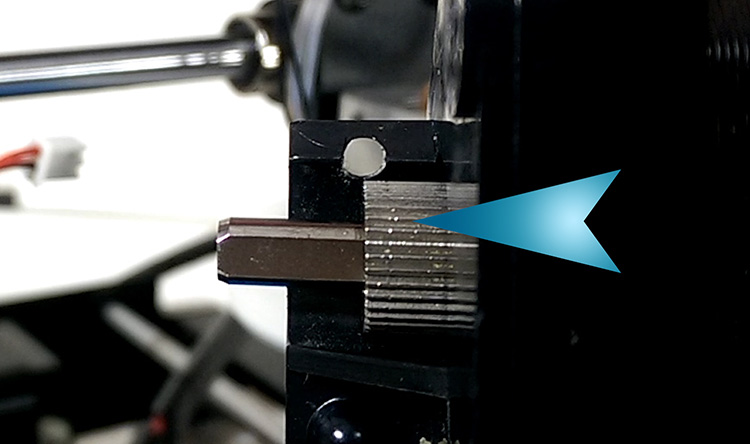
After powering down, unplugging, and letting everything cool, I removed both fans and the feeder motor connector. A quirk of this design: the two screws holding the side fan and heat sink also sandwich the whole assembly together, including the feeder motor housing (you will want a T10 Torx or Allen key). With the fan and heat sink off, the problem was obvious. The filament was sitting off to the side of the feeder gear, so of course the motor could spin all day and nothing moved.
Pulling the spring-loaded filament locking arm (one T8 Torx screw) showed the root cause: the feeder gear had slipped down the motor shaft and no longer lined up with the filament guide hole. The tiny set screw that is supposed to clamp the gear onto the flat of the shaft had worked loose, almost certainly from a mix of vibration and repeated heating and cooling.
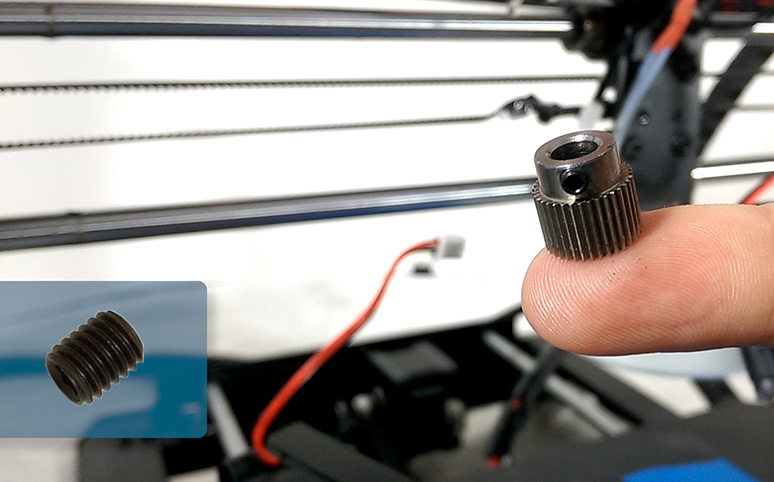
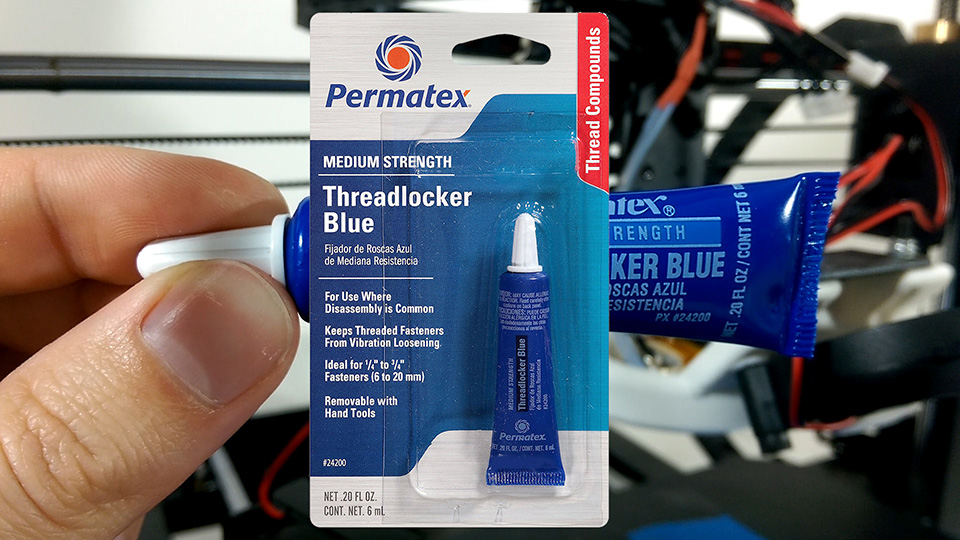
The fix is cheap and permanent-enough: a drop of Permatex Blue threadlocker on the set screw's threads. I chose blue on purpose. It holds firmly but still lets you remove the screw later if you ever need to, unlike the red formulation, which is basically forever. Then I repositioned the gear so it lined up with the filament guide hole again and tightened the set screw with a T7 Torx bit.
Give it time to cure. Threadlocker needs about 20 minutes to set and a full 24 hours to cure before you put the printer back to work. Reassembly is just the reverse: manage that spring on the locking arm, then re-sandwich the fan, heat sink, and motor with the two long screws.
Not enough plastic reaching the nozzle. Common causes are an empty spool, a clogged nozzle, bad settings, or a feed problem. If the filament is fine, the nozzle is clear, and the motor spins but the filament does not move, the fault is in the feeder mechanism.
The feeder gear has probably lost its grip on the motor shaft. On the Maker Select the set screw that clamps the gear to the shaft can vibrate loose, letting the gear slide out of line with the filament so it never bites in.
Blue threadlocker, like Permatex Blue. It holds the screw firmly but still lets you remove it later if needed. Avoid red threadlocker on small serviceable screws, since it is close to permanent.
Power down and open the print head, put a drop of blue threadlocker on the gear's set screw, reposition the gear so it lines up with the filament guide, and tighten the set screw. Let the threadlocker cure for 24 hours before printing again.
Yes, and it is worth doing before it fails. On any printer with a set-screw feeder gear, add a drop of blue threadlocker to that screw as preventive maintenance. It stops the vibration and heat cycles from loosening it over time.
After a stack of successful prints, the gear stayed put, so the fix held. I understand why the factory used a plain set screw, it is simple and cheap, but without threadlocker this failure is basically inevitable on any printer built this way. The takeaway: do not wait for it to strand you mid-print. Add a drop of blue threadlocker as preventive maintenance and forget about it.
With the printer healthy again, it is back to the fun stuff. Episode 7 gets weirdly scientific about filament drag, with marbles, and builds a custom spool holder.
Disclosure: This post contains affiliate links. As an Amazon Associate I earn from qualifying purchases, at no extra cost to you. CK Tech Check is 100% ad-free: no banner ads, no ad tracking. Affiliate links like these and my YouTube channel are what keep the site running.