The Device
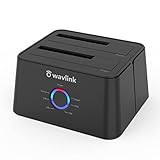
Looking at the dock itself, it actually has some weight to it which is nice. Let’s remove the plastic cover here. On the back are the USB port, power in, and power switch. Around the front, we find a power indicator and the simple interface for the offline cloning feature that displays the progress of any cloning tasks.
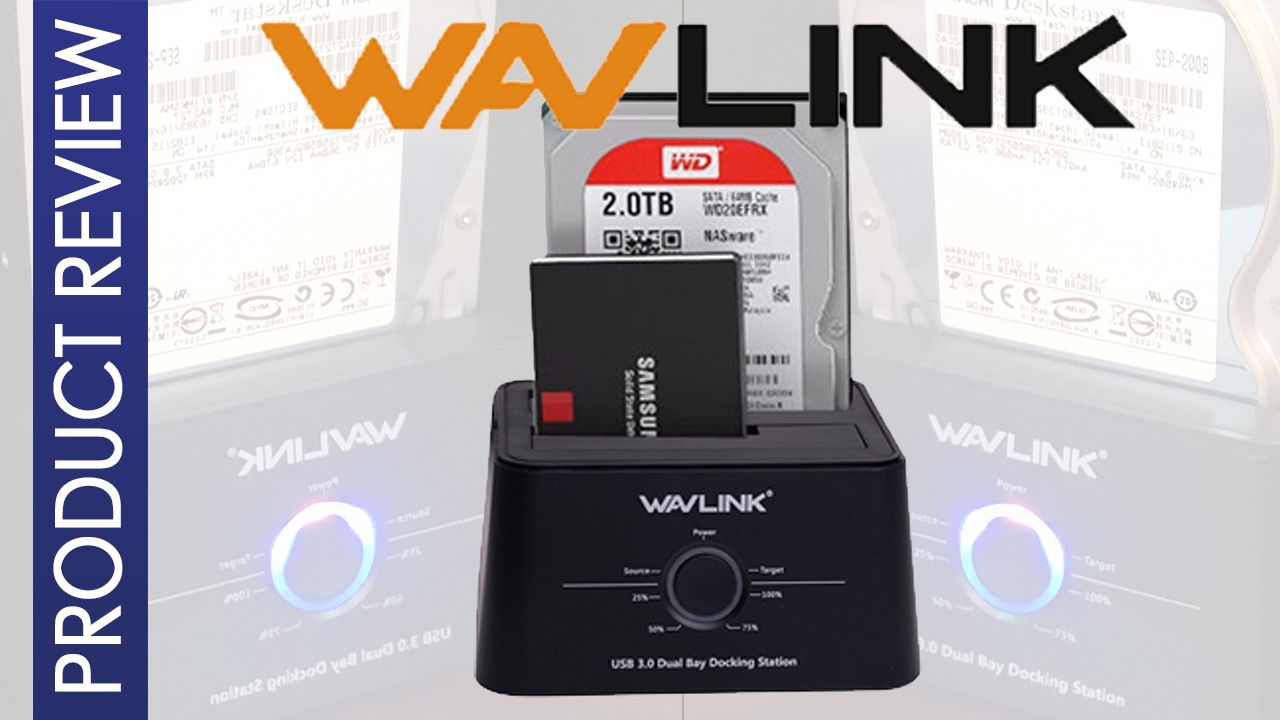
On top are the two bays. You can see the cut out of the bay doors can support a 2 and a half inch SSD and with the bay door open you can slot in a 3 and a half inch drive. At the bottom, you see the SATA data and power interface. That’s one nice thing about these kinds of docks, all you have to do it is slide it in nice and smooth with dealing with cables.
Overall I like the fit and finish, they advertise their use of ABS plastic because it has “Excellent heat and cold resistance” which I suppose is a good thing since some hard drives and SSDs can get toasty even under normal use.
I also like the simple design; it should look great on my desk next to all my other hardware.
One thing I noticed when installing the 3 and a half inch Seagate slim hard drive was the extra room in the bay that the drive had to move around in thanks to its thinner design. I would be worried about the connectors if the drive itself were to be pushed forward while docked. I would feel more comfortable if the drive stayed in place so I wedged a folded piece of cardboard into the slot. Not pretty but it works.
Performance
As far as real-world transfer speeds go, while copying 600mb of videos to the 500gb Hitachi from my primary SSD I got speeds around 90 megabytes per second, while not as high as you may expect it is still quite reasonable since we are going through a SATA to USB interface with a good bit of software overhead. It still only took a few seconds to copy those video files.
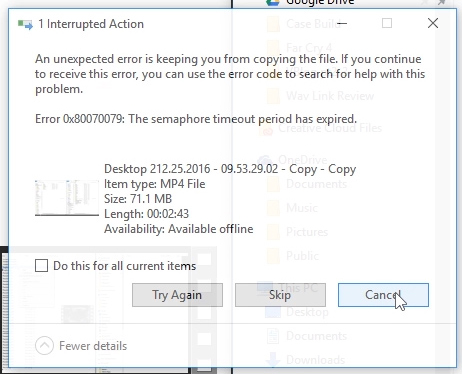
At the same time though transferring one large video file on to the Seagate drive, while successful, gave me an error message mid transfer and Windows all out disconnected the Wavlink. When I rebooted the device the file I was transferring was at its destination and intact.
Results
Not sure if this was an anomaly of the drive or the dock as I got the same error trying the transfer multiple times, but I never had this problem when the drive was installed in the computer itself. And I didn’t have the problems when doing the transfer on the Hitachi hard drive.
I also didn’t experience this issue when transferring multiple files that equaled that same size. I might have to crack it down to the compatibility issue between Seagate and the onboard WavLink tech.
I would expect faster speeds on an SSD especially transferring from one SSD to another but since I’m broke I don’t have a spare SSD to test this with, maybe in the future.
The online cloning and backup features worked as expected and were really simple to setup with the utility provided that the mini CD. Just plug in source drive, ie the drive you want to clone, and the target drive, ie the drive you want to copy everything to and bam. The time this takes will of course vary with the amount of data. The cloning feature will be especially helpful when you want to install a new storage devise without interrupting your work flow. I’m sure I will eventually upgrade my SSD, when that time comes I’ll just clone it, pop in the new SSD and continue back right where I left off.
A final note about the physical device.
If you are planning on docking hard drives you will probably want to put some kind of vibration absorbing underneath the Wavlink, because with the two hard drives I had docked I could feel the vibration through my key board! This is definitely an oversight in the design. To fix the problem I put a folded napkin underneath it which worked for me but some rubber tabs will probably work better.
After two weeks of using the Wavlink as a typical storage devise copying files back and forth and making backups of project folders, I was very satisfied. You have to remember this is not a replacement for a NAS where you can expect faster transfer speeds and higher capacity but for MUCH more money. I think this is a great solution for a casual user to transfer files around and create backups, and even professionals who need to repair or clone drives quickly.
The Conclusion
If there’s nothing else you take away from this video please let it be this, make backups of your data, please! It’s more important now than ever to protect all of our digital media and the Wavlink is a good and simple start for that.