Good case for the price but there are a few compromises you’ll have to live with
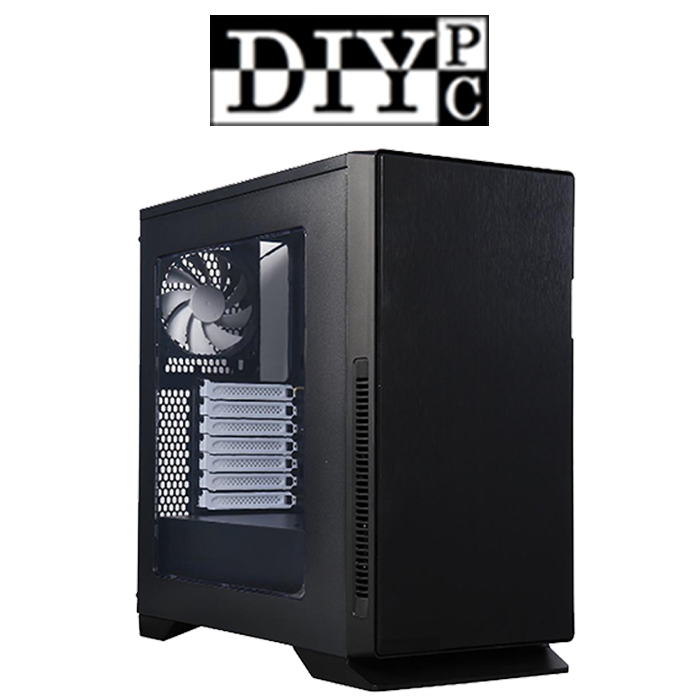
Full Product Name
DIYPC Silence-BK-Window Black Dual USB 3.0 ATX Mid Tower Silent Computer Case with Build-in 3 x White Fans (2 x 120mm Fan x Front, 1 x 120mm Fan x rear), w/Fan Controller
Intro
Choosing the right computer case for many people means wading through an ocean of options available from the cheap and cheerful to ultra extreme. When it came time for me to choose a new case I looked for something that would fit my modest budget and had features that would make my life easier.

Full Review
Watch the overview video or keep reading the full article below

Table of Contents
Purchase Choice and First Impressions
I chose this case for my next build for a couple of reasons. One of which was the price. At the time I was able to pick this up from Newegg for $50 plus a $20 mail in rebate making it $30 at the end of the day. There are some pretty nice features that drew my attention to this particular case as well.
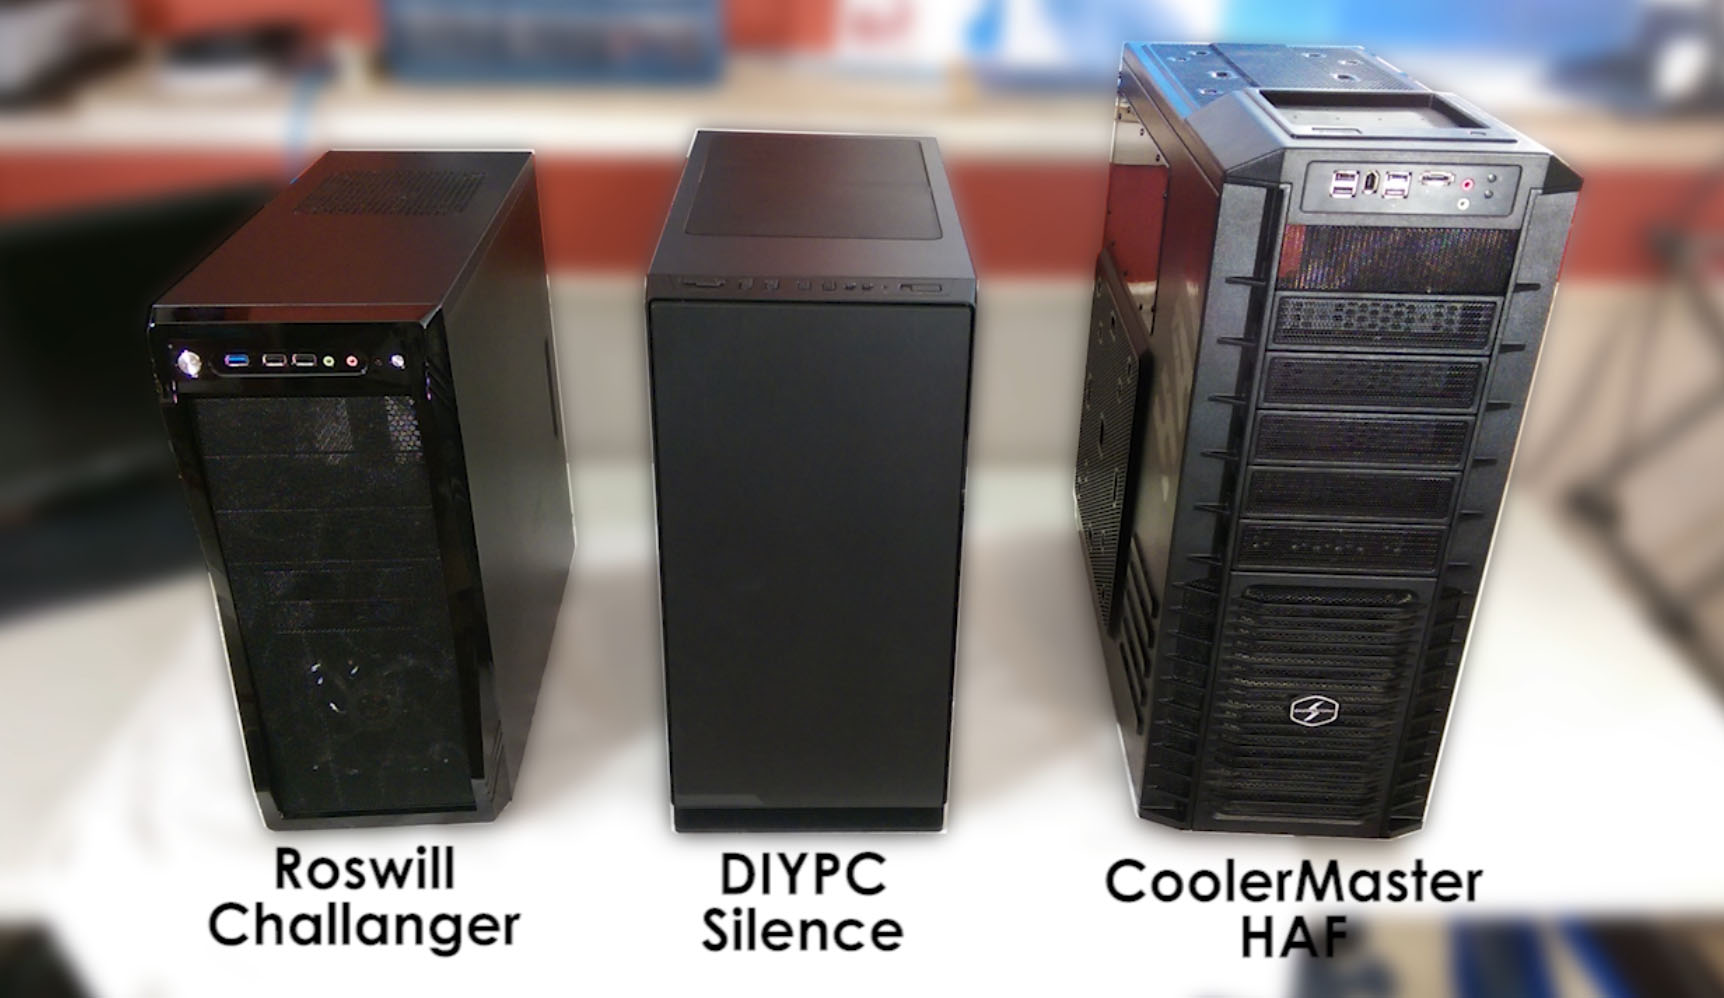
My first impression of the case out of the box is that it is wider and heavier than the typical case I have used for a while the Roswill Challenger. Of course the Challenger case it really meant for simple every day no thrills computer builds. At the same time, this case is definitely smaller and lighter than the Coolermaster HAF case you may have seen me take apart in my last video.
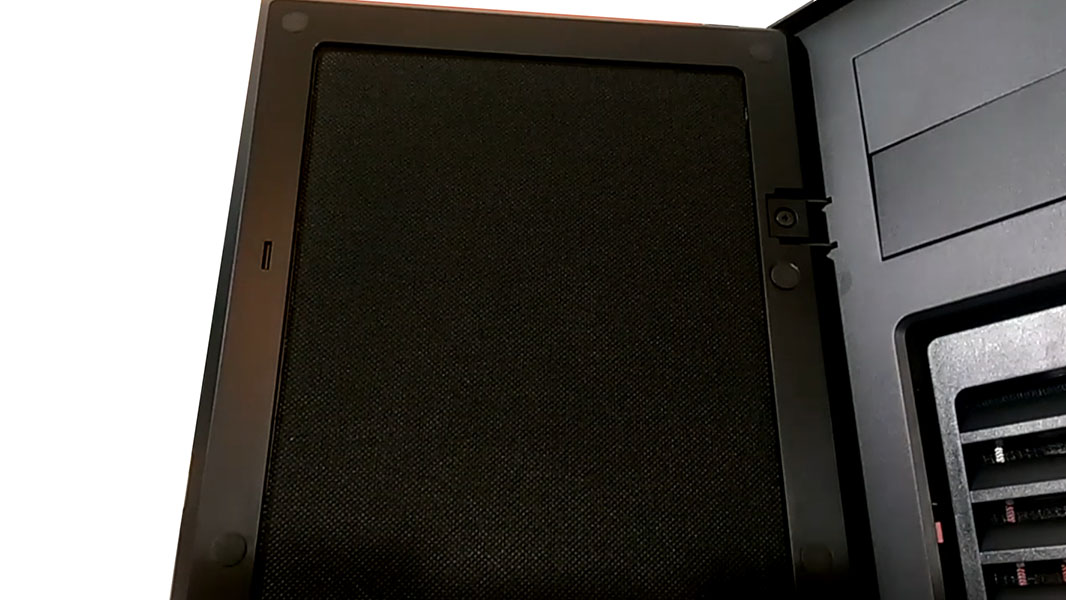
Looking at it from the front I really like the minimalist look with the solid front brushed aluminum door. The only problem with brushed aluminum is the fact that it picks up fingerprints and smudges them whenever you try and clean it but the groove on the side of the door is perfectly placed to hopefully avoid this problem.
The back of the door is lined with the first example of the dense sound absorbing material that’s found throughout this case. The material is cleanly fitted into the door and has a distinct quality feel to it. On the front of the case, you will find an easily removable dust filter that conceals the 2 120mm white fans, next to which we see the 2 3-way fan speed control switches for the built-in fan controller. At the top are 2 5 and a ¼ inch drive bay covers.

Top/Front Ports
On top, we find one of the features that sold me on the case, the integrated SD card reader, next to which are the dual USB 3.0, dual USB 2.0, audio inputs, activity indicator and the power button. It is missing a reset button and the card reader is using the USB 2.0 interface instead of 3.0 which is a bit of a letdown.
One thing I wasn’t too keen about when I was first looking at this case was having the I/O on the top facing straight up for fear of the ports collecting dust but DIYPC provided a really simple solution, a handful of rubber dust covers made for each port that can be inserted when you are not using the ports which I thought was a really nice addition that some manufacturers would not think about for the long-term ease of use.
Along the top are two removable push tab panels with the same dense sound dampening material on the bottom as the front door. Removing these panels allows for additional fans to be installed with mounts for 2 240mm, 3 120mm fans, or water-cooled radiators up to 280mm or any combination of the such. Or you can simply leave the panels in place for the added sound dampening which is what I’m probably going to do.


Main Interior
On the left side, you’ll find the almost full panel window which is surprisingly rigid for being basically a large piece of clear plastic with about 1 and a half inch of metal framing it. The window itself wasn’t a selling point for me but I won’t mind showing off the new hardware I have planned.
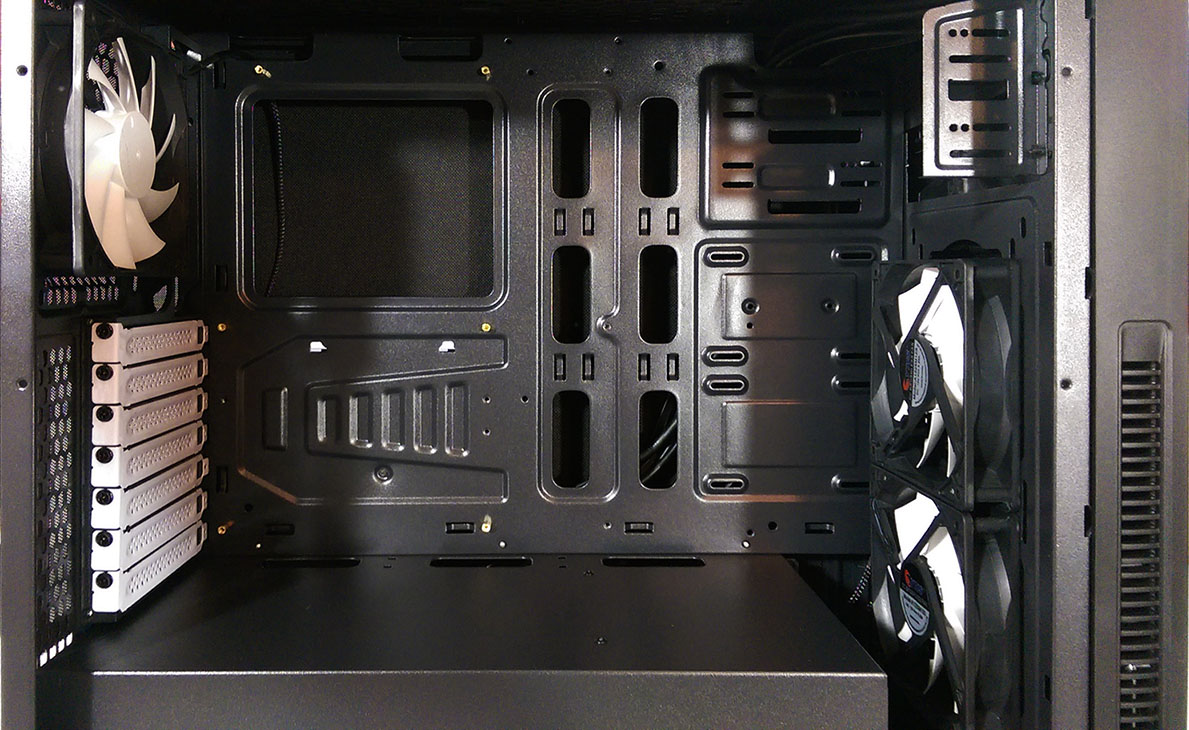
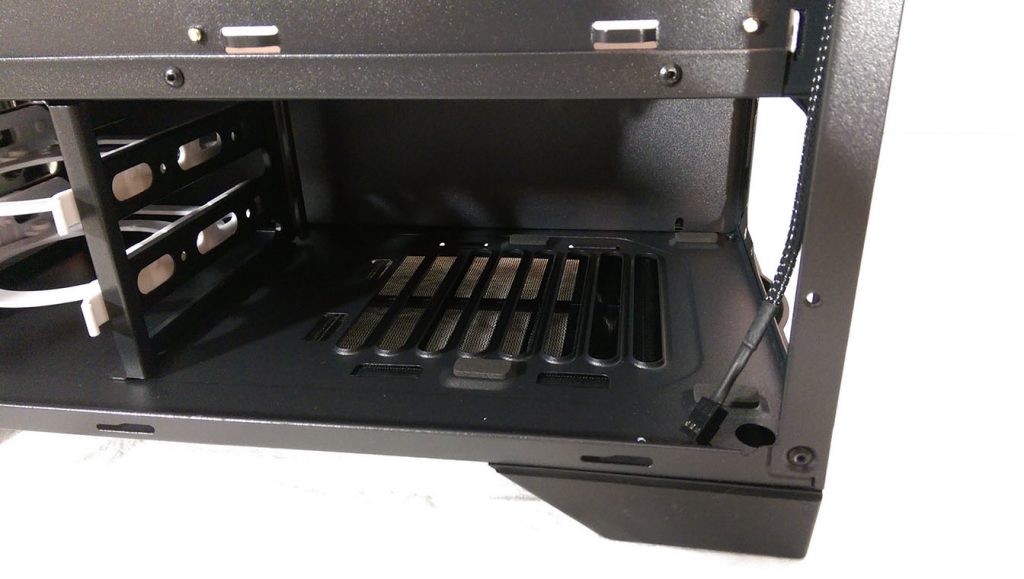
Inside you see more of the minimalist approach. At the top where the 5 and ¼ inch drive cages would normally be intruding into the interior, you find a small 2-inch metal panel that would support up to 2 5 and ¼ inch drives if you were to install any at all. Below are mounted to show off up to two 2 and a half inch SSDs with our 2 120mm fans just in front that could be removed to support up to a 280mm water cooling radiator. The motherboard tray with some pre-installed standoffs has room for a micro ATX, ATX, or extended ATX motherboard.
At the bottom, there is a basement where the power supply and hard drives will live. I’m not sure how I feel about the basement because I’ve always liked to put my PSU’s with the fan facing into the case which is not an option here. I do although like the cable management ports at the top of the basement giving you some additional cable management avenues.
Looking around the back there is nothing too special to see other than our 120mm fan, 7 white accented expansion slots covers and power supply port
Behind the Motherboard Tray
The right case panel is pretty much completely covered with sound absorbing the material and is almost completely rigid and has some weight of its own giving it a quality feel.
Behind the motherboard panel, there is 34mm or a little over an inch of space for cable management which is more than enough for most setups. There are several strategically placed smooth rounded cable management holes and plenty of loops to secure all the cables with the included zip ties allowing for a clean cable management setup.
There is also one 2 and a half inch cage for one SSD if you don’t want to put it anywhere else.
Unfortunately, there were a few quality control issues in the form of sharp metal barbs attached to screw holes from the drilling process in the motherboard panel. This can be dangerous if left uncorrected as it could cut into a cable sleeve over time and short it out.
In the basement we find the hard drive cage with two plastic sleds for either 3 and a half inch and or 2 and a half inch drives that are nice but I don’t see any vibration dampening gourmets or the such for HDDs which kind of takes away from the detail-oriented design that I was getting used from the rest of the case. Luckily the back portion of the basement does have some good sized and soft pads to place the up to 200mm power supply on along with a dust filter that slides out of a bottom mounted rack.
Conclusion
Overall I’m excited to use this case for my new rig. The “silence” design wasn’t something I was looking for when I first thought about building a new rig but having seen the steps DIYPC has taken in the sound dampening department I’m really interested in hearing how well it performs with the components I have planned for it.