Watch the overview video or keep reading the full article below
VIOFO didn’t include cable clips, something my old Aukey dashcams always came with. You can get 5 from VIOFO’s site for $7, which is blatantly overpriced, or grab a 20-pack on Amazon for $6, which is a better deal, but you probably don’t need 20.
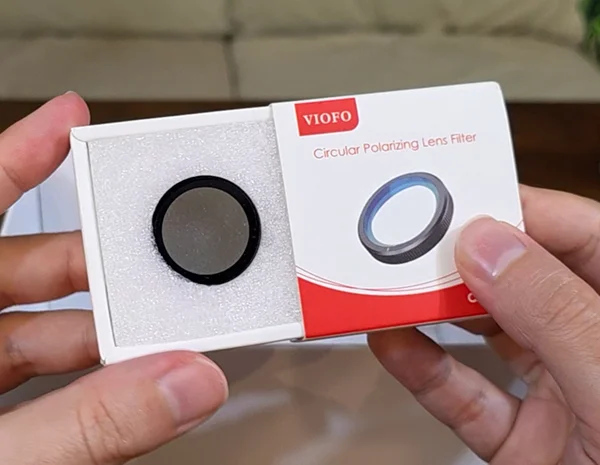
Circular Polarizing Filter
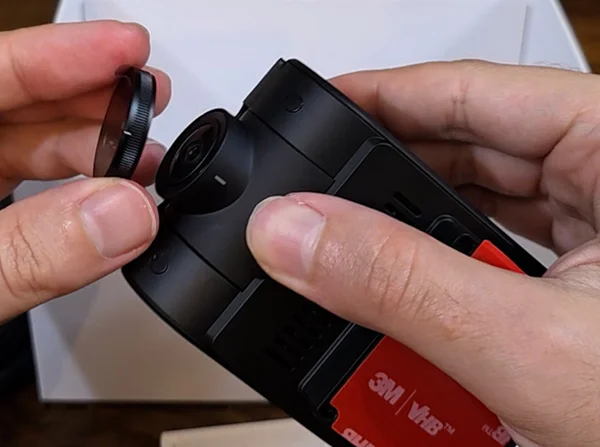
I also picked up the optional circular polarizing filter for the main lens to cut down on glare and reflections. This is another thing that really should be included on a $200 dashcam. Installing it is simple, line up the white marks on the camera and filter, then slide it on snug. We’ll see how much it helps later. Find the CPL filter on Amazon
Installation
First, clean your windshield. This is where you can decide whether to use the static stickers, they make removal easier and protect tint, but they can lose grip in extreme heat. Since I’m in the South where summers are brutal, I’m skipping them.
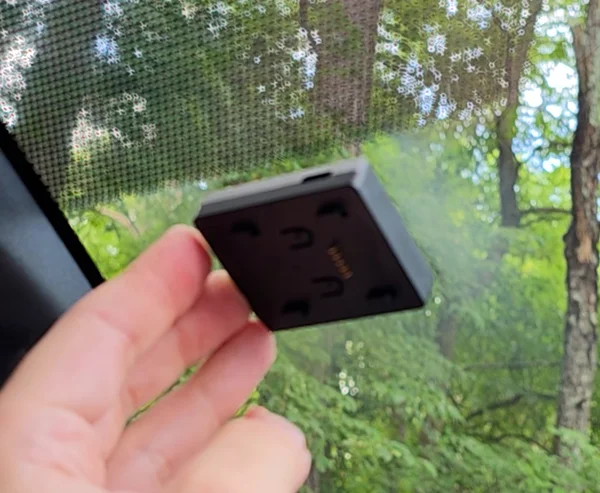
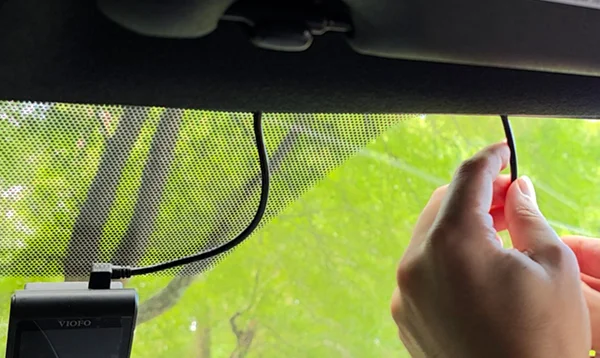
I started by sticking the GPS module on first, then sliding the camera into place. In my 2023 Corolla hatch, I positioned it just to the right of the sensor cluster behind the rearview mirror, mostly out of the driver’s line of sight. I also like that VIOFO used black VHB tape; it blends in far better than the gray tape on my old Aukey.
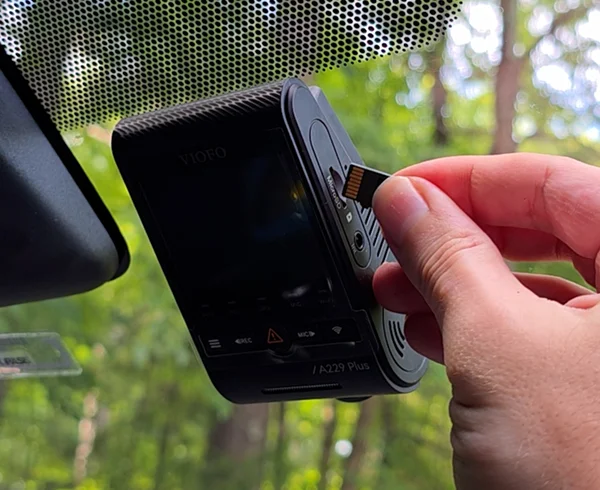
Next, insert the microSD card with the traces facing you until it locks in. Plug in the power cable, this is where I wish the main cable had a straight plug instead of a right-angle one, since it needs to go straight up into the headliner anyway.
From here, tuck the cable along the windshield under the headliner, then down the A-pillar. I used one of my leftover Aukey cable clips near the bottom of the A-pillar, but you can also tuck it into the trim, but it’s a bit tricky without clips.
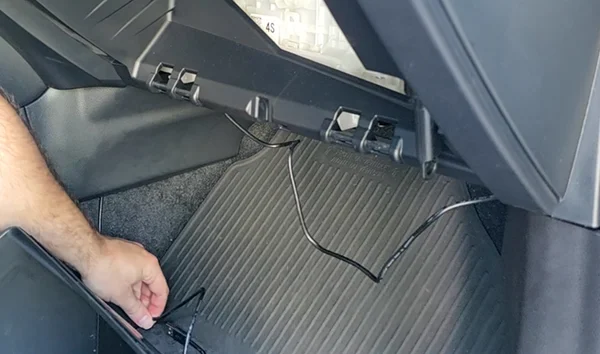
For the next steps, it’s easier to remove the glove box to gain access behind it. In most cars, you can unclip the spring shock on one side then press the sides inward until the stoppers clear the dash panel, and it should pop right out.
In the door jamb, I ran the cable down behind the weather stripping, under the side of the dash panel, and into the space behind the glove box. From there, feed it across and behind another panel so it exits underneath. Reinstall the glove box.
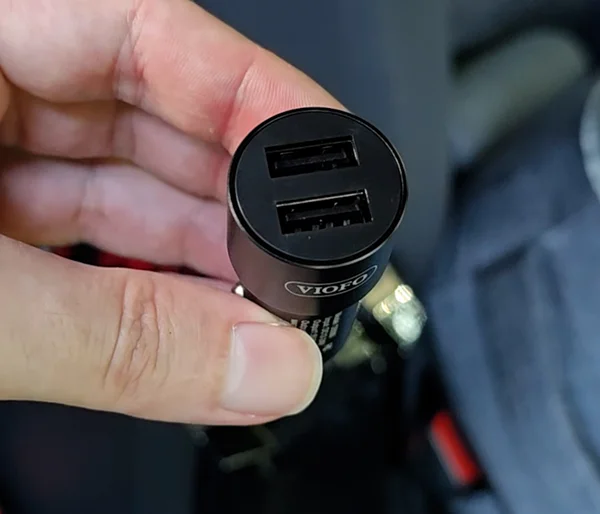
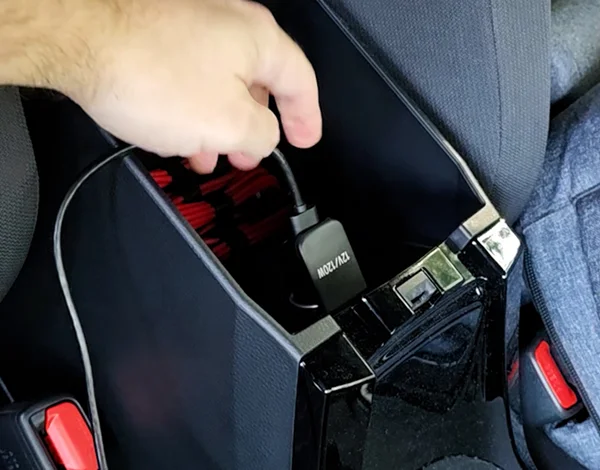
Since my 12 volt outlet is in the center console armrest, I tucked the cable behind the panel next to the passenger seat and routed it into the compartment with the outlet. Plug in the adapter, connect the cable, and you’re done.
If your outlet is on the dash, you can just tuck any extra slack behind the glove box.
Rear Camera Installation
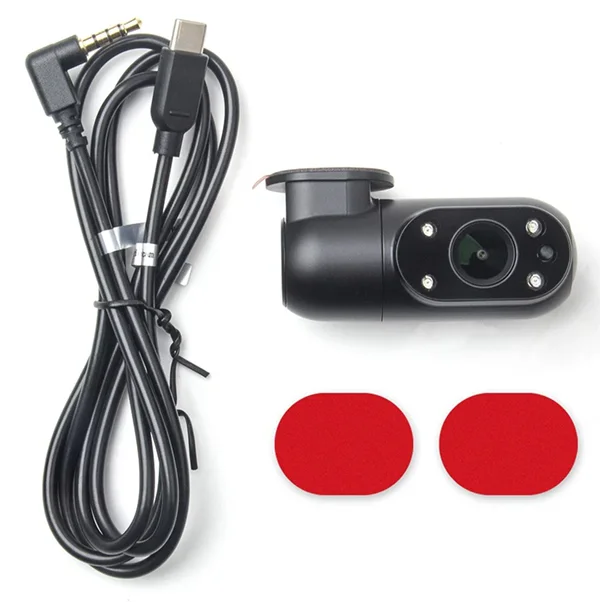
To install the Rear Camera, plug the cable into the left side of the main unit, this is where the right-angle plug is actually useful.
VIOFO recommends routing the rear camera cable along the driver’s side, but I prefer running it the same way as the power cable to keep the wires out of my view. It’s a little tighter tucking two cables in some spots, and this is where extra cable ties would have been nice for a cleaner look.
I followed the same path down to the footwell, then tucked the cable under the kick panel all the way to the back, then up behind the rear seat cushion.
With my hatchback, I had to leave enough slack so the hatch can open without pulling on the cable. I mounted the rear camera at the top of the window, making sure to position it between the rear defroster lines so they don’t obstruct the view. Then I used a clip to guide the cable to the side, leaving just enough slack for smooth hatch movement.
Initial Power On Setup
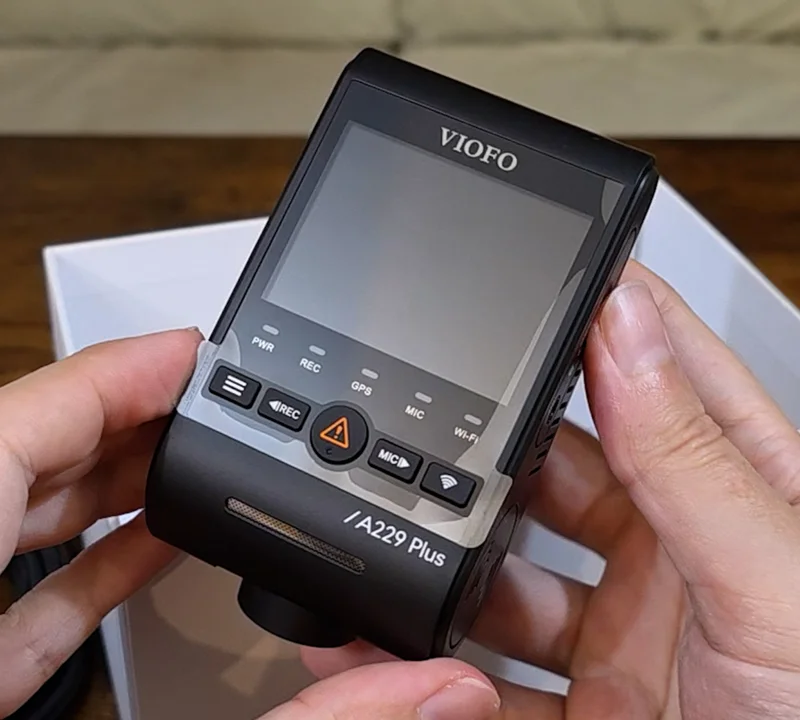
With everything installed, lets fire up the dashcam for the first time.
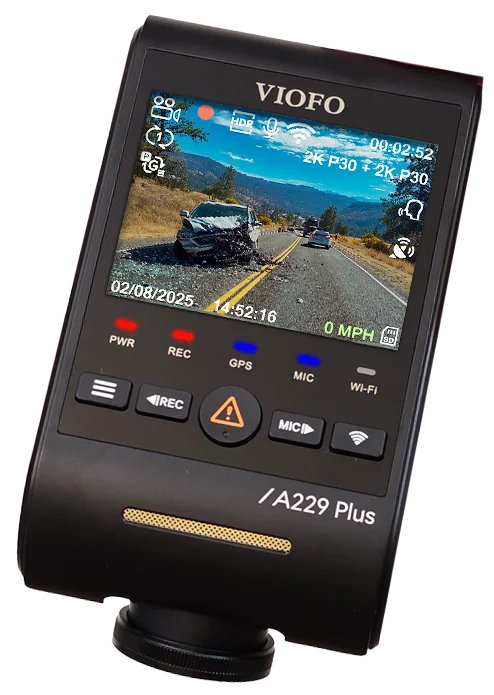
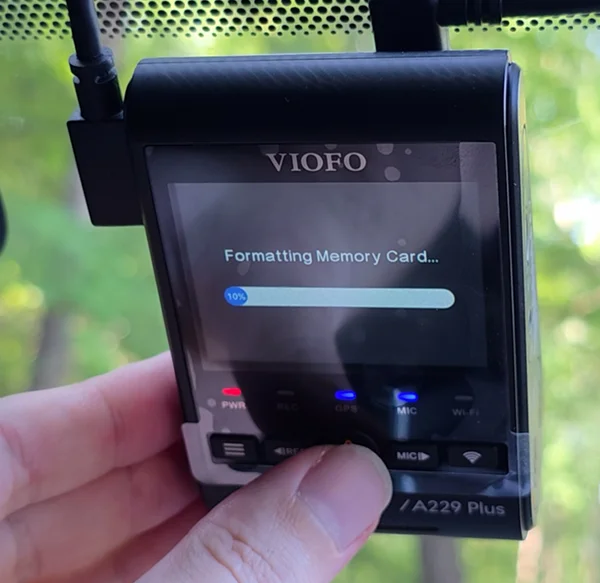
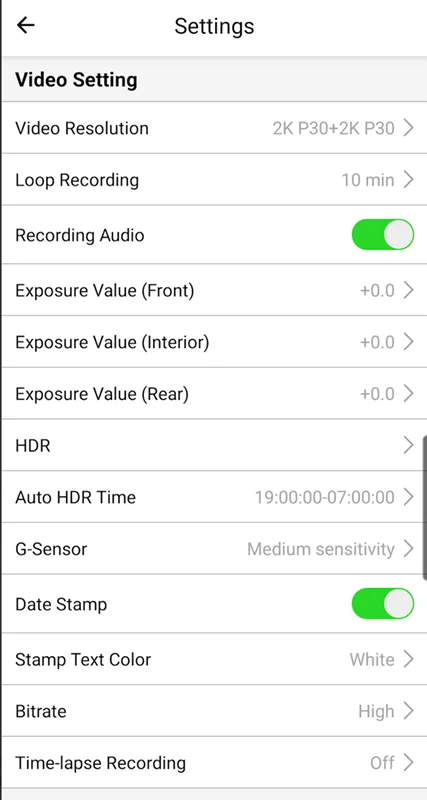
The initial setup is simple: pick your language, accidentally set the wrong timezone because you forgot your offset from GMT, choose your speed units, and format the SD card. I also went into the menus to confirm both cameras were set to 2K resolution, HDR was enabled, and to browse some other settings.
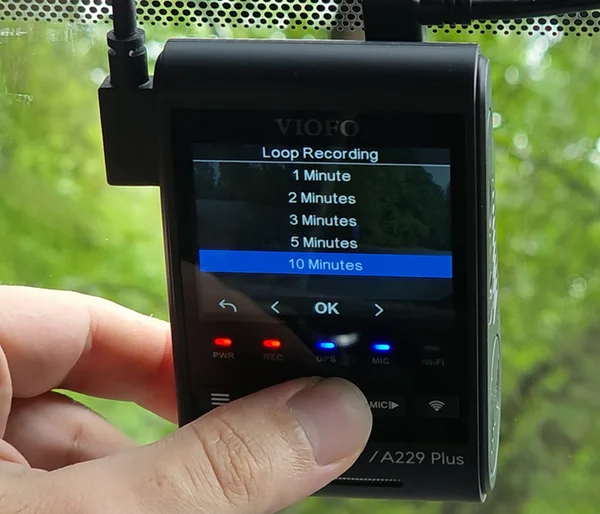
By default, the clip length is only 1 minute; you’ll want to bump that up to 10 minutes, otherwise a 15-minute drive will give you 30 separate files, 15 from the front and 15 from the rear camera.
One thing that took me way too long to figure out: if you want to re-enter the menu, you have to stop recording first by pressing the record button, then hit the menu button. If you try to access it while recording, the camera just takes a still photo. It would’ve been nice if the manual made that a little clearer.
First Impresions Footage
Let’s get to the footage. I tried to cover as many real-world conditions as possible, midday sun, early mornings, nighttime, harsh light, and even rain. I kept the Aukey DRS2 installed alongside the VIOFO A229 so we could do direct, side-by-side comparisons and really see where the improvements are.
I’m also working on a separate companion video that’s nothing but raw footage in a variety of lighting conditions and settings, so you can see exactly what they look like. Make sure you’re subscribed so you don’t miss it. I’ll add a card and link here once it’s live.
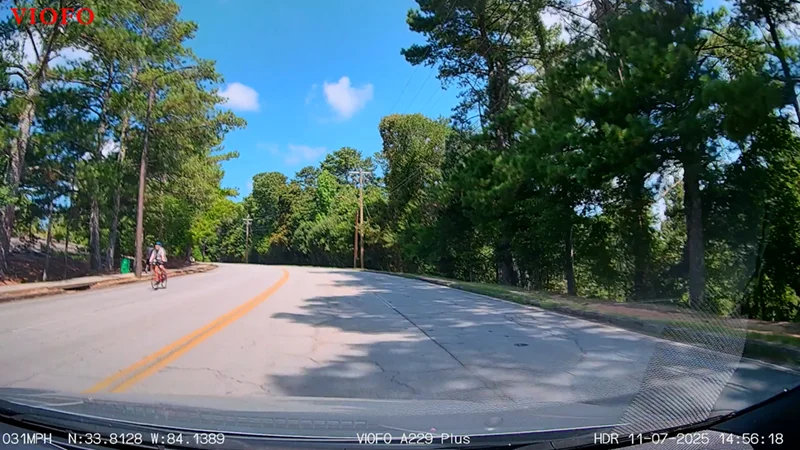
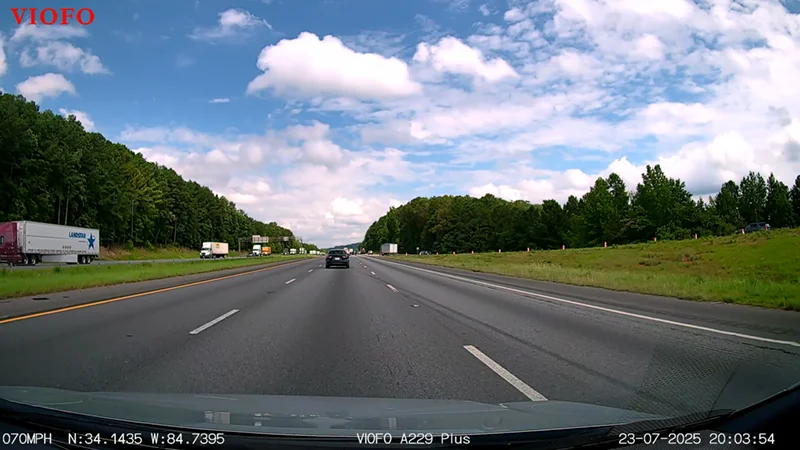
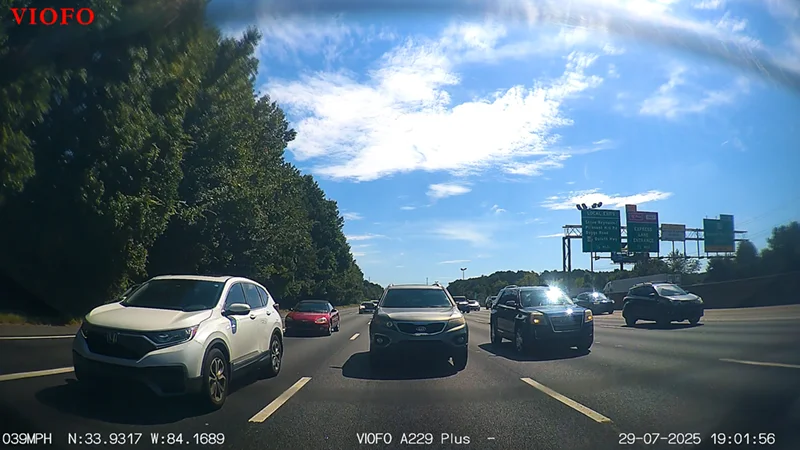
On first Impression, right away, the A229 Plus makes a strong case for itself. The colors are rich and natural, the dynamic range is excellent, and HDR really helps balance bright skies and deep shadows at the same time. I like the clean on-screen overlay with speed and GPS coordinates, though I could do without the oversized VIOFO logo.
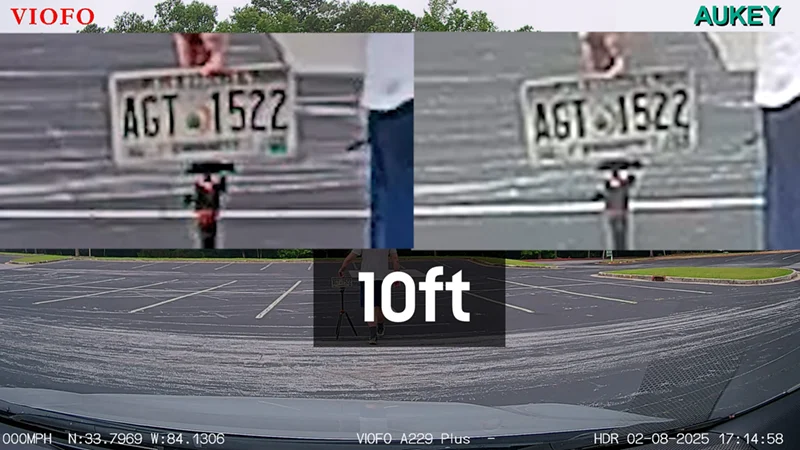
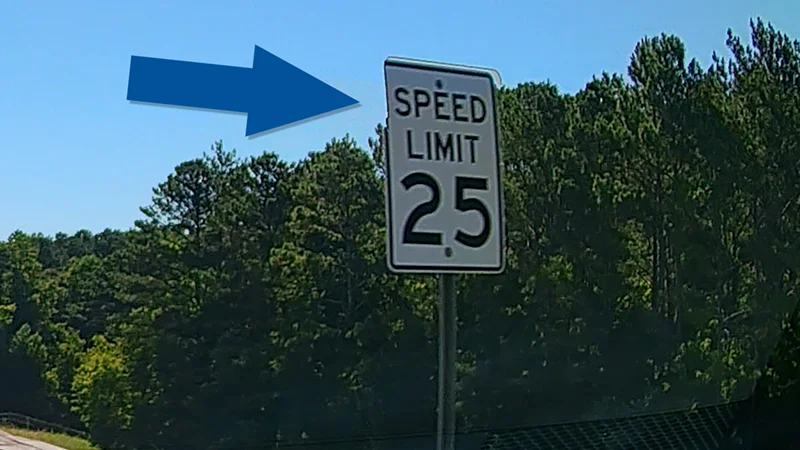
License Plate Clarity Test
For a license plate clarity test I set up an old license plate and measured out millimeter perfect 5-foot intervals:
- 5, 10, and 15 feet – Clearly readable when zoomed in
- 20 feet – Still legible but starting to soften
- Beyond 20 feet – Blurs out
Against the Aukey, though, at the same distances, the VIOFO is an upgrade, not massive, but definitely noticeable.
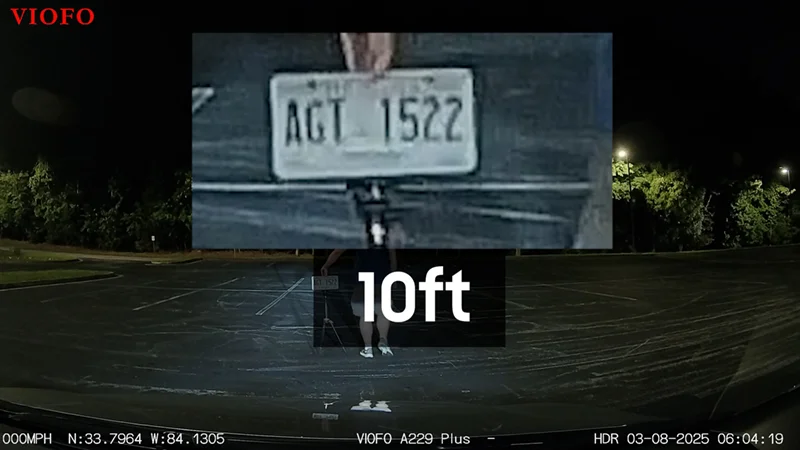
Running the same test at night:
- Up to 15 feet – Plate remains clear
- Beyond that – Too soft to reliably read
Still, compared to the Aukey, the VIOFO maintains sharper detail and better contrast in low light.
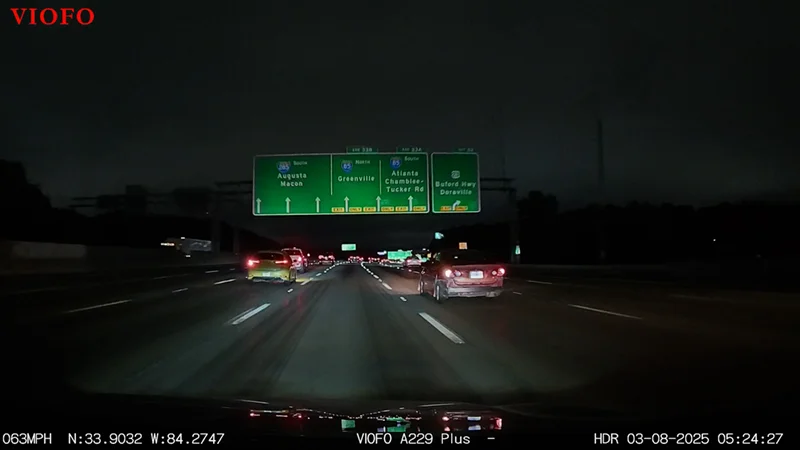
At night, the A229 is noticeably cleaner than the Aukey with less noise and better overall clarity. On darker, moonless nights, there’s only so much any dashcam can do, but other cars and reflective highway signs still come through clearly and remain legible.
After more than a month of testing, going back to the Aukey footage makes the differences obvious. The older camera now looks duller, softer, and noisier. It still holds its own in dynamic range on the low end, but bright areas, especially headlights, streetlights and midday sunny skies are blown out completely, and the lower resolution just can’t keep up anymore.
The rear camera records at the same 2K resolution as the main unit, so image quality is very similar, with good detail, vibrant color, and solid dynamic range. That said, it’s worth noting that with a hatchback, keeping the rear glass clean is a constant battle. Dust, road grime, and water spots can cut down on clarity, so the footage isn’t quite as pristine as the front camera. In clear conditions, though, it’s impressive and matches the front cam in overall quality.
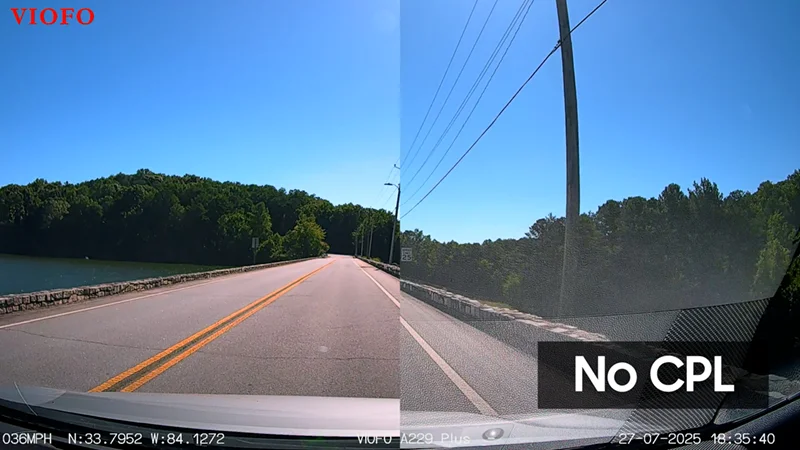
Circular Polarizing Lens Filter
If there’s one upgrade you need with this dashcam, it’s the circular polarizing filter. Without it, dashboard reflections in bright sunlight are terrible, it washes out the image and undoes much of what the STARVIS 2 sensor brings to the table.
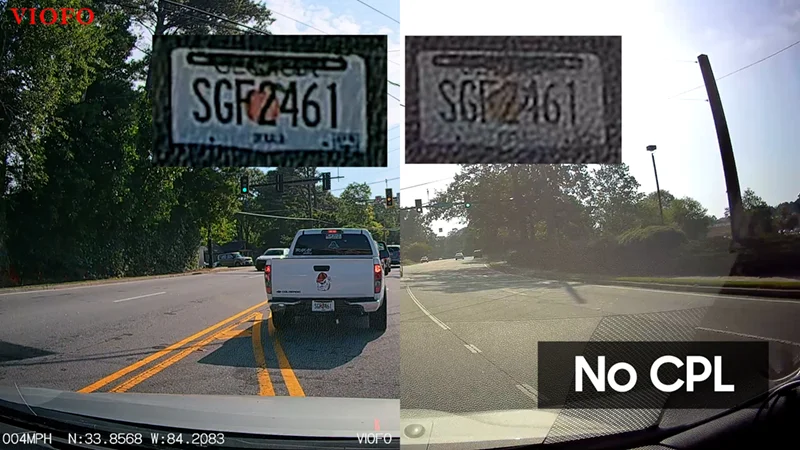
It’s disappointing that VIOFO doesn’t include it, but the difference is night and day. In side-by-side shots, glare is drastically reduced, and license plates stay readable even in tough, high-glare scenes.
This scene was a great example of what the CPL filter does so well. It’s a challenging shot, but the VIOFO handles it beautifully with the filter attached. The glare reduction alone is phenomenal, and when you zoom in on the license plate, the combination of less glare and higher resolution makes the text far more readable compared to the Aukey.
HDR Impressions
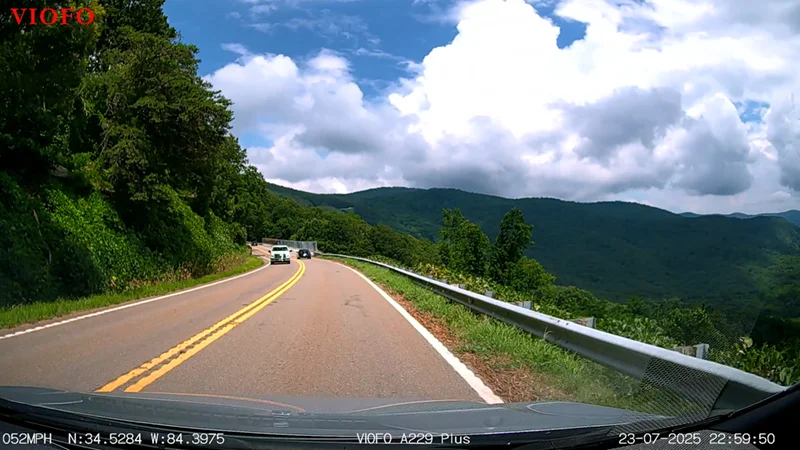
Switching HDR off to push the frame rate up to 60FPS made rewatching footage from the roads in the North Georgia mountains noticeably smoother. Colors are still vibrant, and even without HDR, the sky didn’t get washed out.
I’m not entirely sold on HDR yet. While it helps in certain lighting situations, it’s inconsistent and sometimes introduces processing artifacts. I’m holding off on a final recommendation until I collect more footage and can run a deeper analysis. That’s going to be the focus of an upcoming HDR-review video, so keep an eye out for that.
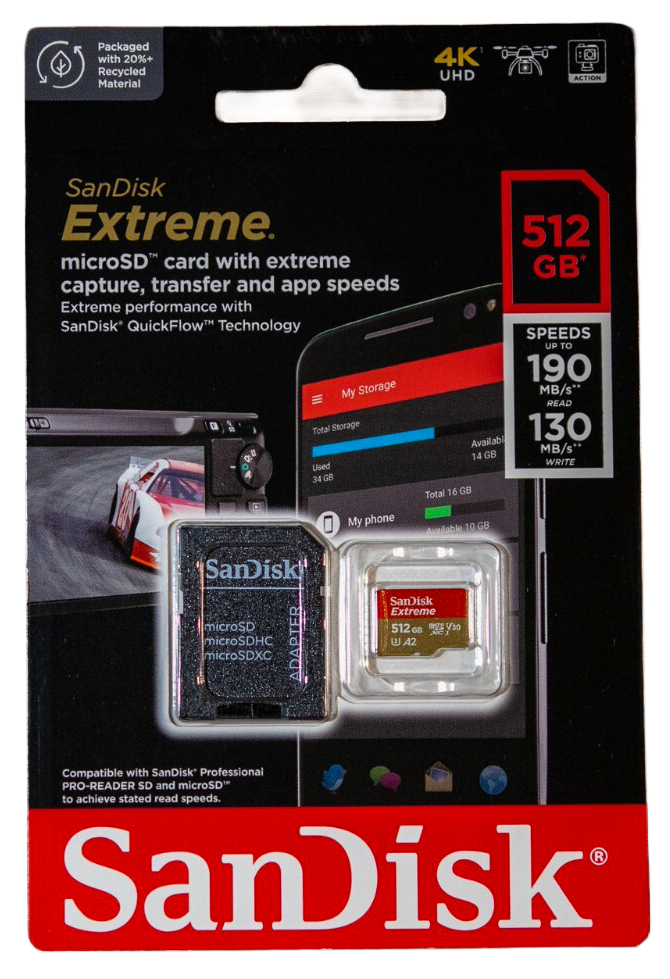
With all this footage, it’s worth knowing how much you can actually store. At the highest bitrate, a single 10-minute clip from one camera averages about 2 GB. On a 512 GB microSD card, that works out to roughly 40 hours of total footage. But since you’re recording from two cameras, you’re looking at about 20 hours of looped recordings and that’s plenty for something like a round trip from Atlanta to Chicago without overwriting older footage.
VIOFO App
Let’s check out the VIOFO app which is available in both major app stores. To connect to it, hold the Wi-Fi button on the dashcam until it turns on, confirmed by an on-screen icon and a voice alert, then follow the app’s pairing instructions. Once connected, you can:
- View live feeds from the front and rear cameras
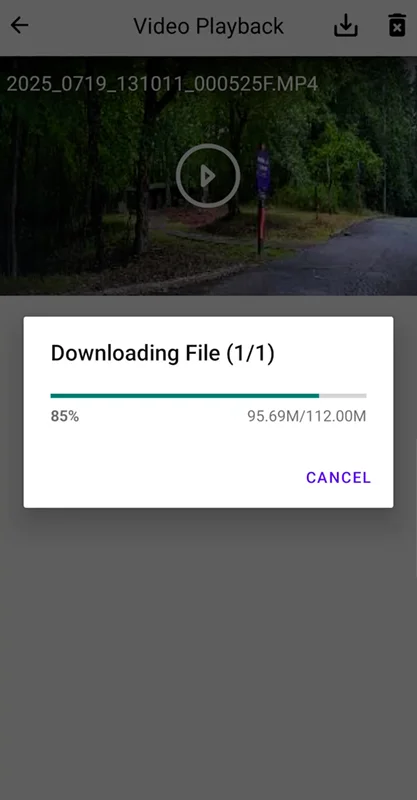
- Play back and download saved clips
- Change all dashcam settings without touching the tiny screen from a distance.
In my testing, the app worked fine, with no connection dropouts or crashes, though that seems to be the exception based on user reviews. Many people report trouble pairing or staying connected, so your mileage may vary. The interface is a bit dated, but it gets the job done.
Voice Controls
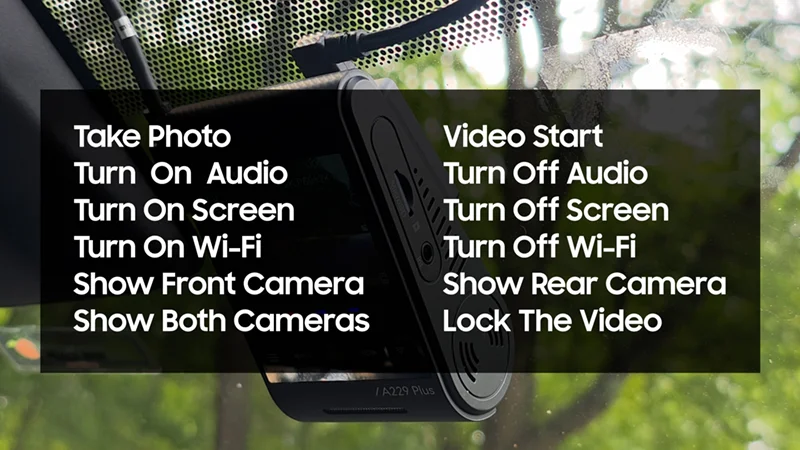
The voice controls worked well. It recognized my unaccented commands pretty much perfectly. Here are a few examples. There are 12 commands available, all pretty useful if you remember what they are. It works for me, your experience may vary. I do wish there was a keyword trigger, like “Hey VIOFO”, because a couple of times I did accidentally activate a command during regular conversation.
Conclusion
After using the VIOFO A229 Plus for a couple of months, I can confidently say it’s a solid upgrade. Coming from a dashcam that served me well for over six years, I honestly didn’t expect to be this impressed. If you’re still running an older model or getting your first dashcam, this is a strong contender that delivers where it matters most.
I’ve got a second video on the way that’s nothing but real-world footage day, night, bad weather so you can see exactly how it performs. I’m also working on a dedicated deep dive into the HDR feature to give a more complete verdict on whether it’s worth keeping on.
Let’s hope VIOFO sticks around longer than Aukey did so we can see what they do with the next generation. And as always, expect a long-term follow-up in a year or two to see how the A229 holds up. All the products mentioned are linked in the description.