You built a beautiful site, so why leave the login page looking like every other WordPress install? A stylesheet and a few lines of code turn it into something you and your clients actually enjoy visiting.
Editor's note (July 2026): The CSS in this guide works exactly the same on current WordPress. One code-quality upgrade is worth knowing: instead of echoing a <link> tag on the login_head hook, the modern way to load your stylesheet is to enqueue it on the login_enqueue_scripts hook with wp_enqueue_style(), so WordPress manages the asset properly. Both still work. Two related tips: you can repoint the logo's link away from wordpress.org to your own site with the login_headerurl filter, and its tooltip text now uses login_headertext (the old login_headertitle was deprecated in WordPress 5.2).
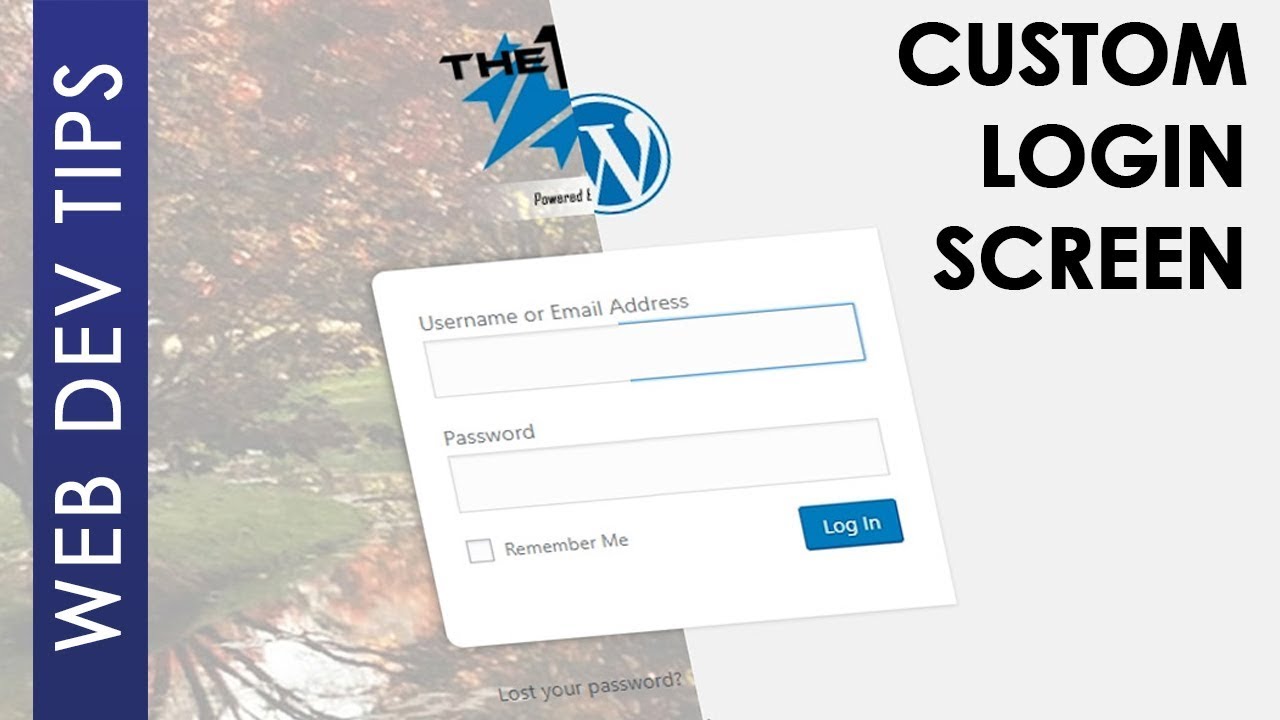
Customizing the WordPress login screen takes three things: a CSS file in your theme, one small function in functions.php to load it, and a handful of CSS rules. Swap the generic W logo for your own, drop in a full-screen background, round the corners of the form, and the page goes from bland to branded. No plugin required.
If you spent the time to build an amazing, beautiful, immersive site, why leave this one screen as dull as it ships? In just a few steps you can make the login page something you and your clients will actually like to visit. The default is fine, but fine is not the bar you set for the rest of the site.
The bigger reason I like to customize it is branding. Not only for the organization the website is for, but also for you or the agency that built the site. A logged-out client who sees your mark on the login page is reminded, every single time, who put the site together. And you can do all of it yourself. There is no reason to install a plugin for something this small when you can achieve the same result without the added overhead.

Three quick steps get the plumbing in place before any styling happens:
login in your theme directory. If your theme does not pick it up there, put it in the site root instead.custom-login-style.css. This is where every rule below lives.functions.php file./*---------------------------------- * Custom Login Screen *---------------------------------*/ function my_custom_login() { echo '<link rel="stylesheet" type="text/css" href="LINK TO YOUR STYLESHEET" />'; } add_action( 'login_head', 'my_custom_login' );
Set the href to the full URL of your custom-login-style.css file. Changes to the login page are heavily cached, so clear your browser cache or use an incognito window to see any updates.
With the stylesheet loading, the styling is pure CSS. Start with the two changes that make the biggest visual difference: swapping the WordPress logo for your own and giving the whole screen a background image.
/* 1. Replace the WordPress logo */
.login h1 a {
    background-image: url('path/to/your-logo.png');
    background-size: 200px !important;
    height: 200px;
    width: 200px !important;
}

/* 2. Full-screen background image */
body.login {
    background-color: #14B8E5;
    background-image: url('path/to/your-background.jpg');
    background-repeat: no-repeat;
    background-attachment: fixed;
    background-position: center;
    background-size: cover;
}
Point the logo's background-image at your own file in the media library and adjust the height, width, and background-size to fit it. For the background, use an image at least 1920 x 1080 so it stays sharp when it scales up to cover the screen. The background-color is a fallback that shows while the image loads.

The login form itself is a single element you can dress up. Rounding its corners and adding a soft shadow gives it a contemporary, floating look against the new background:
/* 3. Style the form container */
#loginform {
    border-radius: 10px;
    box-shadow: 0 0 12px #767676;
}
From here the details are yours to tune. You can recolor the "Lost your password?" and "Back to Blog" links, restyle the login button to match your brand, and change the background of the text fields. The trick for finding the right selector is your browser's developer tools: right-click any element on the login page, choose Inspect, and CSS shows you exactly what to target.
Yes. Add a CSS file to your theme, load it with a small function in functions.php, and style the login page with CSS. A plugin is unnecessary overhead for something this small, and doing it yourself keeps you in full control of the markup.
Target the .login h1 a selector in your login stylesheet, set its background-image to your own logo, and match the height, width, and background-size to the image. That replaces the default WordPress logo above the form.
Style the body.login selector with a background-image set to cover, fixed and centered. Use an image at least 1920 x 1080 so it stays sharp when it scales to fill the screen, and set a background-color as a fallback.
The login page is heavily cached. After editing the stylesheet, clear your browser cache or open the login page in an incognito window so you see the current version instead of a stored copy.
Enqueue it on the login_enqueue_scripts hook with wp_enqueue_style() rather than echoing a link tag on login_head. Both work, but enqueuing lets WordPress manage the asset the same way it does everywhere else.
That is the whole trick: one stylesheet, one function to load it, and a few CSS rules for the logo, background, and form. It is a small amount of code for a surface your clients see every time they sign in, and it costs nothing but a few minutes.
Once the basics are in, experiment. Recolor the links, restyle the button, tweak the fields, and make the page unmistakably yours. I would be excited to see what you come up with.
Disclosure: This post contains affiliate links. As an Amazon Associate I earn from qualifying purchases, at no extra cost to you. CK Tech Check is 100% ad-free: no banner ads, no ad tracking. Affiliate links like these and my YouTube channel are what keep the site running.