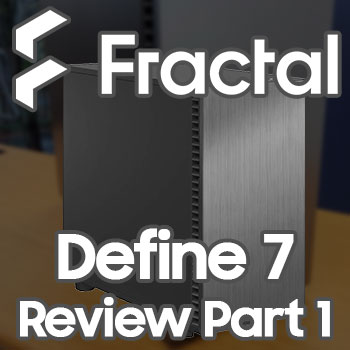
A premium, whisper-silent mid tower with room for almost anything. Here is the full tour, plus how to reconfigure it for a door swap and an 18-drive server build.
The Define 7 is a premium case that earns the label. It runs practically silent thanks to sound-dampening on every panel, swallows everything from an ITX board to E-ATX with room for up to 18 drives, and includes three genuinely good 140mm fans. It is heavy and a bit of a fingerprint magnet, and hitting full drive capacity means buying extra trays, but if you catch it on sale it is a steal. My rating: 4.5/5.
Verdict: worth it, especially on saleIt might be a while before I can finish building my next rig, but that did not stop me from picking up some components anyway, and the Fractal Design Define 7 in stone gray was at the top of the list. It is a premium case for many reasons, and a premium moniker usually commands a hefty price. At its normal MSRP the Define 7 is no exception, but if you keep an eye out and stay patient you can get one for almost half of that. I found mine on sale for a price that made it an easy call.
A couple of years ago I picked up a Define R3 for the workstation at my day job, partly because it had a subdued design that fit perfectly in my office, partly because it featured all-around sound dampening, but mostly because I was not paying for it. When I built that workstation I fell in love with the case. It was easy to work in, had a ton of room in front of and behind the motherboard, and came with a horde of accessories. It runs practically silent: only when you open the front panel do you notice any fan noise at all. I was hoping to get all of that and more with its bigger, newer brother. I would like to think I did.
Disclosure: I bought this case myself. This post contains affiliate links, and as an Amazon Associate I earn from qualifying purchases, at no extra cost to you. CK Tech Check is 100% ad-free: no banner ads, no ad tracking. Affiliate links like these and my YouTube channel are what keep the site running.
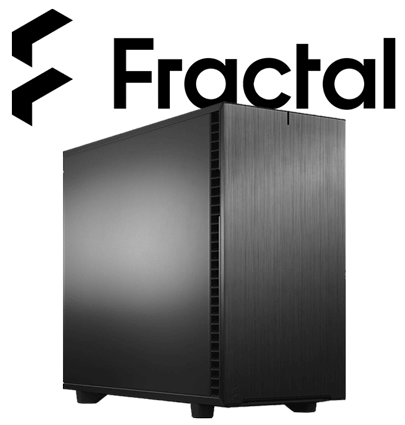
Fractal Design Define 7
Silent, modular mid tower in stone gray, the exact case behind every photo in this article.
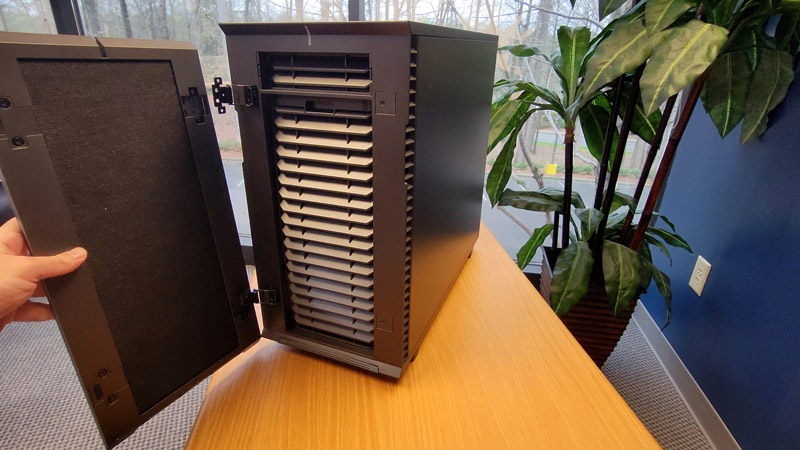
In the box you get two more boxes: the case, and the largest accessories pack I have ever seen. We will open that later. The case wears the same subtle Fractal Design styling as the R3. I love the brushed aluminum finish on the front, the smooth matte finish everywhere else, and this stone gray color pushes all the right buttons. The only catch is that it is a fingerprint magnet, and keeping it spotless takes real work.
I opted for the solid side panel, for the soundproofing and because I will never see that side of the case anyway. If you would rather show off your colorful guts, you can choose from three tempered glass panel styles: clear, lightly tinted, or dark tinted. Even though the front end looks solid, there are massive vents on both sides that allow for all the airflow you will need.
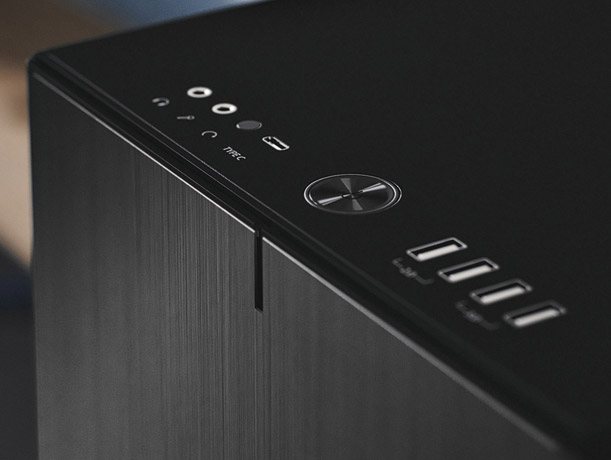
Up top there is a solid assortment of IO: separate headphone and microphone jacks, a USB Type-C 3.1 Gen 2 port good for up to 10 gigabits per second, a simple but solid power button, two USB 2.0 ports and two USB 3.0 ports. The rest of the top panel hides a few surprises we will get to shortly. Around the back you get that same flat finish in black, with seven expansion slots plus vertical slots to show off a graphics card if you go with a glass side panel. There really is not a whole lot to see on the outside, and that is exactly how I like it.
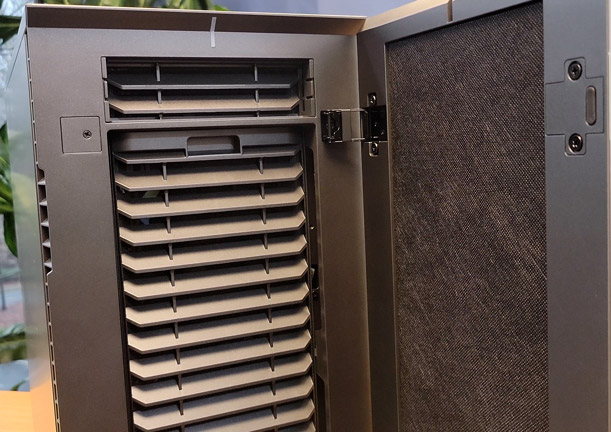
Opening the magnetic latch reveals the first of many examples of the sound dampening built into the Define 7, and the first of the massive removable air filters. Pull the tab at the top and it unhinges toward you. It is so easy that there is no excuse for not keeping it clean. At the bottom you will find another filter that runs the full length of the case. It can be a little trickier to work with, but again, there is no reason to let it get dusty.
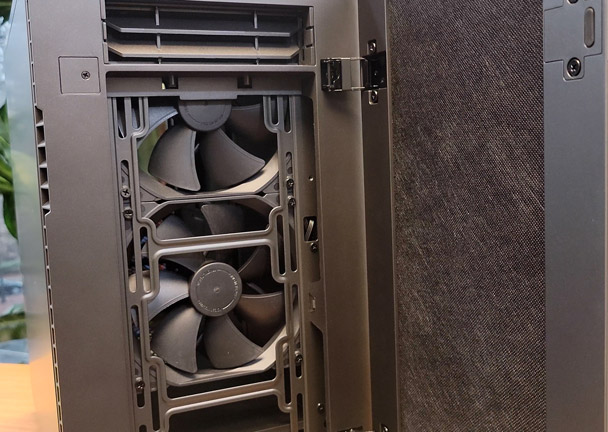
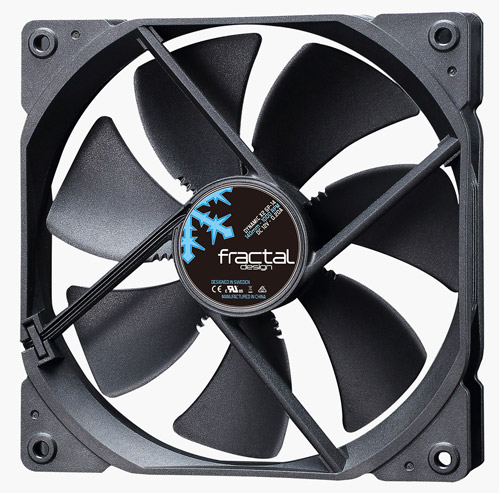
After the filter comes out you find two of the three included Dynamic X2 GP-14 140mm fans. Getting three of these fans in the box is a huge plus, because they are not the throwaway junk that ships with cheap cases. They are rated for up to 100,000 hours of run time thanks to long-life sleeve bearings, they produce under 19 decibels at 1000 RPM, and each one can push 68 cubic feet of air per minute. You get three of them: two in front and one in the back.
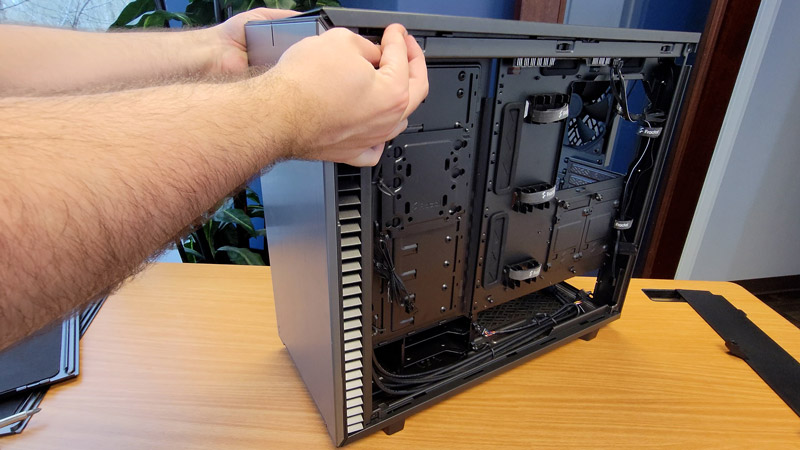
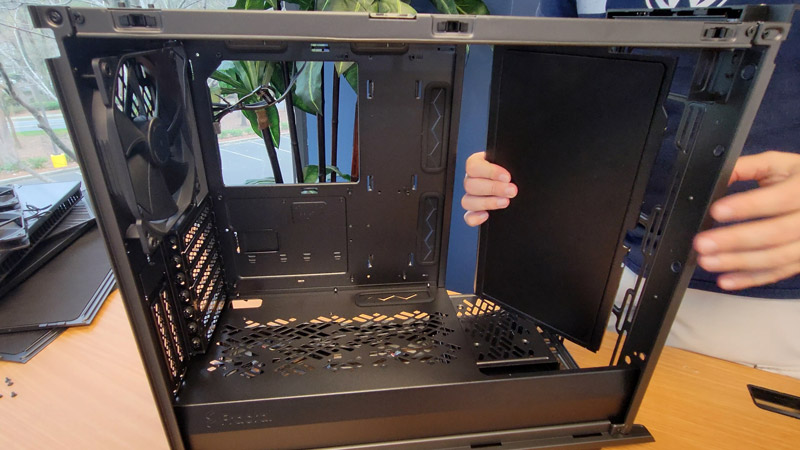
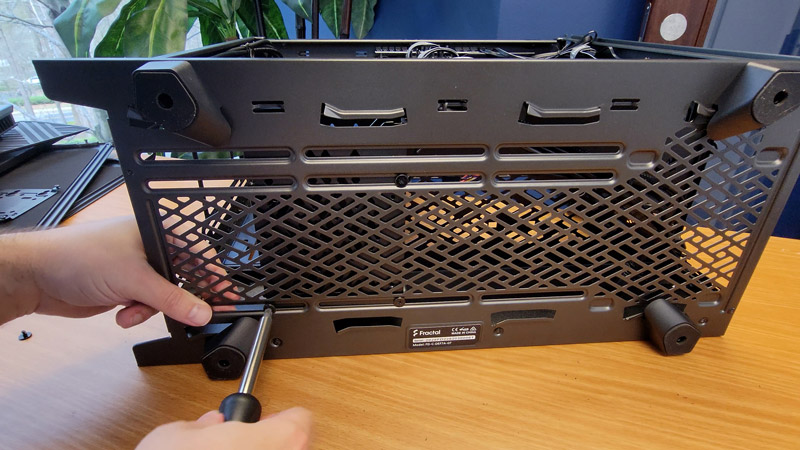
Pop off the side panel and you will notice there are none of the usual thumbscrews. Instead you pull a tab in the back and the whole panel comes off in one fluid motion. It is a hefty panel, mostly because of the thick layer of sound-absorbing material on the inside, which shows just how much emphasis Fractal put on keeping this case quiet. The panel alone weighs a few pounds and contributes to the Define 7's considerable overall weight of almost 30 pounds.
Inside is a spacious compartment for everything you will need. At the bottom is a full-length power supply shroud that also houses the drive cage we will see later. There are numerous cable management cutouts on the motherboard tray and on top of the shroud, each with a rubber grommet. What really shows the thoroughness of Fractal's engineering is that even when you remove the grommets, the metal edges are rolled so they will not fray a cable by accident. That is a nice touch most people will never see.
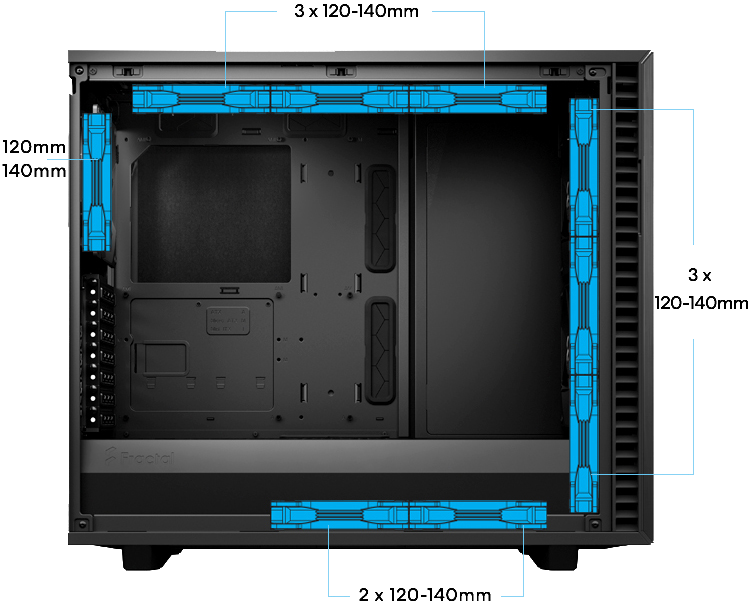
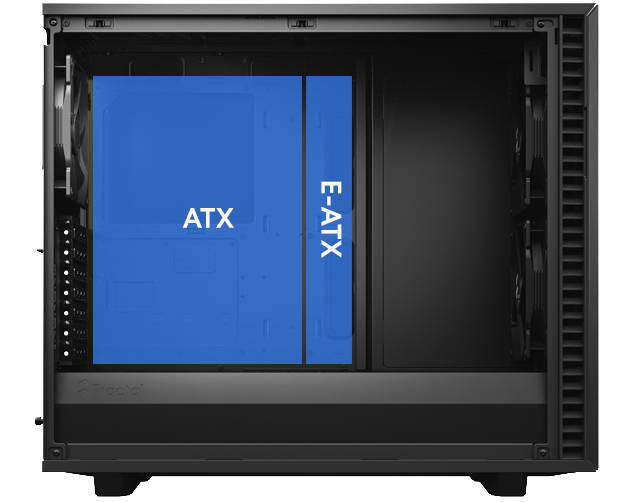
With so much space there is room for motherboards from ITX up to extended ATX and graphics cards up to 490mm in the default open layout. You can set the internals up several ways, from leaving it all open to installing a full-height hard drive cage, and you can almost completely disassemble the case with basic tools. Depending on the configuration there is room for two 360mm radiators, one in front and one on top, or if you prefer the power of wind you can load up to nine 140mm fans. Any combination of the two works too. I will cover how to actually reconfigure the internals in the customization section below.
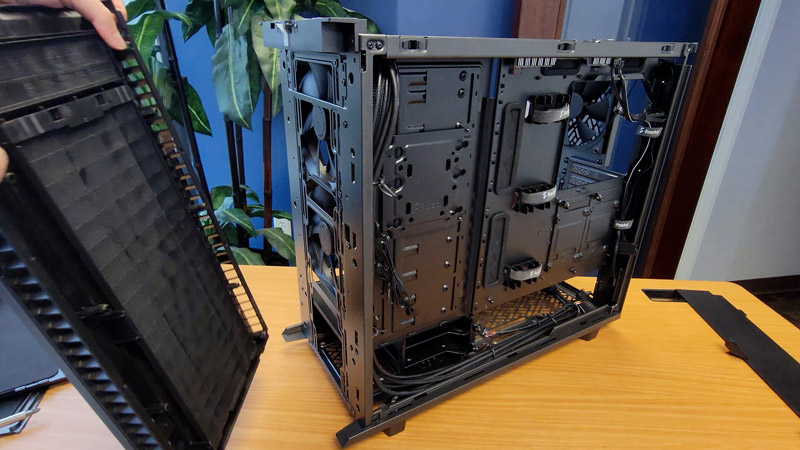
Popping off the other side panel works exactly like the first, and again you find the same solid, heavily dampened panel. The first thing that stands out is the Velcro cable management straps down the middle and along the edges. Beyond the straps there are segmented channels to help organize cables, plus dozens of standard loops where you can attach more Velcro straps, zip ties, or twist ties.
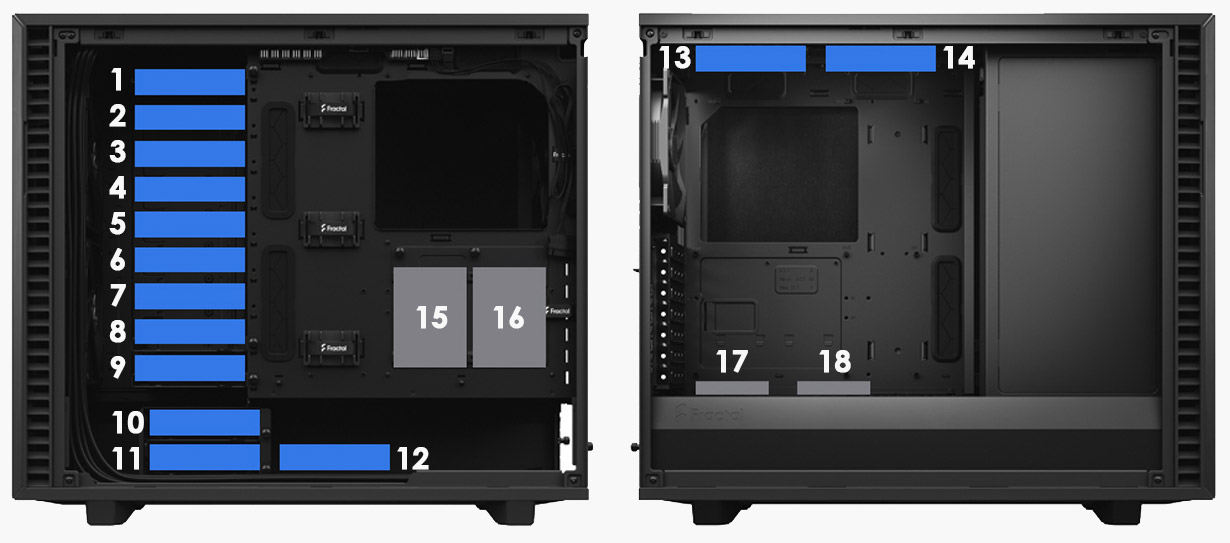
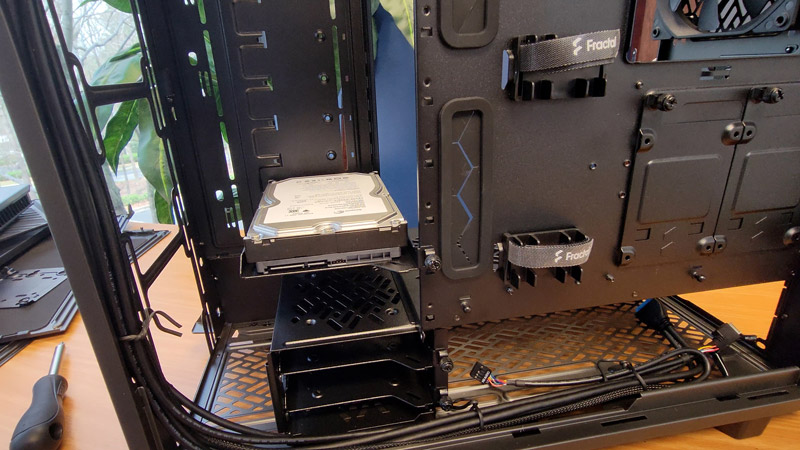
At the bottom is a hideaway panel you can pop off to get under the power supply shroud, with a spot for a full-size ATX power supply and plenty of room to tuck away extra cables, along with all the front IO cables. On the other end sits the included hard drive cage, which holds two 3.5-inch or 2.5-inch drives. As I will show in the server configuration, you can rework the inside to add up to fourteen full-sized hard drives, plus four more 2.5-inch SSDs, two behind the tray and two on top of the shroud. That is eighteen drives in total, which is absolutely insane and amazing at the same time, though you will need to buy more trays and brackets to mount them all.
One thing oddly left out of Fractal's marketing is the Nexus+ 2 fan hub tucked away at the top of the case. It supports six standard three-pin fans and three four-pin PWM fans, and you can even wire in your CPU fan header so it talks to your motherboard. It draws power from a single SATA connector. Its position also helps route fan cables away from everything else, another thoughtful design choice.
That covers the major features, so let us look at that enormous accessories box. The first thing inside is a different top panel: if you want to install a radiator up top, this panel maximizes airflow. Underneath it is a box full of hardware including different mounting screws, hard drive vibration dampeners, cable ties, and more. Surrounding the hardware box are four extra drive sleds, bringing the total included to six.
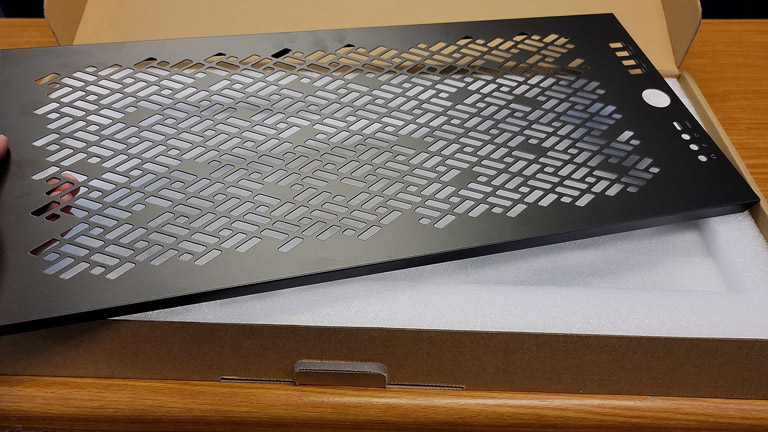
Swapping the top panel is as simple as popping off the original and snapping in the new one. You will notice there is already a filter installed up top whether you swap the panel or not. It really is that simple, and it is a good preview of just how modular this case is, which brings us to the fun part.
There is so much to this case that the original review needed two videos. Here is the second half: how to make the Define 7 fit your exact build.
Now for how to customize this case to suit your specific needs, which shows off just how versatile it is. We will start by swapping which side the door opens from, then nearly tear the case down to rework the interior for a server configuration, and finally look at moving or removing the included two-bay hard drive cage. Along the way I will point out a few more details I did not get to in the overview.
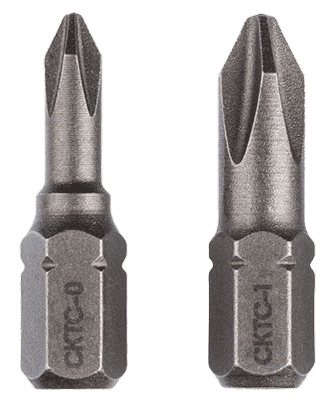
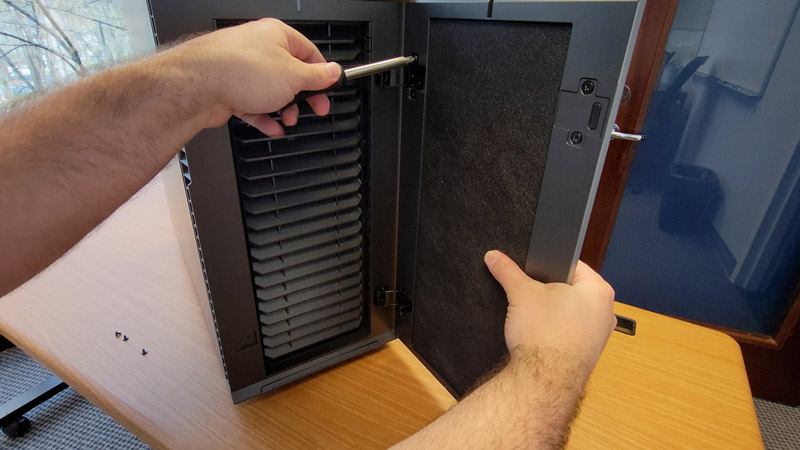
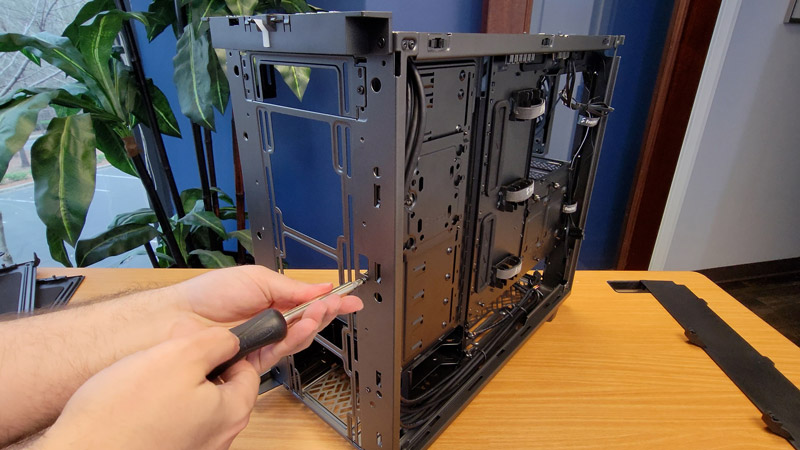
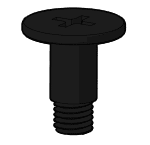
All you really need is a Phillips screwdriver, but I would keep two bit sizes handy, a larger one and a finer one, because the case uses two sizes of Phillips screws and each is easier to work with its matching bit.

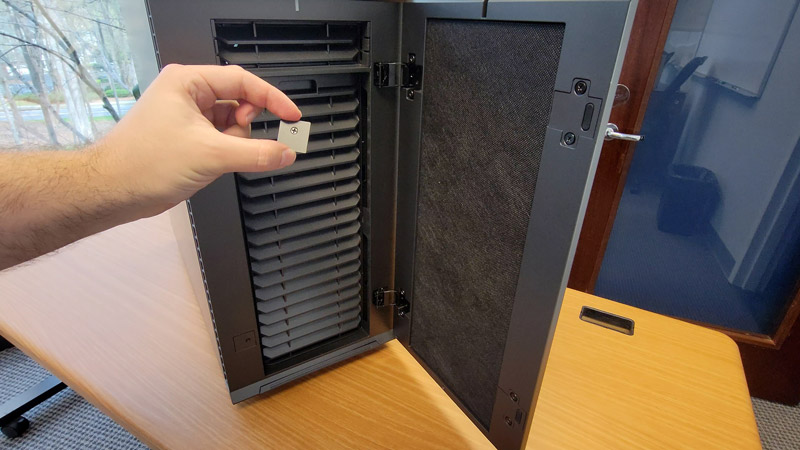
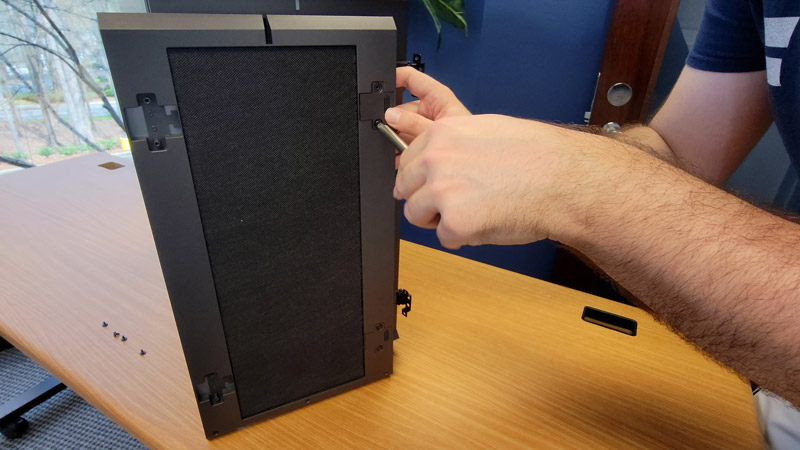
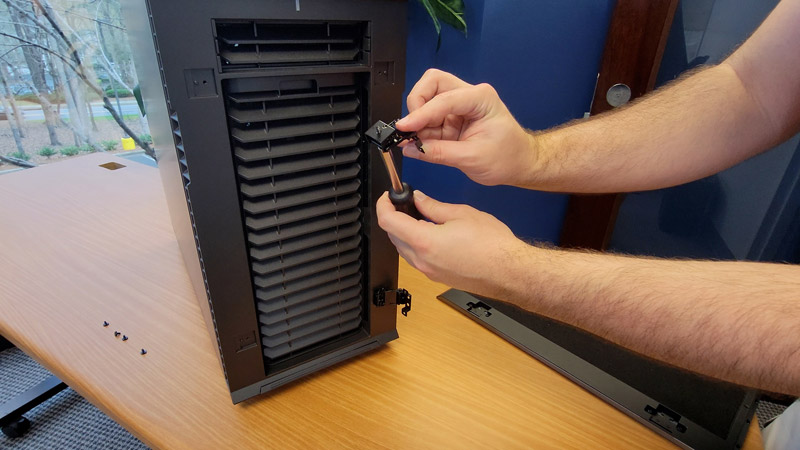
Being able to swap which side the front panel opens from does not initially sound like a big deal, but anyone who has been stuck with a door on the wrong side knows what a godsend it is. Maybe the door opens fine now, but what happens when you move, or get a new desk and suddenly it opens the wrong way? With the Define 7 it is not a problem. I practiced this a couple of times, and this is the least frustrating way I found to do it.
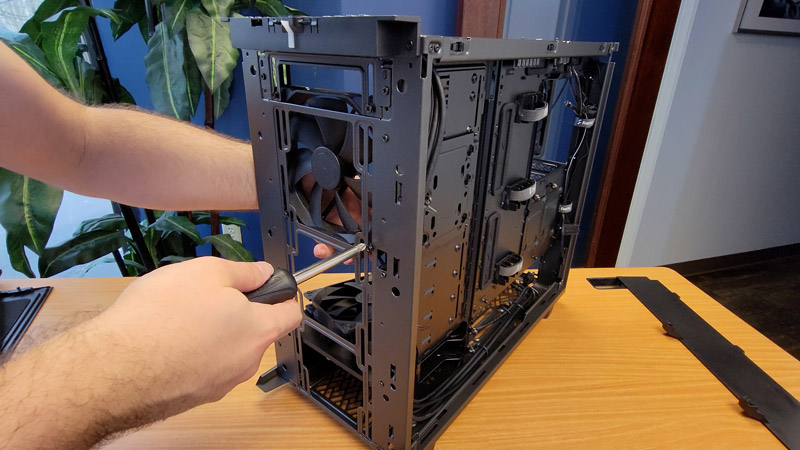
Rearranging the interior for the server configuration is a little more involved, but it is just a matter of following the steps. Along the way we nearly disassemble the whole case, which is good practice for things like moving the front fans or mounting a reservoir for a custom water loop.
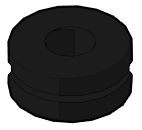
Speaking of the accessories box, all the hardware to attach a drive to a sled lives in a couple of the little baggies. There are dedicated screws for storage devices, and for hard drives you always want to include the rubber dampeners to reduce vibration. Like a rookie, I first put the dampeners on the wrong side: they go between the sled and the drive. Remember from the overview that you can add up to nine sleds just in this section of the case, so it is a shame you only get six in the box. You can buy more if you want to fill every bay.
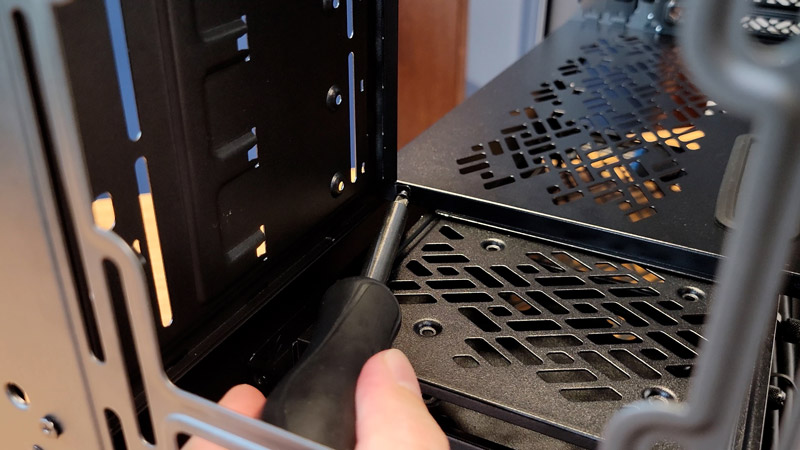
Lastly, the mini hard drive cage is held in place by four screws on the bottom. Normally you would remove the bottom air filter first, but we already did that. Loosen the screws and you can slide the cage forward or backward along its channels to position it exactly where you want, or remove it entirely by lifting it out from under the power supply shroud. I plan to run a few drives in RAID, so this server configuration suits me, and I will leave the small cage in place, at least for now.
You can remove the remaining top frame panel completely to help fit a large radiator, but one of the screws I needed to remove simply would not budge, and I ended up stripping it. Lesson learned: do not force it. I still plan on installing a 280mm radiator up top, so I will have to figure something out. It is the one moment in an otherwise very smooth teardown where the case fought back.
It does both. Sound-dampened panels keep it whisper quiet, while large side vents, filtered intakes, and support for up to nine 140mm fans or two 360mm radiators let you prioritize cooling when you want to.
Two out of the box in the included cage, and up to eighteen in the server configuration: fourteen 3.5-inch hard drives plus four 2.5-inch SSDs. You get six sleds in the box, so filling every bay means buying extra trays and brackets.
Yes. It includes three Dynamic X2 GP-14 140mm fans, two in front and one in the rear, rated for about 100,000 hours and under 19 decibels at 1000 RPM.
Yes. The front door hinges swap to the opposite side with just a Phillips screwdriver in about five minutes, and magnets are already built into both sides.
The open layout takes motherboards from Mini-ITX up to E-ATX and graphics cards up to 490mm long.
Even after almost completely disassembling this case, I am still genuinely excited to build in it, whenever I can finally get the rest of the parts. Between the silence, the space, the included fans, and how far you can reconfigure it, the Define 7 does everything I loved about my old R3 and more.
If you can hold out for a sale, it is absolutely worth getting any version of this case for yourself. Your ideal panel and color will differ from mine, but the bones underneath are the same, and they are excellent.