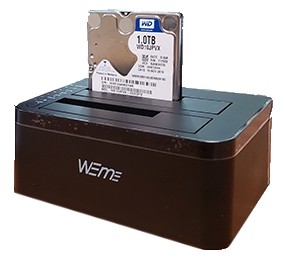

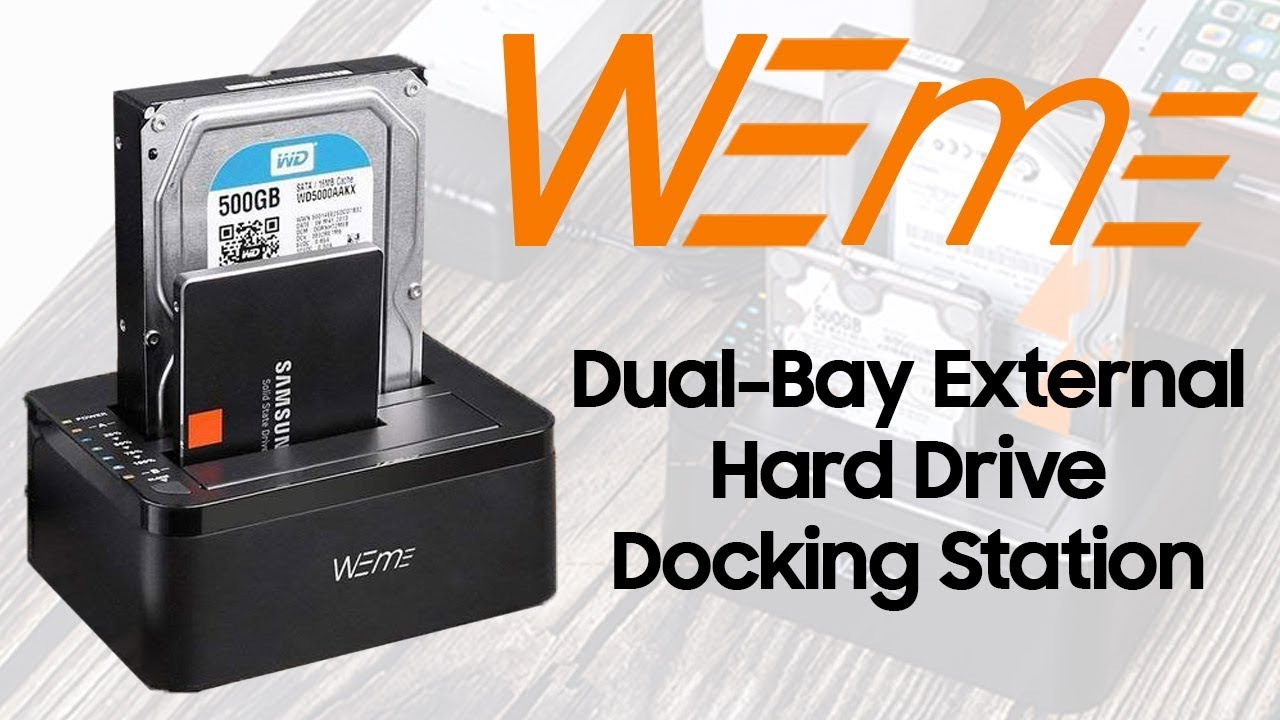
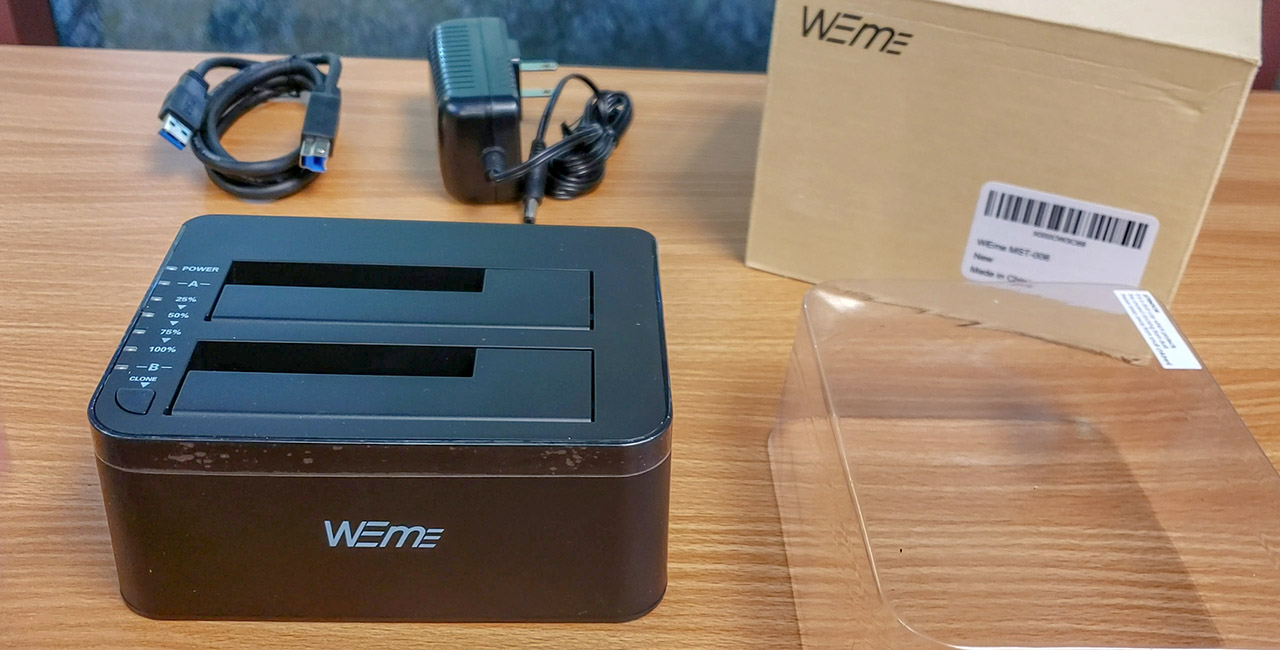
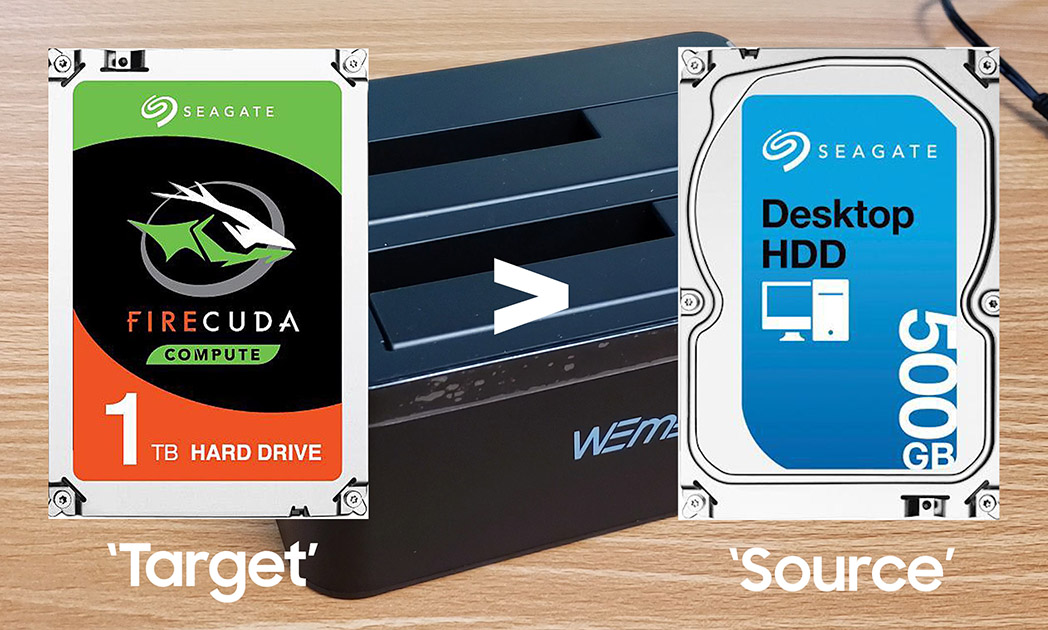


WEme USB 3.0 to SATA Dual-Bay External Hard Drive Docking Station with Offline Clone
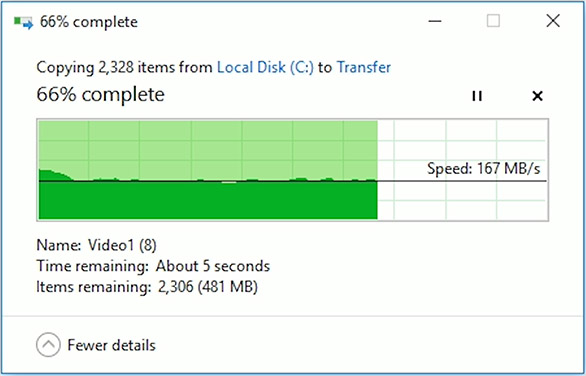
- Usb 3. 0 external, SATA-III internal, especially made for 2. 5 inch and 3. 5 inch SATA HDD/SSD, USB 3. 0 SuperSpeed & supports UASP, even faster data transfer