Getting into 3D printing on a budget, from a total beginner's chair. Episode one covers why I picked this printer, putting it together, leveling the bed, and that magical first print.
Editor's note (July 2026): This series is a look back at getting into 3D printing in 2017. The Monoprice Maker Select V2 has been discontinued for years, so treat it as history rather than a buying guide. If you want to start printing today, a modern beginner machine like the Creality Ender 3 V3 SE skips most of the fiddly manual setup below (it levels its own bed), for similar money. There is a link to it at the end.
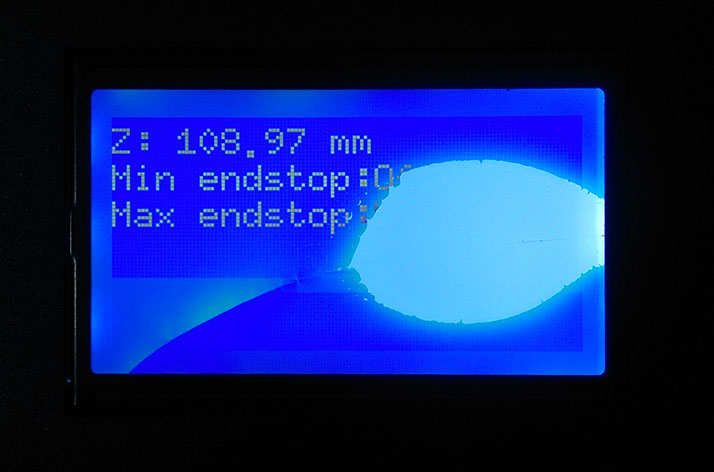
My first 3D printer was the Monoprice Maker Select V2, a Prusa i3 clone I picked for its big print area, open-software friendliness, and huge community. Mine arrived with a cracked screen, but Amazon swapped it fast. Assembly is a bolt-together job followed by the fussy part, hand-leveling the bed with a sheet of paper. Then the first print off the SD card, a little orange recliner, came out great.
Bolt it together, level the bed, print.A capable 3D printer for a few hundred dollars was a genuinely new thing at the time; not long before, these cost thousands. The Monoprice Maker Select V2 landed at around $329 back then, and a few things sold me on it:
The printer showed up well packed in foam, but the control screen had a crack that must have happened in shipping (cough, UPS). I started a return through Amazon and, to their credit, a replacement arrived within two business days, before I had even sent the damaged one back. Not a great first impression from the courier, but a painless fix.
Assembly is refreshingly simple, more bolt-together than kit-build. The main steps:
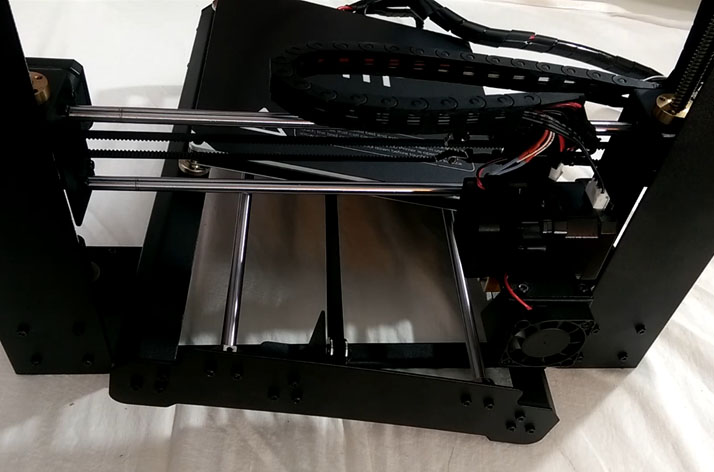
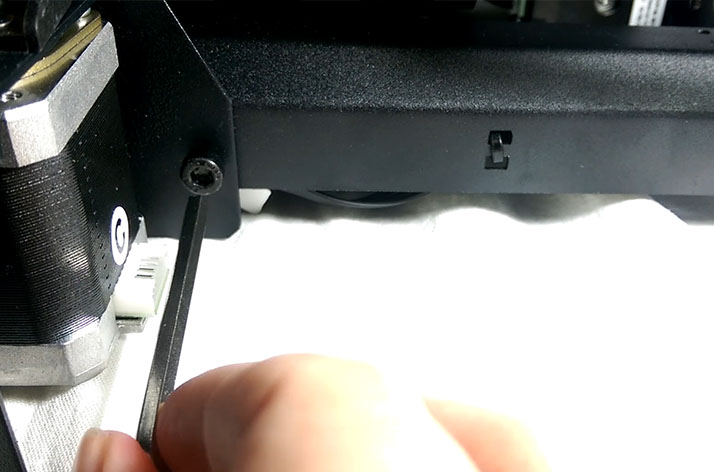
Here is the step that makes or breaks every print on a printer like this: leveling the bed by hand. You adjust the spring under each corner of the plate to raise or lower it until the gap between the nozzle and the bed is just right. The classic test is a sheet of paper: it should slide under the nozzle with a little drag, but not get pinned. It takes several passes around all the corners to get even.
With the bed level, I heated the extruder to about 200°C (400°F) and the bed to 60°C (140°F), standard temperatures for PLA, and picked a model off the included 4GB microSD card. I honestly was not sure which model I had selected, but I let it run.
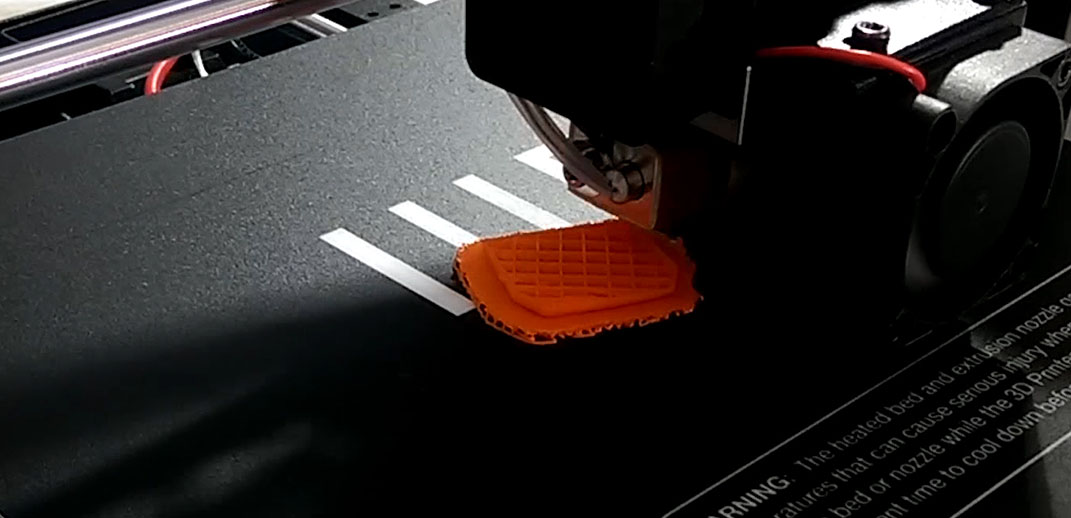
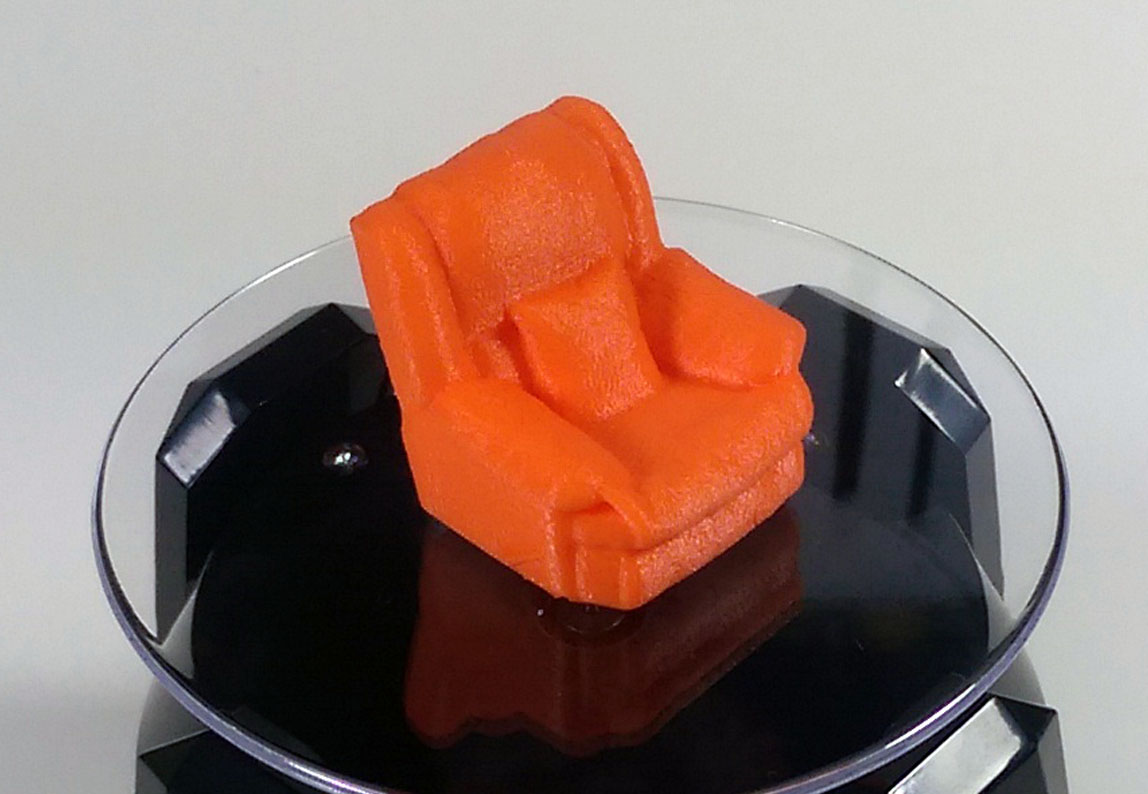
It turned out to be a little orange recliner, complete with a working-looking lever on the side, and the detail was genuinely impressive. The raw print was smooth and only needed its support scaffolding snapped off. Sitting there looking at it, my reaction was simple: man, this thing is cool. I could not wait to start printing my own designs.
No, it has been discontinued for years. It was a great value in 2017, but modern beginner printers do far more out of the box. If you are starting today, look at something like the Creality Ender 3 V3 SE, which levels its own bed and needs far less manual setup.
The Prusa i3, the most popular open-source printer design of its era. That is why it had such a large community for mods, upgrades, and troubleshooting, and why it was easy to find help as a beginner.
Adjust the spring under each corner of the bed to raise or lower it, then slide a sheet of paper between the nozzle and the bed. Aim for a light drag on the paper without it getting pinned, and repeat around all four corners until it is even.
Around 200 degrees Celsius at the nozzle and 60 degrees Celsius on the bed is a safe starting point for PLA, though the ideal varies a little by brand. Those were the settings for the first print here on the Maker Select V2.
A modern budget printer with automatic bed leveling makes starting out much easier than the hand-leveled machines of 2017. The Creality Ender 3 V3 SE is the one I would point a new printer to today; there is a link to my review below.
For a first go, assembly was painless and the results were better than I expected. The only real learning curve was the hand-leveling, which you get a feel for quickly. And that first print sold me completely on the hobby.
Next up, I stop printing other people's models and start making my own. Episode 2 covers designing a model and slicing it in Cura to get it print-ready.
Disclosure: This post contains affiliate links. As an Amazon Associate I earn from qualifying purchases, at no extra cost to you. CK Tech Check is 100% ad-free: no banner ads, no ad tracking. Affiliate links like these and my YouTube channel are what keep the site running.