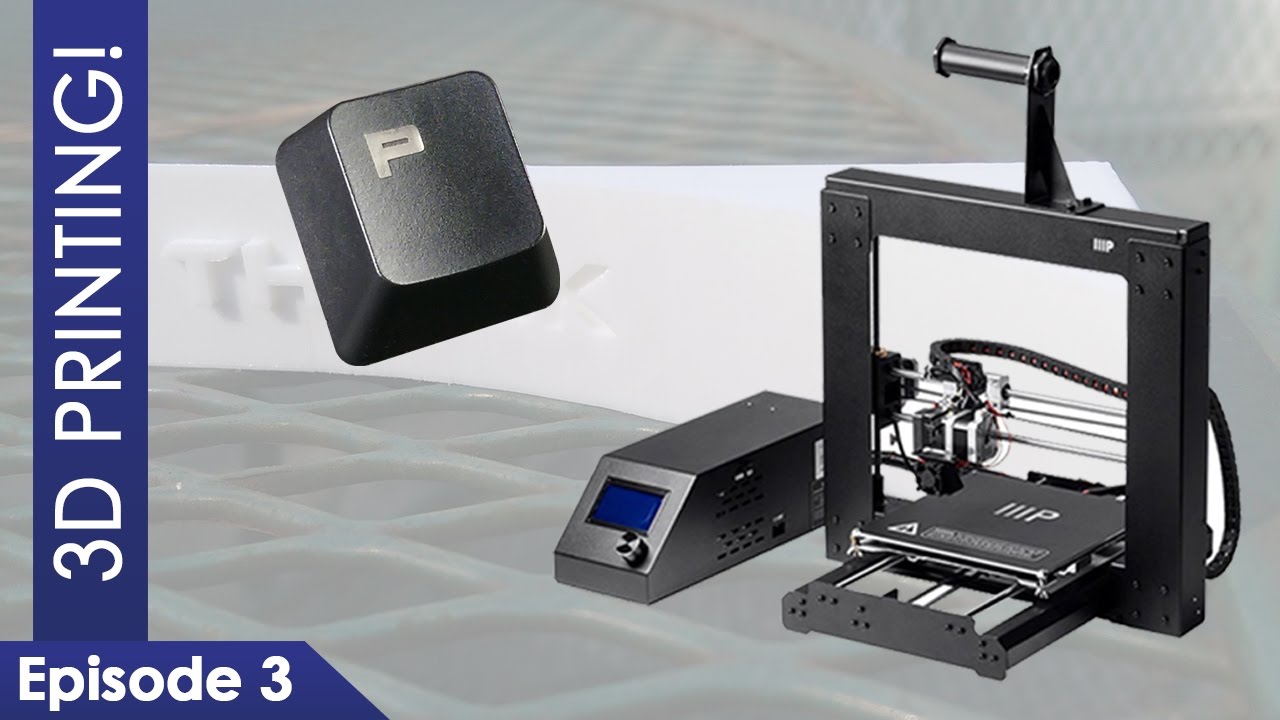
How small can this printer go? Episode three takes on a tiny, high-precision job: a custom Cherry MX keycap, plus my first real run-in with support structures.
Editor's note (July 2026): Another entry in my 2017 3D-printing journey on the now-discontinued Maker Select V2. The support-structure lessons here apply to any printer and slicer, though modern machines with better cooling and calibration handle fine detail like this more easily. If you are starting out today, see the current-printer link at the end.
I modeled a Cherry MX keycap to real spec (18mm base, a hollow letter on top) and printed it on the Maker Select V2. The tricky bits: the stem that clips onto the switch, where a millimeter is the difference between loose and no fit, and support structures, the temporary scaffolding Cura adds under overhangs so hot plastic does not sag. It printed, the supports peeled off with tweezers, and the keycap clipped on snugly with a nice backlight glow.
Tiny part, big lesson in supports.I wanted to push the printer's precision, and a keycap is a perfect torture test. This one was for my Cooler Master Devastator II, a Cherry MX style key, so the whole thing is only about 18 millimeters across, and the grooves in the mount that grip the switch are a mere 2 millimeters wide. After the units mishap in episode 2, I modeled everything in metric from the start this time.
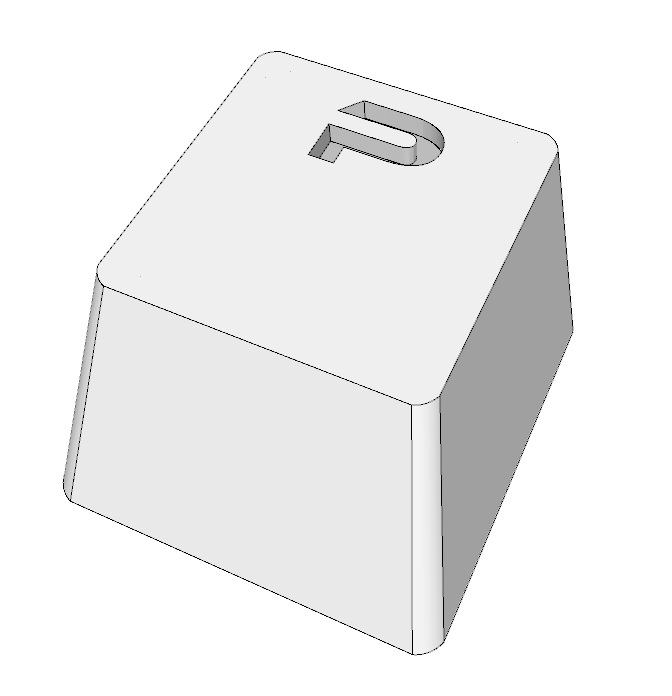
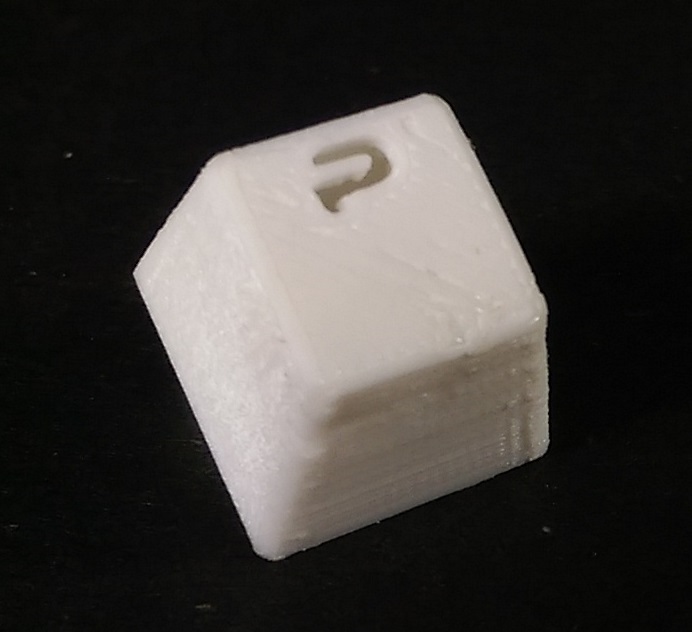
I matched the real Cherry MX dimensions as closely as I could: an 18 by 18mm base tapering to a 13.5 by 13.5mm top, about 11.5mm tall, with a letter cut into the surface. The outside was the easy part. The hard part was the underside, the stem that clips onto the switch.
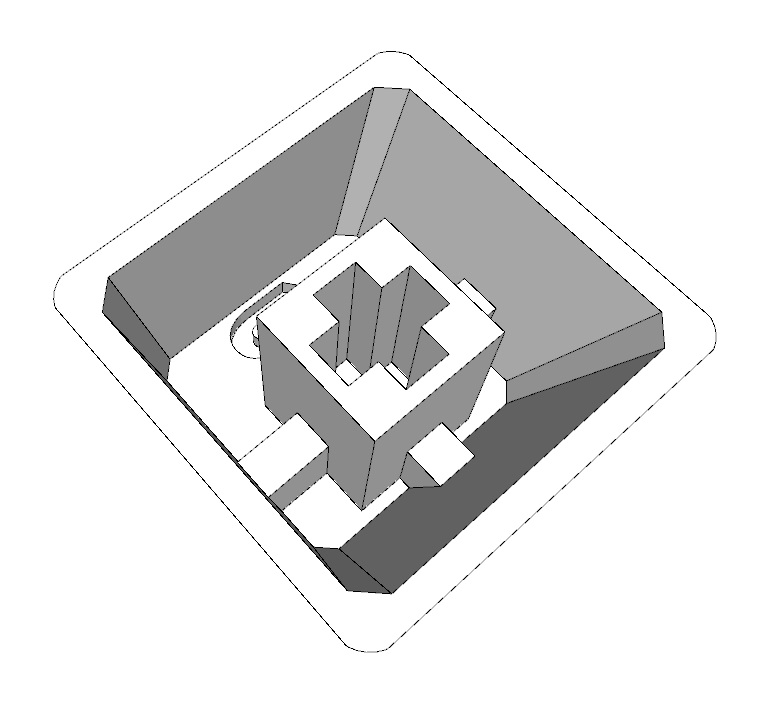
Those mount grooves are unforgiving: too wide and the cap wobbles, too narrow and it will not go on at all. Reproducing the round cross-shaped mount at this scale was basically impossible, so I opted for a square shape instead, which also gives it a bit more stability. The mount sits recessed a millimeter, with support around the top except directly under the letter. My first couple of attempts printing it upside-down came out poorly, and the whole thing used barely two feet four inches of filament.
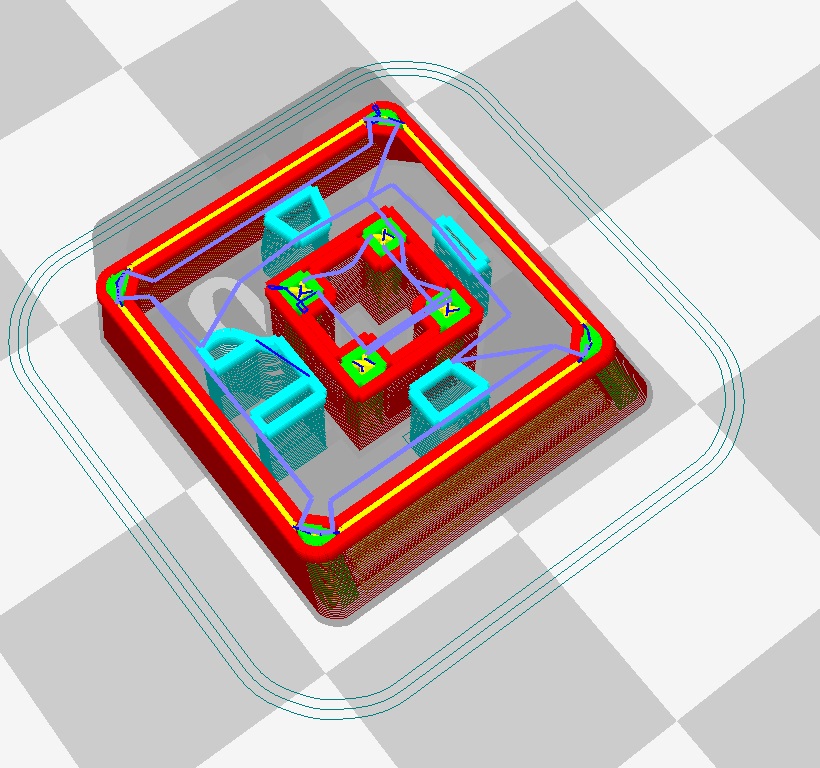
This was my first proper use of supports, and the idea is right there in the name: they hold up parts of the model that overhang the main body. Without them, the hot plastic printed into thin air would just droop and sag. Cura can generate them automatically, and in the layer view they show up in turquoise so you can see exactly where they will go.
The clever part is that supports are printed with reduced adhesion to the model, so they are meant to snap and peel away afterward rather than fuse on permanently. On a part this small, that theory gets tested hard.
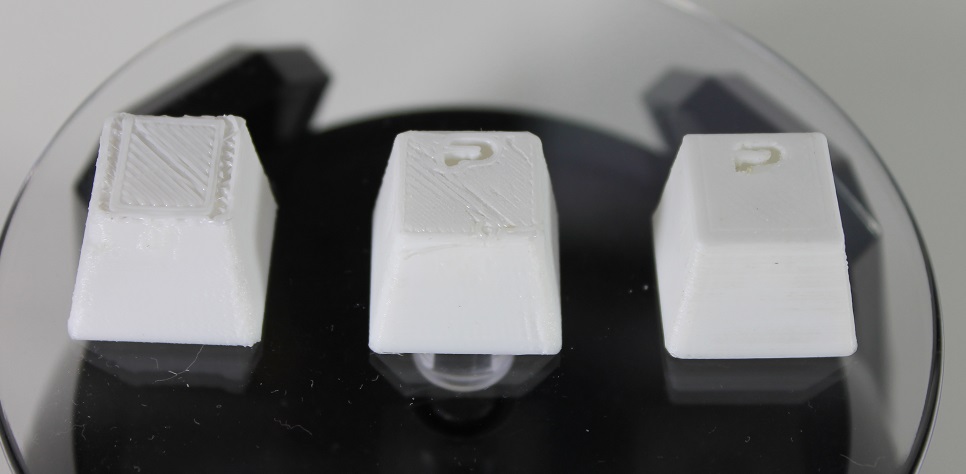
I cranked the quality settings for maximum detail and let it run. Getting the supports off took a very small screwdriver and a strong pair of tweezers, but they came away more or less in one piece. The hollow letter on top needed a little cleanup with an exacto knife and a file, and after that the result was genuinely satisfying for something so small.
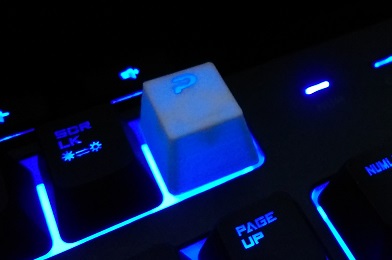
The moment of truth: it clipped on snugly. With the backlight off, the letter stays clearly readable. With the backlight on, how visible it is depends a bit on your angle, but the whole keycap picks up a soft glow, and in complete darkness you can even make out the internal structure lit up from within. For a first attempt at something this tiny, I was thrilled.
Yes, though they are a precision challenge. A Cherry MX keycap is only about 18mm across, and the stem that grips the switch has to be accurate to within a millimeter. Print at high quality and expect some cleanup, but a well-fitting cap is achievable.
Supports are temporary scaffolding the slicer adds under overhanging parts of a model. They hold up plastic that would otherwise droop into thin air, and they are printed to peel away after the print is done.
Peel or snap them off by hand, and for small or fiddly areas use a small screwdriver and tweezers. Leftover marks or a hollow detail can be cleaned up with a hobby knife and a small file.
The mount is almost certainly slightly off. Too wide and it wobbles, too narrow and it will not seat. At this scale a round cross-shaped stem is very hard to print, so a slightly larger square mount can fit more reliably.
They can. With a hollow letter, an unlit key stays readable and a lit key glows through the plastic. How crisp the letter looks under backlight depends on the wall thickness and your viewing angle.
Micro-scale printing is humbling and rewarding in equal measure. A keycap sounds trivial until you are fighting a two-millimeter groove and a support structure smaller than your fingernail, but getting it to click onto the board made all the fiddling worth it.
Next episode I go the other direction and take on a bigger, more practical project, with my first real printer mod along the way. Episode 4 is the first Benchy and the first mod.
Disclosure: This post contains affiliate links. As an Amazon Associate I earn from qualifying purchases, at no extra cost to you. CK Tech Check is 100% ad-free: no banner ads, no ad tracking. Affiliate links like these and my YouTube channel are what keep the site running.