

The logic for the Mod
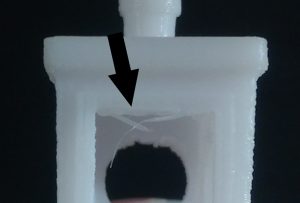 One reason I chose to go with this mod was that many of you peeps suggested it, so I’d like to say thank you all for that and two, the last benchy we printed had a few imperfections that I believe can be improved with better cooling. In particular, the top of the front window and the ceiling of the wheelhouse were a little messy as you can see here. This is due to the printer trying to bridge the gap and the filament not cooling fast enough to make it all the way across in one pass. So you are left with this drooping edge for several passes until it builds up enough cover the gap.
Mod Benefits
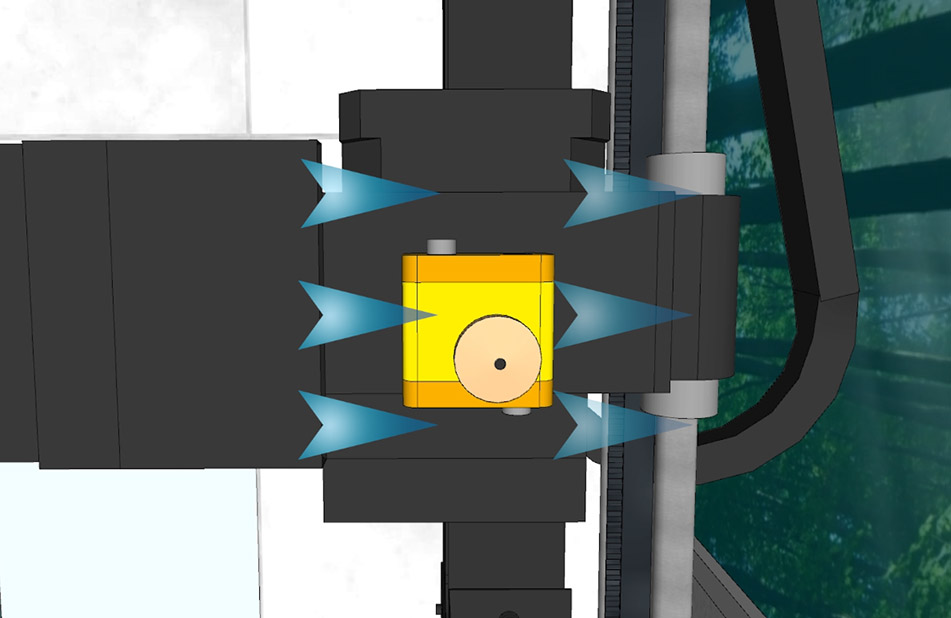
Here’s why that happened, the stock cooling setup is composed of a 40mm open intake style fan that blows it’s air into a shroud toward the nozzle from one direction. As you can see only a fraction of the air actually will get in contact with the nozzle.
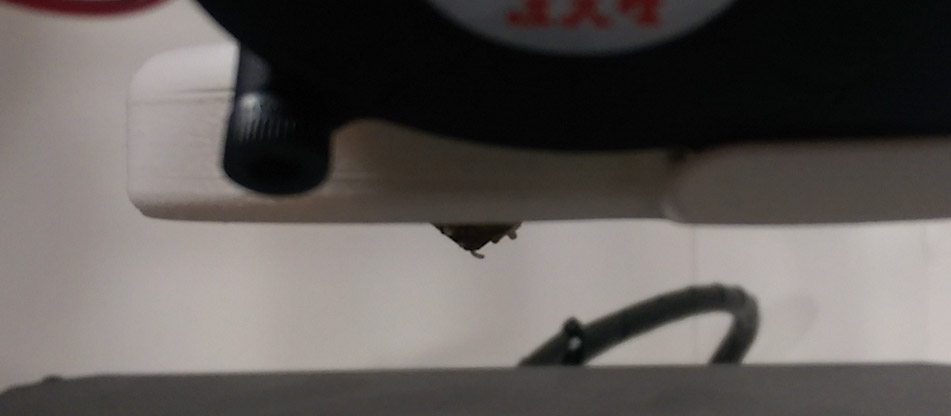
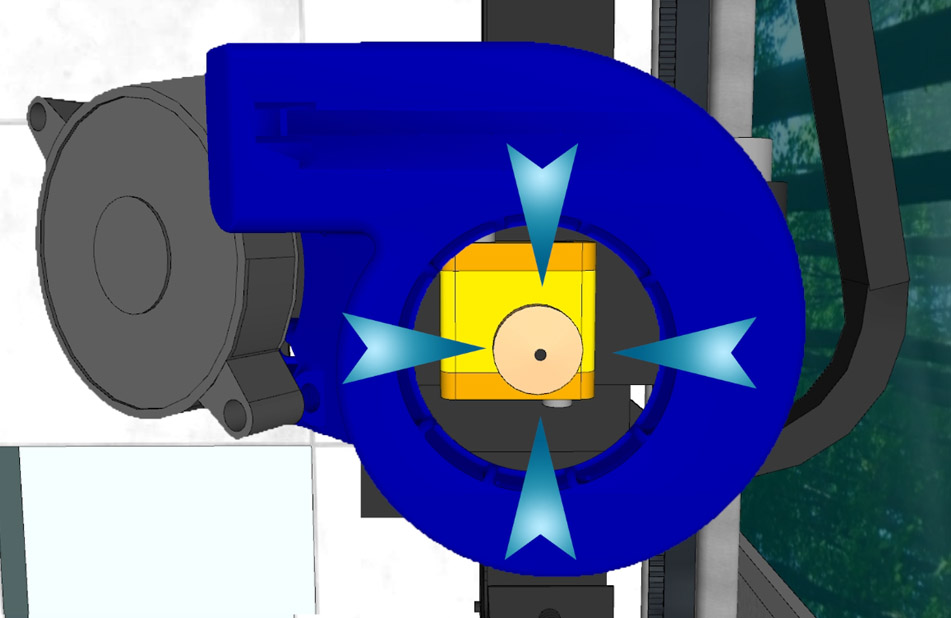
This new setup will replace the stock fan and shroud with a larger 50mm blower style fan that will push the air into a cleverly designed shroud that than focuses the air directly onto the nozzle from 360 degrees.
Having 360 degrees of cooling means that no matter which way the filament is flowing it will get a consistent amount of cooling air. This is especially important for PLA filament that needs to be cooled the second it gets extruded.
First Shroud and Installation
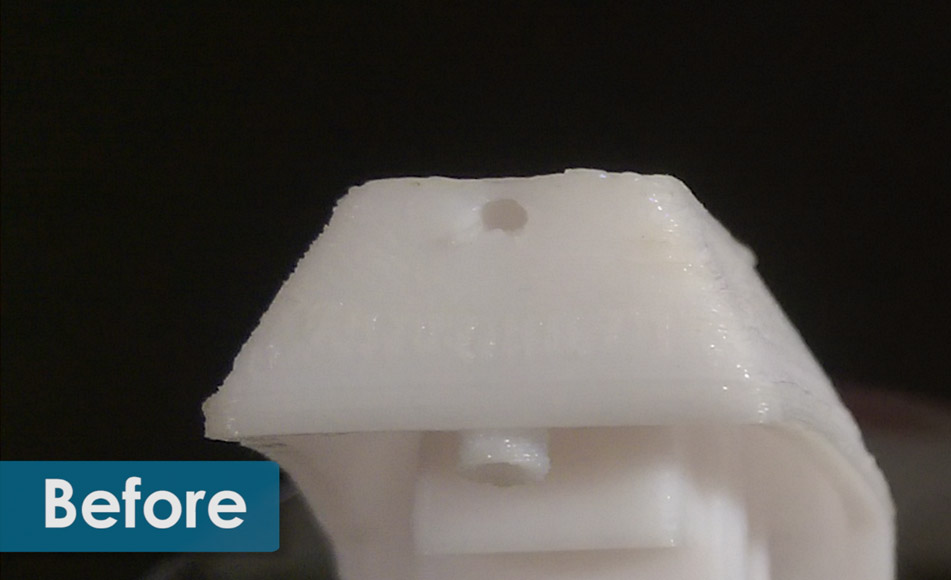
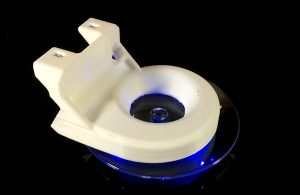 Here we have the first finished shroud. Obviously not perfect, a bit of stringing on the inside and across the screw hole mounts but still the model as a whole is complete. Now to mount it and start seeing just how good or not this preforms.
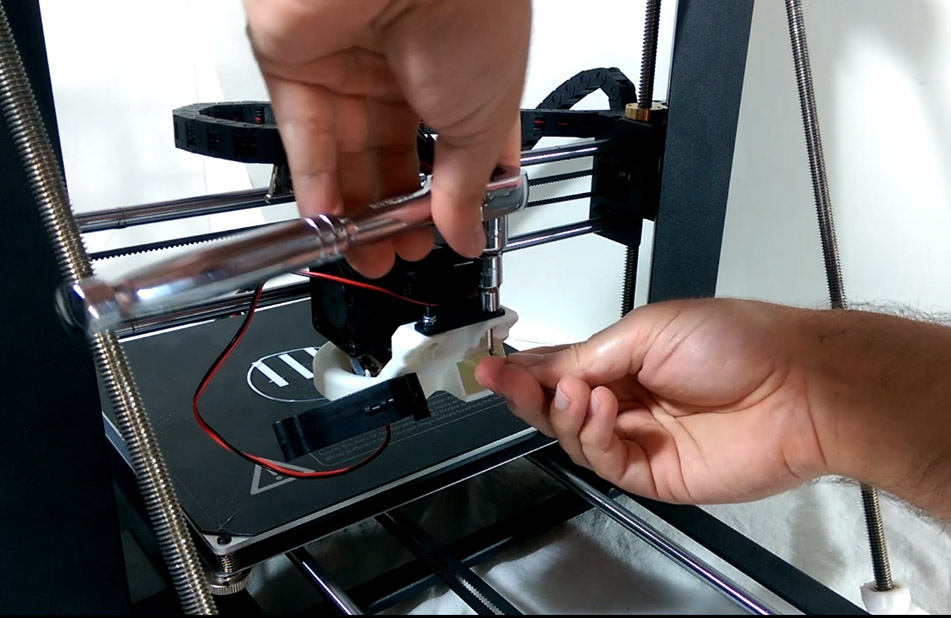
Installing this mod is straightforward, all though I did have to make a small modification to make it work for me.
1. Start by making sure the printer is off and unplugged
2. Disconnect the stock fan’s power cable and unwrap the wire
3. Remove the top mounting screws for the stock fan shroud
4. On the new shroud position the m4 locknut in its mounting point and go ahead and attach the blower fan. It’s easier to do this now as the locknut will be hard to access later. Swing the fan out of the way for now.
5. Here is where I ran into a little trouble trying to mount the shroud. The smaller locknuts would not stay in place enough to tighten down the bolts. I decided to hold the bolts it in place upside down with an Allen key and tighten the nut down from the top using my racket. It may not look as nice as the other way around but it works for me.
6. Next, swing the fan into position. There are grooves on the inside of the shroud that will hold the fan in place, friction will do it if nothing else.
7. Plugin the new power connector, red to red and black to black, then wrap the cable so it stays out of the way of the fan.
8. Plug in the printer, turn it on, go to the fan speed settings and make sure the fan starts up. If not you may have to flip the connector around.
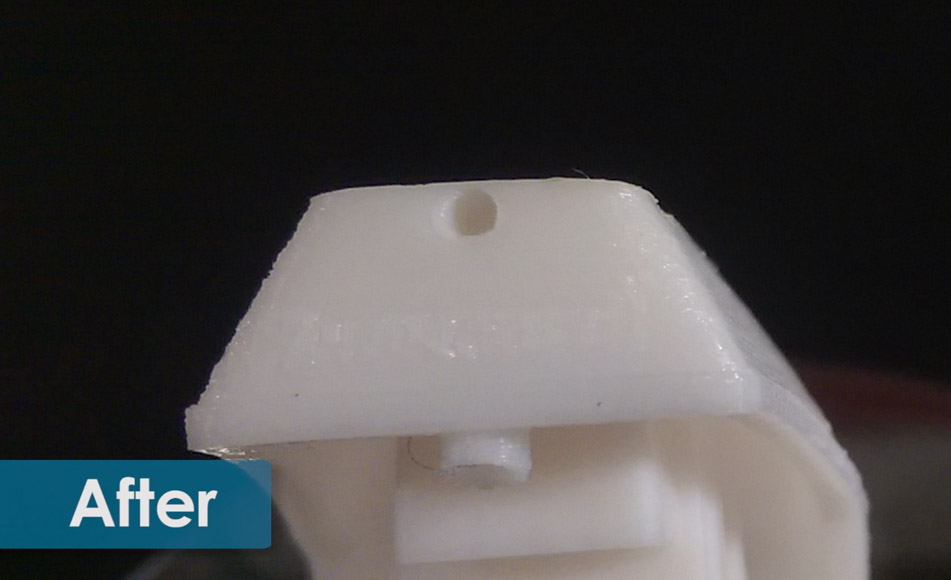
Now with everything up and running, I decided to print another shroud to see the impact of the new cooling solution. While there wasn’t a huge difference I did notice that the stringing that occurred on the roof of the first shroud wasn’t as bad on this print, so a definite improvement over the stock cooler already. I went ahead and installed the newer shroud to take advantage of the better quality.