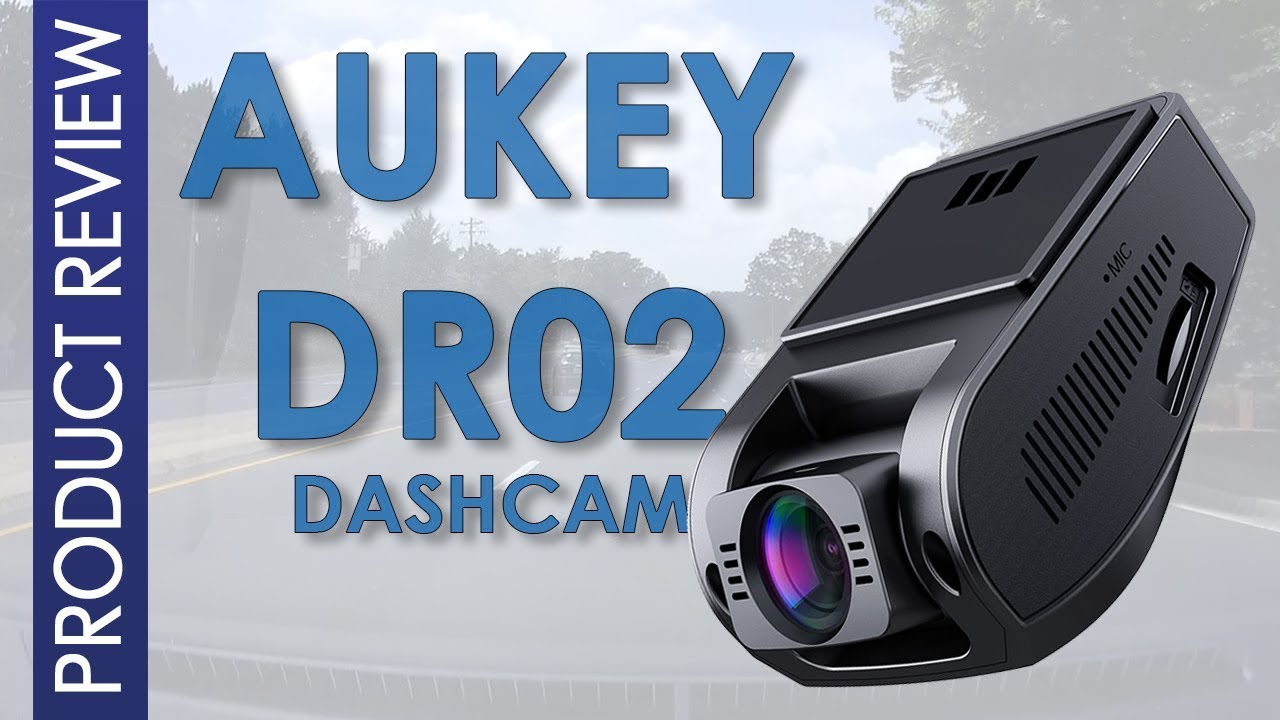
Aukey DR02 Dash Cam Review
A discrete, stealthy 1080p dash cam that ran circles around my old knock-off, plus a full step-by-step install in a Honda Fit.
The short version
The Aukey DR02 was a genuine step up from the cheap knock-off dash cams floating around: a discrete, low-profile 1080p cam with a Sony sensor, a rock-solid mount that never drifted, and day-and-night footage clear enough to read plates. It is not 4K, but it was everything most drivers need at a fair price. My rating: 4.5/5.
Verdict: a great-value stealth dash camUpdate: Aukey no longer makes dash cams. If you are shopping today, I have since reviewed the VIOFO A229 Plus, a modern dual 2K cam with HDR, 60FPS, and STARVIS 2 sensors, and it is where the buy links below point. This DR02 review stands as my honest experience with it.
What is the Aukey DR02?
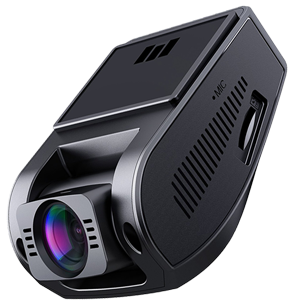
The Aukey DR02 is a 1080p dash cam that packs all the standard features into a sleek, low-profile design with an easy-to-use interface. With a 2.2 megapixel Sony sensor and a 170 degree wide-angle lens, its video quality was among the best you could get for the price when it launched. It is the kind of unobtrusive cam you forget is even there.
What I was replacing
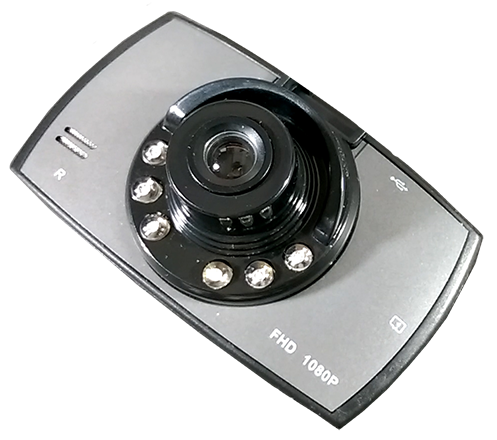
A couple of years earlier I had picked up what was basically a knock-off of the cheap CarCam Corder, so you can imagine how good it was. Night visibility was nonexistent, and it had a host of other problems: it claimed 1080p on the screen but actually recorded 720p, the 300 milliamp-hour battery stopped holding a charge after five months, the mount broke (more like melted), and the screen was ruined within a year. In its final months it developed a constant electric buzz from the moment it powered on. Its only redeeming qualities were that it was dirt cheap and, technically, still operational.
Needless to say it was time for an upgrade. With hundreds of options out there I narrowed the search with two rules: a sensible mid-range price, since sub-budget cams are firmly in "you get what you pay for" territory, and a discrete design that would not catch a passerby's eye. The Aukey DR02 ticked every standard box plus those two, and its low-profile "stealth" look set it apart from the "look at me" cams everywhere else.
Disclosure: I bought this dash cam myself. This post contains affiliate links, and as an Amazon Associate I earn from qualifying purchases, at no extra cost to you. CK Tech Check is 100% ad-free: no banner ads, no ad tracking. Affiliate links like these and my YouTube channel are what keep the site running.
The cam reviewed
Aukey DR02
The 1080p stealth cam in this review. Aukey has discontinued it, so the button points to my current pick, the VIOFO A229 Plus.
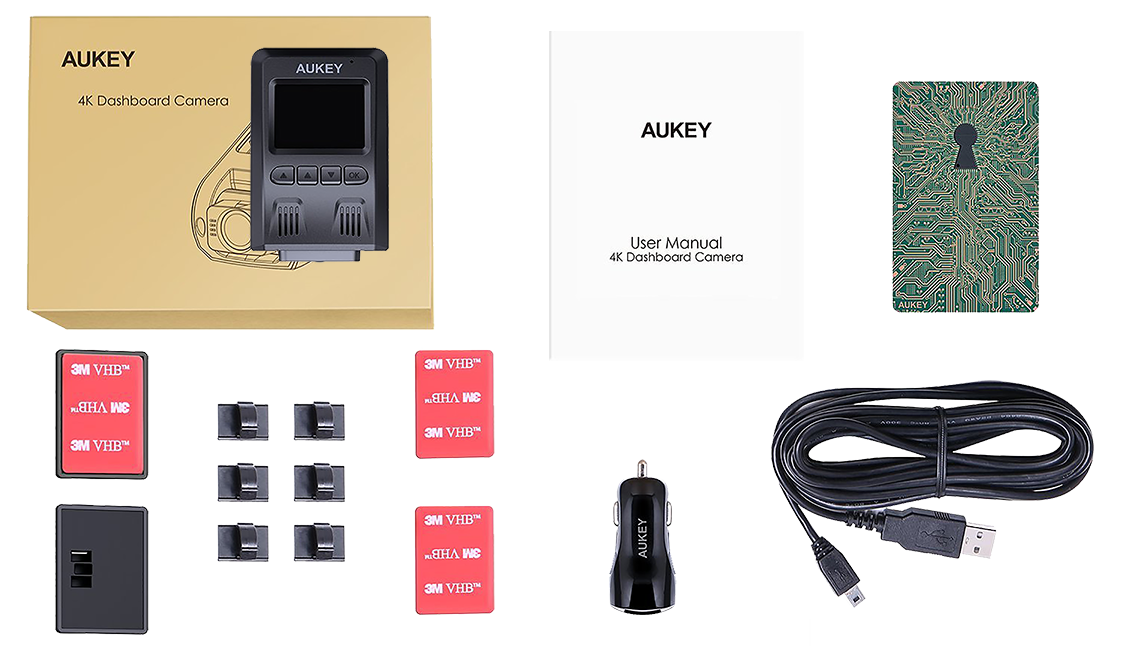
What comes with the DR02
The box is generously stocked. You get the cam, two windshield mounts (one with 3M adhesive already applied, one without), six cable-management hooks each with their own 3M pads, two spare adhesive pads, and a car charger with two USB ports. That charger puts out 3.1 amps, plenty for the cam and a phone at once, and even has little rubber grips to pull it out easily. There is a four meter power cable, a warranty card, and, refreshingly, an owner's manual you can actually read. It is the little touches, the second USB port, the rubber grips, that add up.
How to install the DR02 (about 40 minutes)
These are the typical steps for most consumer vehicles; some cars need small tweaks. I installed mine in a 2013 Honda Fit. You will want a microfiber towel and glass cleaner on hand.
- Clean and dry the mounting area on the windshield thoroughly.
- Attach the mount to the camera first. It is easier to align the whole unit than to place the mount alone.
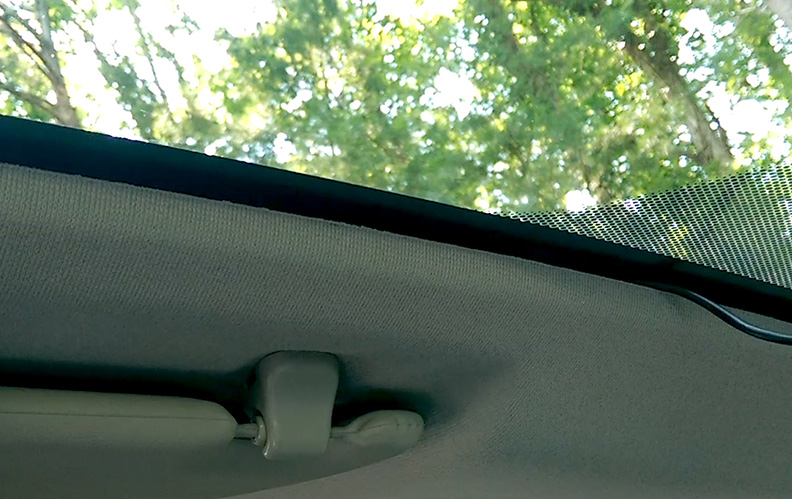
- Adhere it to the glass, kept level, directly below the rear-view mirror mount so it hides while you drive.
- Run the power cable from the cam up over the mirror arm, then tuck it over the edge of the headliner across the top of the windshield.
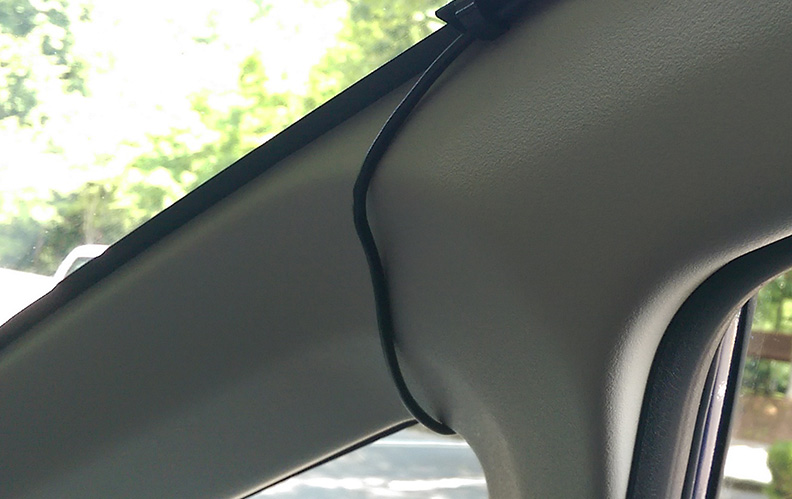
- Bring the cable down the A-pillar using the included cable loops: place the cable in the loop and press the tab until it snaps.
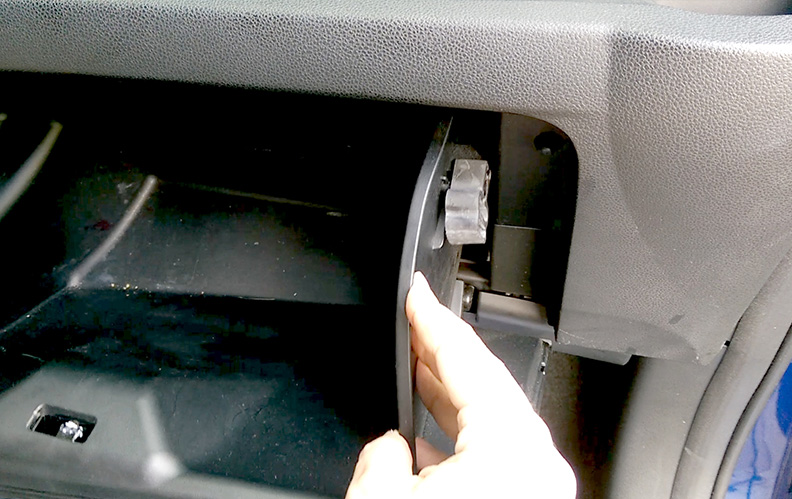
- Flip down the glove box. On most cars you push the side panels inward until the stoppers clear the frame, dropping the whole box down for access.
- Feed the cable behind the dash to the gap by the center console, then to the charger.
- Plug in and organize the slack, bundling and tucking the extra cable into the access space beside the glove box.
- Peel the film from the lens and screen, and you are done.

The cam pops off its mount easily for storage. I only bother when parking in direct sun: Aukey rates it to 167 degrees Fahrenheit, but a hot dash in summer still is not a place I want to leave it. Also, the standard gray 3M adhesive stands out a little from outside, so a black variant blends in better.
How good is the DR02 footage?
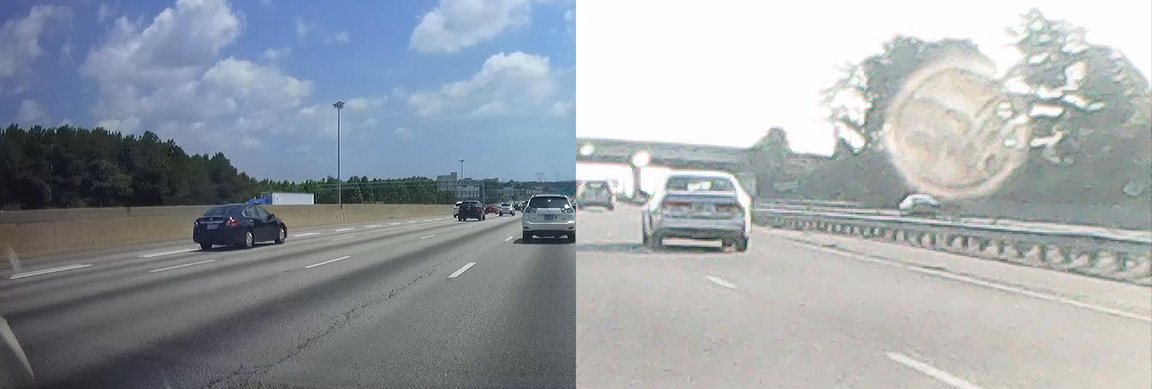
Compared to my old cam it is night and day. Side by side, the Aukey wins in every respect: reading a license plate was near impossible on the old cam and clear on the DR02. I drove it in a range of conditions to be fair to it. Into direct dawn sunlight it handled the overexposure well; I was more blinded than the camera was. On an overcast day it looked its best, plates readable from a good distance. In afternoon rain, same story. Near twilight it softened a little but still caught road signs, and on a moonless night, while not true night vision, my headlights and the odd street lamp were enough to see the road clearly.

For storage planning, five minutes of footage takes up roughly 500MB, so a 64GB card holds about 10 hours and a 128GB card, the maximum the DR02 supports, about 20. Whether a given card keeps up with that write rate is a separate question, and one I answer by measuring: see CKBench. I was also happy with the mount: unlike the ball-and-socket cams that drift over time from road vibration, this one never moved. If you want to plan card size for any cam, my dash cam storage calculator does the math for you.
Keep in mind
- 1080p, not 4K (fine for its era, dated now).
- The gray 3M adhesive is a little visible from outside.
- Discontinued: Aukey no longer makes dash cams.
What it nailed
- Discrete, low-profile stealth design.
- Clear 1080p Sony-sensor footage, day and night.
- Solid mount that never drifted from vibration.
- Generous kit: two mounts, cable hooks, dual-USB charger.
- Sharp, legible menus and quality buttons.
Frequently Asked Questions
Is the Aukey DR02 still worth buying?
Aukey has discontinued its dash cams, so you cannot reliably buy the DR02 new anymore. It was excellent value in its day; for a current pick I recommend the VIOFO A229 Plus instead.
What memory card size does the DR02 support?
Up to 128GB. Five minutes of footage is about 500MB, so a 64GB card holds roughly 10 hours and a 128GB card about 20 hours before it loops.
How long does it take to install the DR02?
About 40 minutes for a clean, hidden install in a typical car, running the cable over the headliner and down the A-pillar to behind the glove box.
Is the DR02 good at night?
It is not true night vision, but with headlights and street lighting the 1080p Sony sensor gives a clear view of the road ahead and can catch road signs.
Was the DR02 a good dash cam?
Overall the Aukey performed very well. It was not 4K, but it was everything you need in a perfectly sized, discrete package at a reasonable price, and I happily recommended it as an upgrade or a first dash cam.
A year on it kept proving itself, which I covered in my DR02 one-year follow-up. Since Aukey left the dash cam market, the VIOFO A229 Plus is the modern cam I would point you to today.