Intro
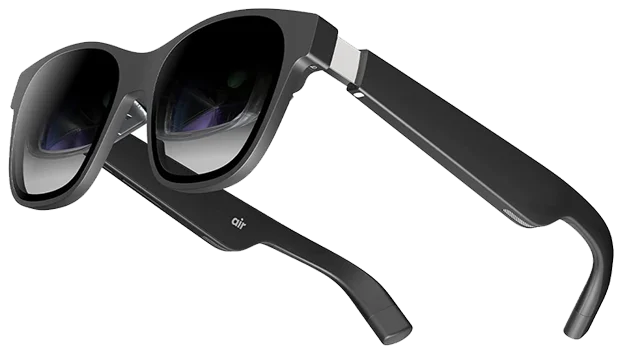
The Xreal (formerly Nreal) Air AR glasses have revolutionized the way we experience augmented reality. However, connecting these glasses to a desktop computer can be a bit challenging, especially if your computer lacks a USB-C video output, we ran into this problem an took a good bit of time and money to figure it out. In this blog post, we will provide you with a step-by-step guide on how to connect your Xreal Air AR glasses to your desktop computer using a special cable that combines a display port connection with a powered USB-A to USB-C adapter cable.
Full Guide
Watch the overview video or keep reading the full article below
Table of Contents
Step 1: Check Your Computer’s Connectivity:
Before diving into the setup process, ensure that your desktop computer does not have a USB-C video output. Most traditional desktop computers lack this feature, so it’s crucial to determine your computer’s available ports beforehand.
Step 2: Identify the Required Cable:
To connect your Xreal Air AR glasses to your desktop computer, you will need a special cable that combines a display port connection with a powered USB-A to USB-C adapter. This cable will allow you to transmit video signals from your computer’s display port to the glasses while also providing the necessary power through USB to power the glasses since they do not have an onboard battery.
Step 3: Purchase the Special Cable:
To make the connection possible, you’ll need to acquire the special cable described above. You can conveniently purchase it Amazon, and to support us, use our affiliate link to buy on Amazon. By doing so, you’ll not only get the cable you need but also help us continue providing helpful content like this in the future.
Step 4: Connect the Cable:
Once you have received the special cable, it’s time to connect your Xreal Air AR glasses to your desktop computer. Follow these steps:
Step 1
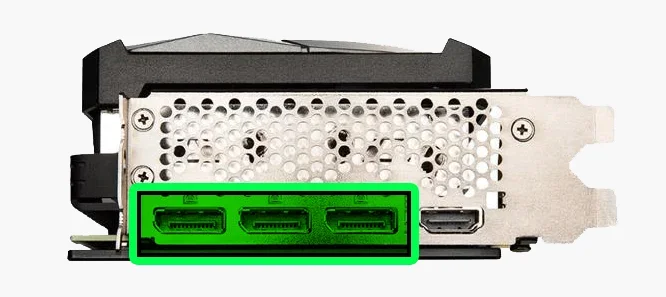
Identify the display port on your computer, typically on the back of the GPU, and plug in the matching end of the display port cable. Display post highlighted on the GPU below. This example is a Nvidia RTX 3080 but most modern GPUs should look similiar.

Step 2
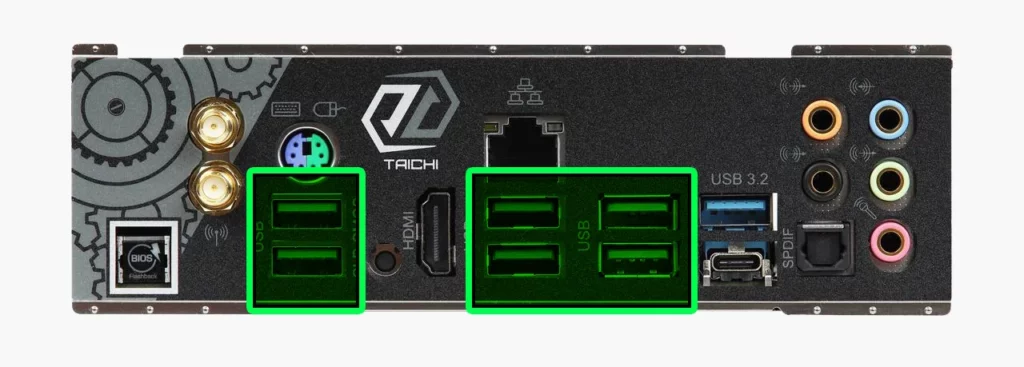
Connect the USB-A end of the cable to a powered USB port on your computer, an open USB port on the back of your motherboard will work best. This will ensure the glasses receive the required power supply.

Step 3
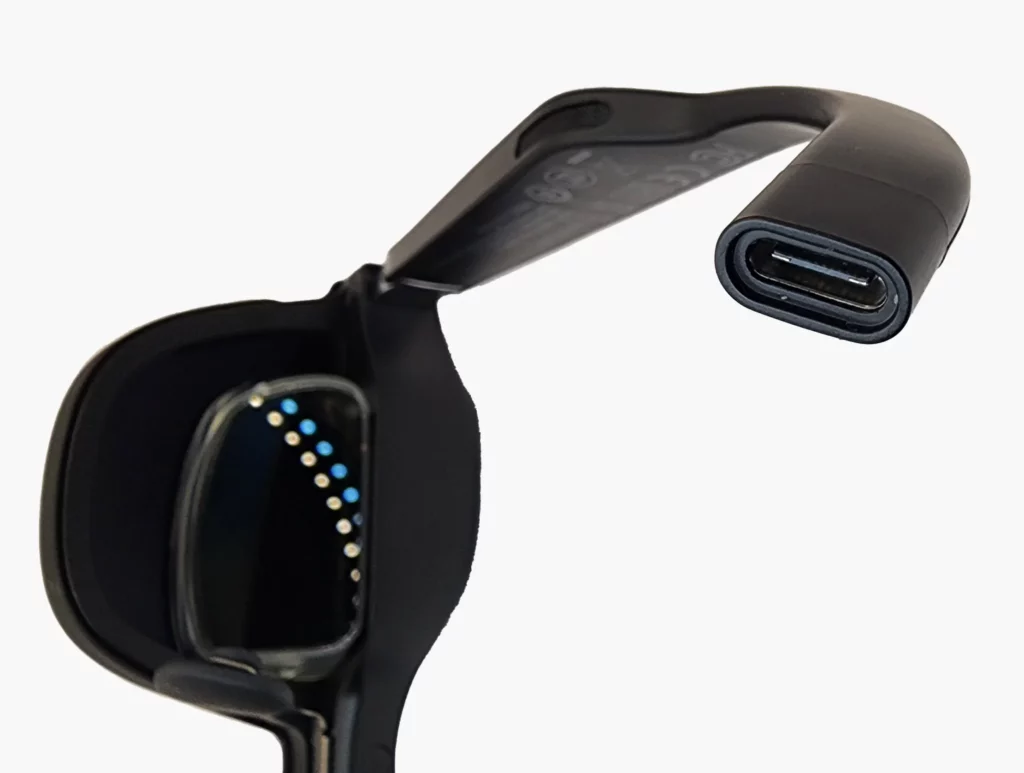
Finally, connect the USB-C end of the cable to the Xreal Air AR glasses. Ensure a secure connection is established.

Step 5: Adjust Display Settings:
After connecting the cable, you may need to adjust your computer’s display settings to ensure proper functionality. This process may vary depending on your operating system, but typically you can access the display settings through the Control Panel or System Preferences. Make sure the display output is set to the connected display port and adjust any resolution or scaling settings as desired. This should be automatically set but confirm the revolution is 1920 by 1080 and is operating at 60 frame per second.
To move the active window or application to the Xreal AIr screen use the short cut combination of Windows key and Shift along with the left or right arrow key to move the active application to another screen.
SHIFT
Conclusion
Connecting the Xreal Air AR glasses to a desktop computer without a USB-C video output may initially seem challenging, but with the right cable, it’s entirely possible. By following our step-by-step guide, you can seamlessly connect your Xreal Air AR and Air 2 Pro glasses to your desktop computer and unlock a whole new world of augmented reality experiences. We’ve also written a 3 month follow-up on our experience owning the XReal Air AR glasses.
Don’t forget to use our affiliate link when purchasing the special cable to support us and ensure we continue providing valuable content. Happy exploring!
- Immersive Visuals, Zero Latency: Experience unparalleled clarity with XREAL Air 2 Pro, powered by SONY Micro-OLED panels. Enjoy industry-leading visuals with a 46° Field of View and a 120Hz refresh rate, delivering an astonishing visual experience right out of the box.
- 【Displayport to usb Cable】 Convert the computer's DisplayPort signal to a USB C signal and transmit it to the display of the USB C signal input. The product must directly connect to the signal source and the display, and you cannot pass any transiter
Get it for – Price not available


