


Swapping Front Door Hinge Position
I practiced removing the panel a couple of times and found there are a couple of ways to swap the door but I feel like this is the least frustrating way to go about it.
Total Time Needed: 5 minutes
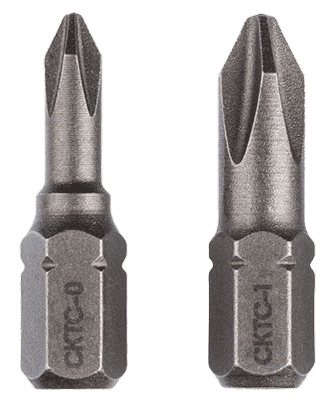
Required Tools
- Phillips screw driver
- (Optional) Different sized bits
Follow these steps
Step 1 : Remove frame mount covers
The first thing I did was remove the hinge mount covers from the frame of the front panel and set them aside, these screws are pretty small so they’ll need a finer bit.

Step 2 : Remove door from hinges
I found that it’s easier to remove the door from the hinges first, so let’s go ahead and do that now. These screws are of the larger variety.

Step 3 : Remove hinge covers from front panel
With the door removed unscrew these covers and move them to the other side. If you look at these at the right angle they look like little robot faces.

Step 4 : Reposition the hinges
With the door ready let’s move the hinges. Again I found it easier to unscrew the hinges and keep the screw in place because if the screw falls out it’s a pain to get it back in. So simply unscrew them and move them directly into their new location. There’s a little nub on the mount so you can’t put them in the wrong way without breaking something.
At this point I put those little covers back on the frame, on the opposite side of course.
At this point I put those little covers back on the frame, on the opposite side of course.

Step 5: Reattach door
With the hinges secured you can basically hang the door in place while you screw it back in. The screw mounts are on a small standoff making it a little tricky to line up, so you’ll need some patience. That’s it, now the door opens to the left. There are already magnets built in on both sides so no need to worry about that.

Reconfigure Interior for Server Configuration
Next up, rearranging the interior for server configuration is a little more involved but it’s just a matter of following these steps. As we step through this process we’ll be almost completely disassembling this case. Which on it’s own is a good practice to see how to do things like moving the front fans or mounting a tank for a custom water loop and more.
Total Time Needed: 20 minutes
Required Tools
- Phillips screw driver
- (Optional) Different sized bits
Follow these steps
Step 1 : Remove top panel and air filter
We’ll start by popping off the top panel just like we did in part one of the review. It just snaps right off. The very first time you do this it may take a little more force. Next remove the top air filter by sliding it toward the back of the case until it unlocks and then pull it up.

Step 2 : Remove front panel
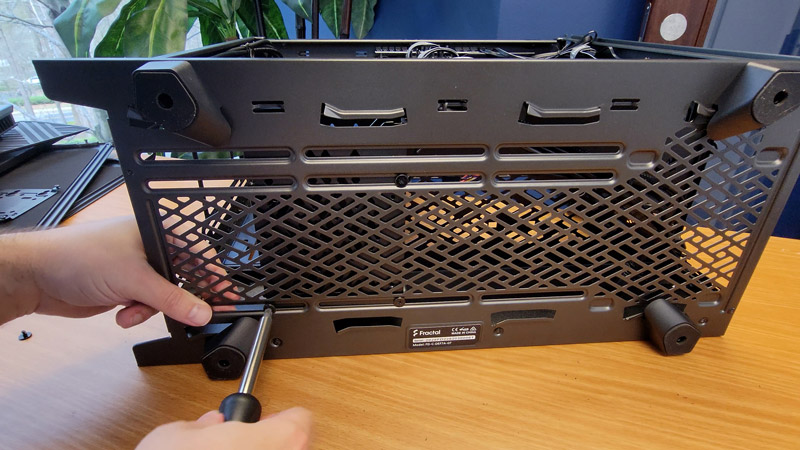
Next we’ll pop off the front panel but first pull out the bottom air filter. Then starting from the top pull off the entire front panel which includes the door, the frame, and front air filter. Again this will take a little more force then I feel comfortable doing but it will pop off. It kind of scared me the first I did it.

Step 3 : Remove front fans
With the front panel off we’ll have to remove the included fans. Remove the four screws from each then feed the cables through the gap from the rear compartment and put the fans aside. With the fans out of the way we can remove these two panels on top of the power supply shroud.

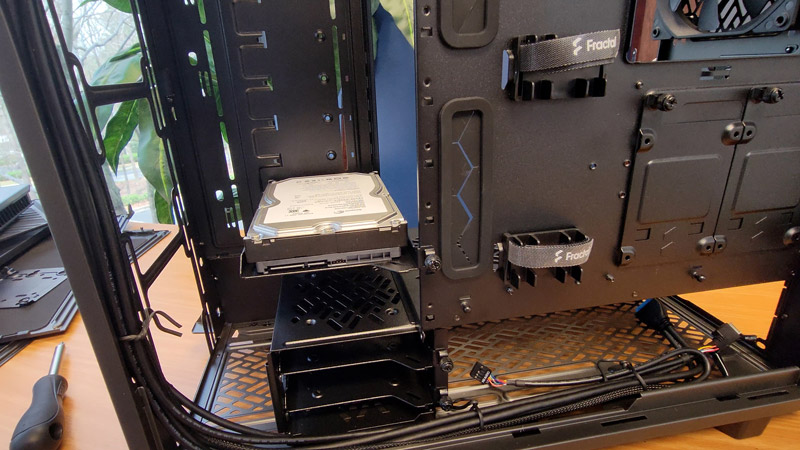
Step 4 : Unfasten drive panel
Now we’ll unscrew the interior panel that will form the back of the full height hard drive cage. There are five screws in total, three on the front panel, one on top, and one on a small tab. After you remove the screws the panel will still stay in place until you pop it free. There are little dimples on the edge that allow the panel to stay positioned until you secure it. Just another smart engineering feature.

Step 5: Reposition drive panel
Let’s see how to maneuver the panel into place on the other side. Just like in it’s original position once you get it in at the right angle it will snap into place. Here’s another angle to see how I finesse the panel into position. The trick is to move around these braces at the top on both sides. Now screw in the panel from the front first, then the top, lastly the tab from earlier. Trying to get this screw back in is pretty tricky because of the angle. If you come at it from the open in the front panel it should be easier, but it still takes some patience to get it just right.

Step 5: Secure drive panel in place
With the panel in place you can install the hard drive sleds. These sleds are designed with two prongs on the back end. One prong is hooked to slide in place horizontally while the other just sits in a cut out. After you slide it in place use the thumbscrew on the front to tighten it down and you’re done. Remember the case comes with 6 sleds, two installed in the mini hard drive cage below and four more in the accessories box.


Fractal Design Define 7 Black Brushed Aluminum/Steel E-ATX Silent Modular Dark Tempered Glass Window...
- Solid construction with industrial high-density sound damping helps maintain whisper silent operation.