Intro
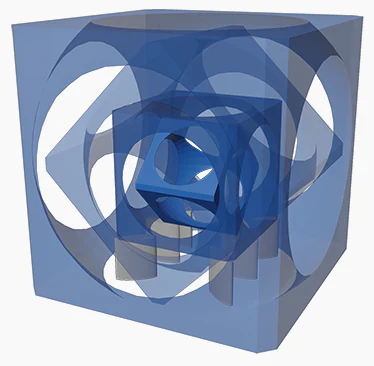
After publishing the Cubeception video I was asked by a few peeps how I was able to have some transparent objects while using the viewport to edit the model in Blender. That was something I grappled with when making that video.
Full Review
Watch the overview video or keep reading the full article below
Table of Contents
Stepping Through the Issue
While making the Cubeception video I ran into an annoying problem. I had a complex model with several layers and I wanted to show the lower layers while working on them in the viewport without the outer layers getting in the way.
I didn’t want to just hide the outer layers because that would make it hard to keep your bearings with the rest of the model. I thought making the layers transparent would be the best way to do this but at the time the only option I thought I had was the viewport X-ray feature.
The X-ray feature is great for being able to select geometry on the far side of an object without having to move your view around. Unfortunately, X-ray applies to everything in your scene making it hard to use with a complex scene. You can adjust the opacity with Viewport settings but since it applies to the whole scene it doesn’t really help.
That simply will not cut it. Luckily I found a simple solution that I feel should definitely be elevated as one of the better quality of life features in Blender.
How Its Done
With your viewport in Solid Mode and the material you want to make transparent selected, go to Material Properties, scroll down the options past Preview, Surface, all of the BSDF Principled values, down to the section labelled Viewport Display. Here’s where the magic is. Select the color picker and no matter which color code system you use, all three have the Alpha option. Adjusting this value will change the opacity of the material, 0 for completely transparent and 1 for completely opaque and boom! No need to mess with the Shader Editor nodes or lighting and if you use the Viewport Render Image option located under View you can render an image with transparent faces again without messing with nodes or lighting. This won’t be your final product but it works great in a pinch to knock out some basic renders.
Some Caveats
As you may have guessed there are a few caveats. The color and opacity settings in Viewport Display are only visible while using Solid Mode, if you go to material preview or render preview you will need to apply some actual materials.
Before anyone mentions it I know that using Cycles you can have transparency in the viewport in render preview but I’m just not a fan of editing a model in render preview, especially while using the Cycles render engine and the transparency options with Eevee in the viewport are a nightmare and the results leave much to be desired.
I’m pretty sure the Viewport Display option was originally created to color code and help organize the assets of your scene. Because of this you are limited to simple colors, so don’t expect any fancy PBR textures while rendering the viewport in Solid Mode. That being said you can still mess with the Viewport Shading options up here and change stuff like the global lighting values, maybe even import your own MatCap to simulate an environment of your choosing. You have a lot of options you can mess with.
How To Use This Feature
In the Cubeseption video, I created three different materials with the same color but with different alpha values. Again this helps you keep your bearings while working on a model without having to hide components that are in the way.
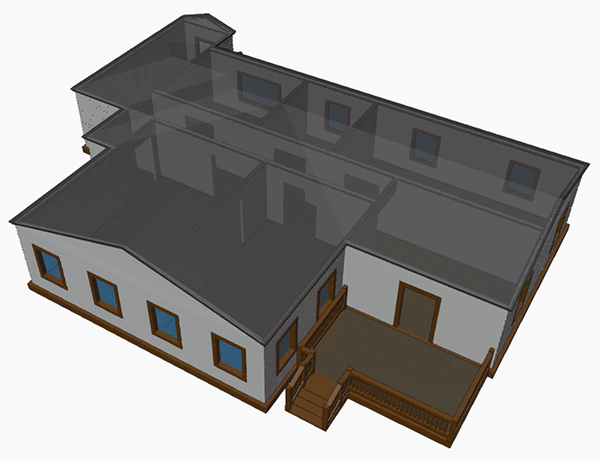
I’m from a civil engineering background and I feel this would be great for ArcVis (architecture visualization). For instance, if you have a model where you want to make a wall or roof transparent to see the interior space or simply mimic windows you can do that with this option. I can think of a ton of scenarios where this would be immensely helpful.

Conclusion
Just remember this is only for the Solid viewport mode. You will need to get into the real material system to get anything more than simple colors. I do go over the very basics of setting up PBR textures and materials using the node system in my series about learning Blender.
I really love this feature and I hope you find it as useful as I do


