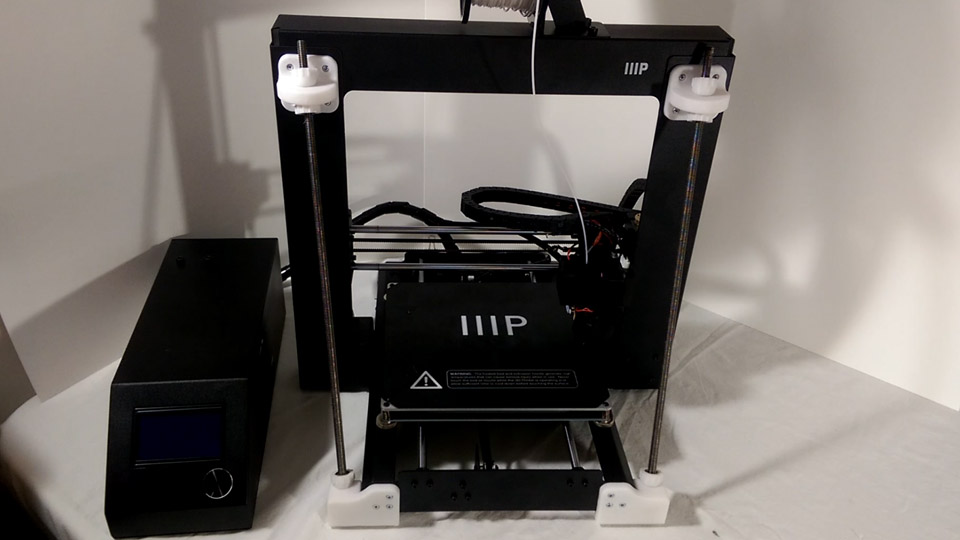
The honest long-term verdict. After two years, dozens of prints, a stack of mods, and a couple of genuine failures, here is what living with this budget printer actually taught me.

Editor's note (July 2026): This was my two-years-in verdict, written in 2019. The update from today: I still have the Maker Select V2 after all these years, but I have since moved to the Creality Ender 3 V3 SE as my go-to, mainly for its automatic bed leveling. The V2 is discontinued now, so read this as the story of what a budget printer of its era was like to live with, and see the current-printer link at the end.
Two years in, my verdict was: yes, worth it, for the right person. The Maker Select V2 was a fantastic way to learn 3D printing, and it delivered real value for around $300. But modding was part of the deal, not optional, and even fully upgraded it was never going to hit show-piece or commercial quality. Great for learning and personal projects, not for a production line.
A superb learning printer, mods included.The early days were pure awe and enjoyment. Even assembling it was a thrill, though my very first problem showed up on arrival: a control screen cracked in shipping despite careful packaging. Once that was sorted, the first print, a little pre-loaded demo armchair, came out great and hooked me completely.
For designing my own models I reached for SketchUp, which I had used for over a decade. That worked until early 2018, when the free version went web-only and dropped the extension I needed to export STL files for printing. Which led to the single biggest change of the whole journey.
Losing STL export from free SketchUp pushed me to Blender, and it turned out to be a change for the better. Blender is a completely different animal, the kind of tool used on feature films, and it exports STL straight out of the box with no add-ons. The learning curve is steeper, but it is completely free with no Pro version or limits, and I still pair it with Cura for slicing. If you are choosing a modeling tool now, that is where I would start.
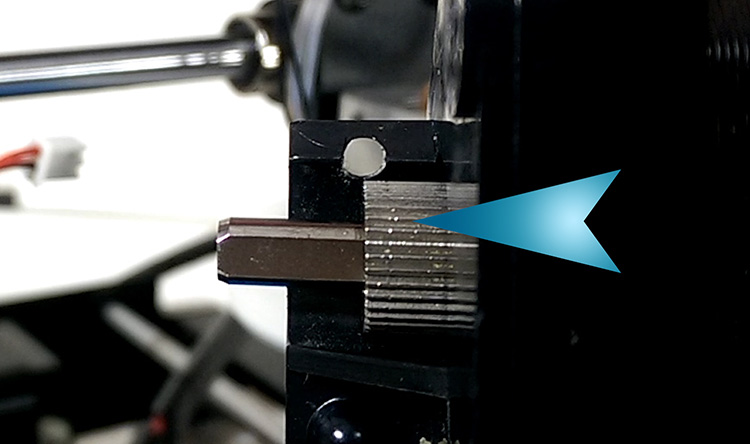
I went in expecting to mod this printer, and that is fair for a machine at this price: the raw quality only goes so far, which is part of why it is so cheap. The good news is that a few cheap upgrades made a real difference, most of them under $10 in parts.
It was not all smooth. Two real defects and one minor annoyance are worth being upfront about:
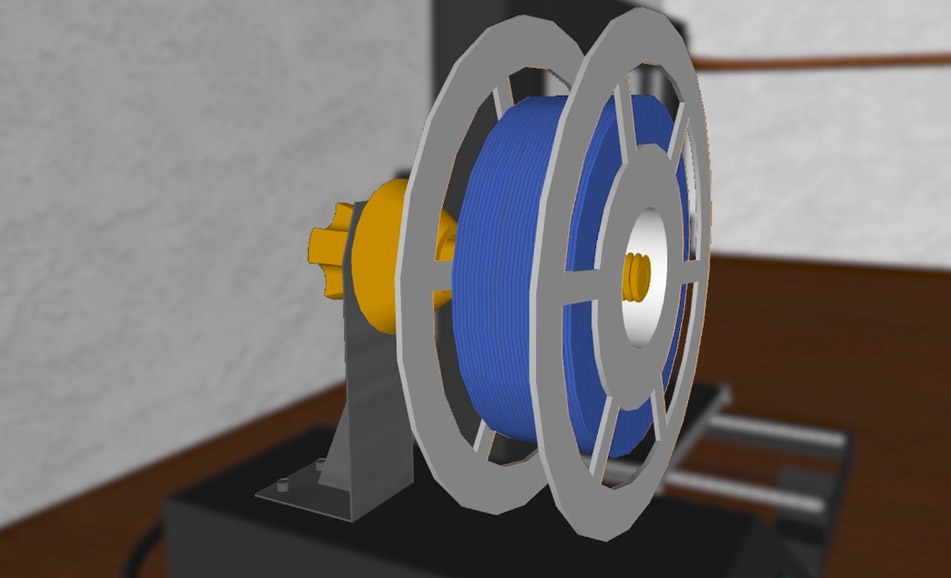
Because the brace mod showed how much the frame moves during printing, and a brand-new 1kg spool is a lot of weight to have swaying up top. Relocating the spool to the control box keeps that mass off the moving frame.
They run a little optimistic, usually about 7 percent short. A print Cura estimates at 1 hour 40 minutes tends to take closer to 2 hours. The feed and speed settings look right, so I am not fully sure why, but plan for a bit longer than it says.
A little less than the advertised 200 by 200mm. The print head cannot quite reach every edge, so the real usable area is slightly smaller than the spec, which is worth knowing when you plan a large print.
Plenty. A 3DBenchy uses about 5.43 meters of filament, and a standard 1kg spool holds roughly 400 meters, so that is around 73 Benchies from a single spool, the equivalent of about six straight days of printing.
For learning, yes, with caveats. It was a great, affordable way to learn 3D printing, but modding was part of the fun rather than optional, and even upgraded it was never show-level or commercial quality. For production work, buy a more robust printer and expect to pay more.
For what I wanted, learning the craft and making things for myself, the Maker Select V2 was absolutely worth it. It taught me how a 3D printer actually works, mods and repairs and all, in a way a fully automatic machine never would have. The value at around $300 was hard to argue with, as long as you went in knowing the modding and the occasional fix were part of the package.
What has changed since is the rest of the market catching up. The lessons here still stand, but a beginner today does not have to hand-level a bed or brace a wobbly frame. That is exactly why, when people ask what to buy now, I point them at the printer in the note above rather than hunting down a discontinued one.
The story did not end here, though. A while later I came back to this printer with a completely different approach in episode 9, a new printing workflow that changed how I use it.
Disclosure: This post contains affiliate links. As an Amazon Associate I earn from qualifying purchases, at no extra cost to you. CK Tech Check is 100% ad-free: no banner ads, no ad tracking. Affiliate links like these and my YouTube channel are what keep the site running.