
How to Replace the Battery in Your CyberPower CP1500 UPS
Randomly beeping, dropping the moment the power flickers, or flashing an E02 error? Your batteries are almost certainly done. Here is the full swap, start to finish, in about 15 minutes.
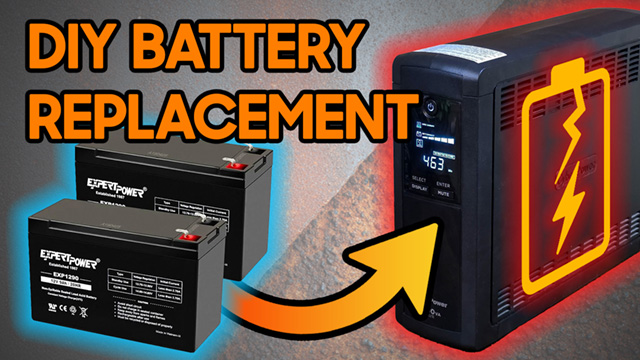
Plays via YouTube. Google may set cookies when the player loads. Privacy policy
The short version
The CP1500 runs on two 12-volt 9-amp sealed lead-acid batteries wired in series, and swapping them is about a 15-minute job with a single Phillips screwdriver. You get two solid choices: the official CyberPower cartridge, or a cheaper aftermarket pair. Both work fine. A multimeter is optional but handy for confirming the old batteries are dead and the new ones are good to go.
Verdict: a 15-minute fix, not a new UPSSigns your CP1500 battery is dying
If your UPS randomly beeps, will not hold a charge, or cuts out the instant the power drops, the batteries are usually the culprit. This walkthrough is done on a first-generation CyberPower CP1500AVR, but the process maps closely to almost any small UPS, even if the screws, cables, or battery layout are a little different.
If you do not own a UPS yet, it is worth understanding why one with AVR like the CP1500 is the piece that actually protects your gear. I cover that in depth in my CyberPower CP1500 long-term review.
So how do you know your battery is on its last legs? The common signs are:
- The LCD screen shows a battery icon that never fills all the way up.
- It does not run nearly as long as it used to during a blackout.
- It cuts out the moment there is a power outage.
- It throws an error like E02, which is exactly what I saw on mine right before it shut off the instant the power cut out.
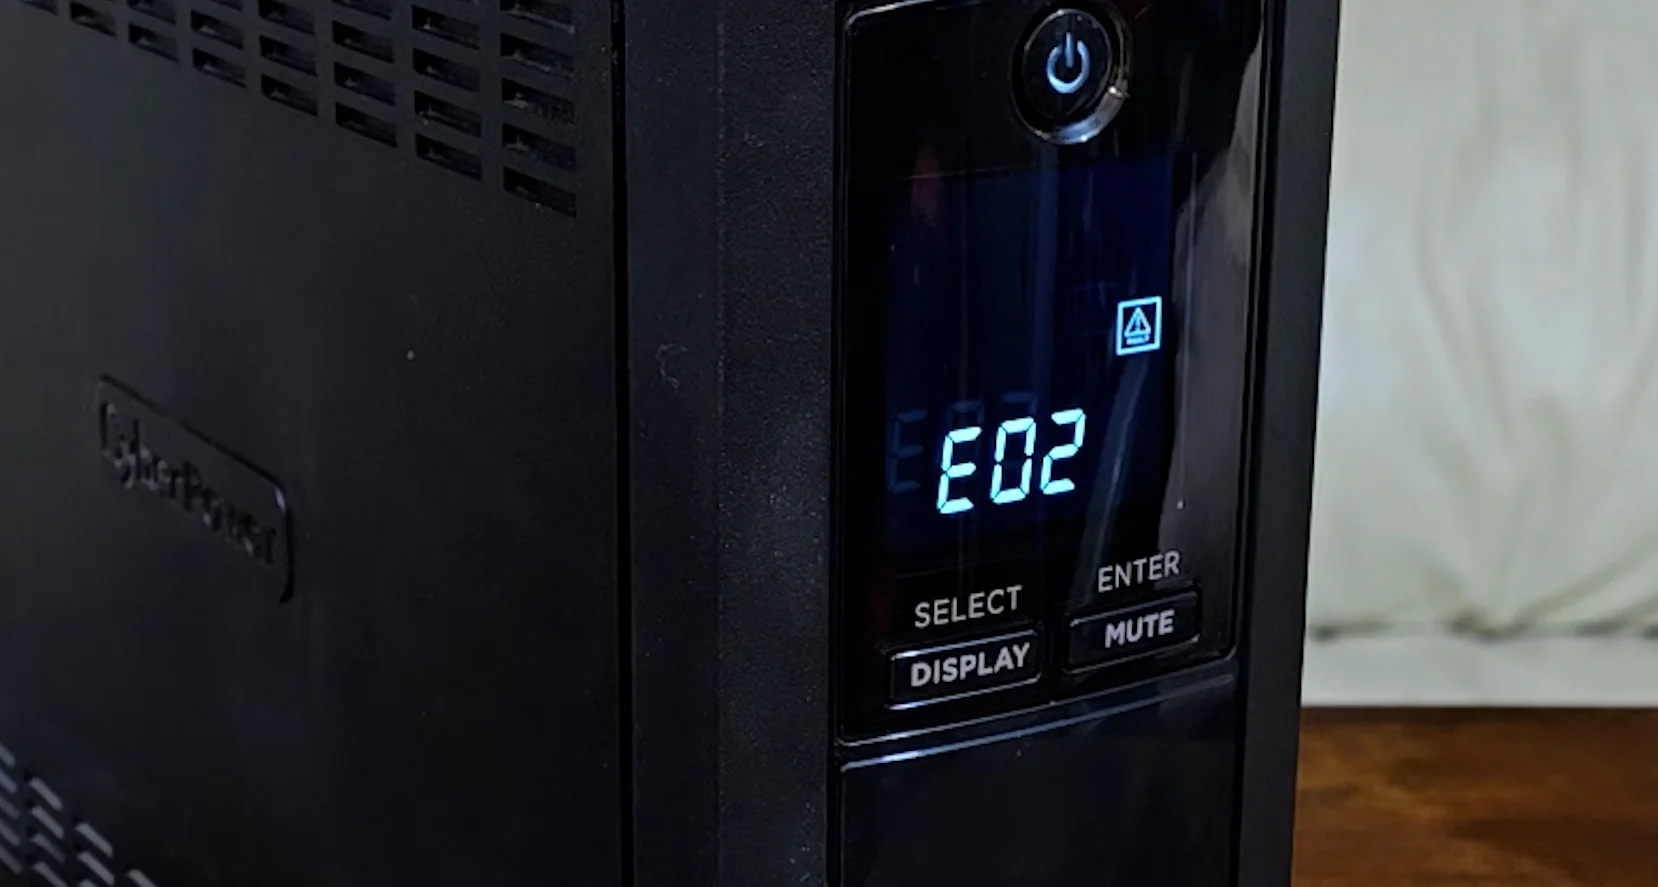
On CyberPower units the E02 code means either a battery failure or a charging circuit issue. In most cases, and especially after a few years of use, it is the batteries.
Battery selection: official vs aftermarket
You have a couple of options when it comes to replacing the batteries in your CyberPower CP1500 or a similar UPS. Whichever way you go, they arrive as two separate 12-volt 9-amp sealed lead-acid batteries that you connect together in series using the existing wiring and jumper cable inside the unit.
Disclosure: This post contains affiliate links. As an Amazon Associate I earn from qualifying purchases, at no extra cost to you. It never changes the price you pay.
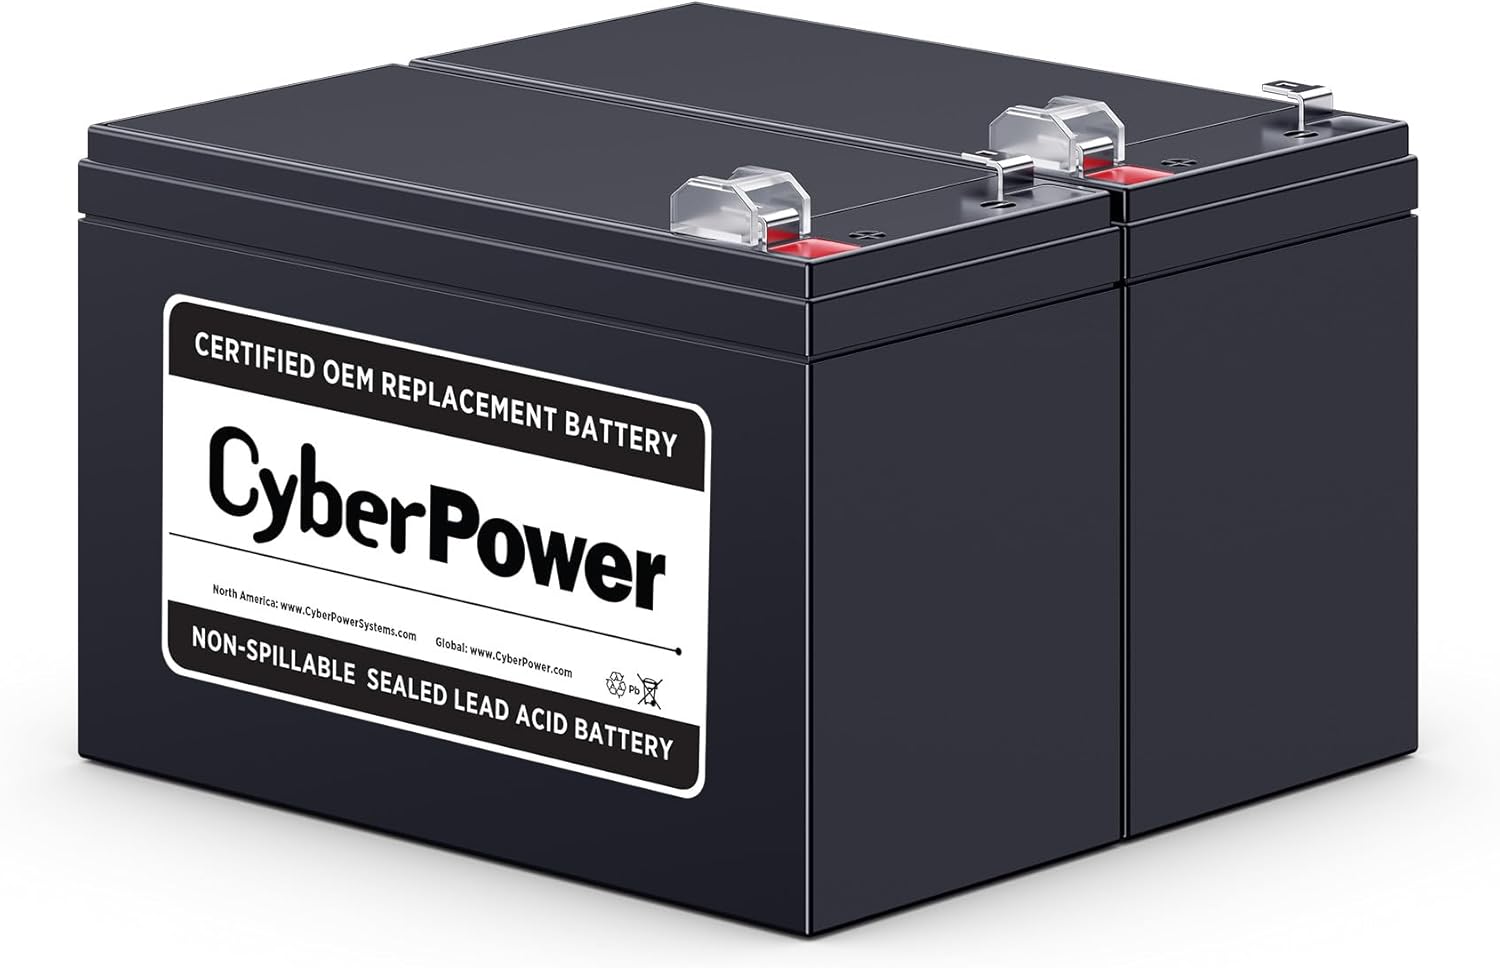 Option 1 · Official
CyberPower RB1290X2
The official cartridge from CyberPower. Pricier, but guaranteed 100% compatible. Do not be surprised if the cells themselves do not say CyberPower on the side.
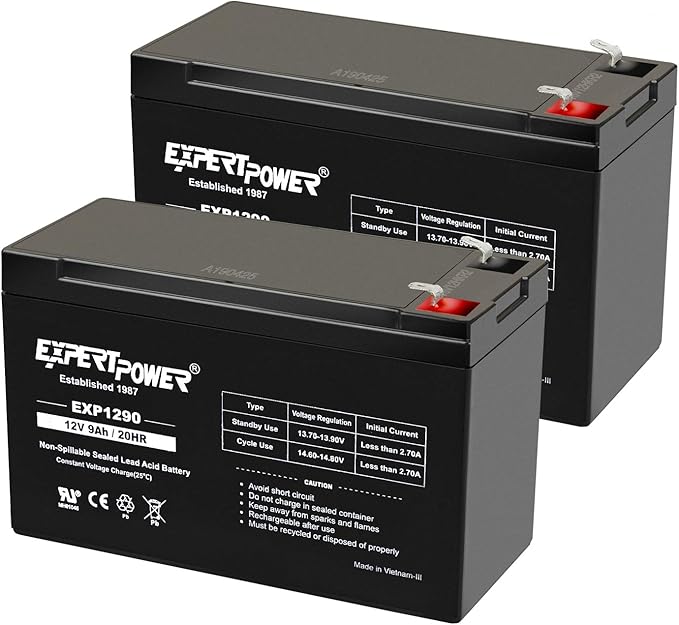 Option 2 · Aftermarket
ExpertPower EXP1290 (2-Pack)
The cheaper aftermarket route. This is the exact pair I have personally used, tested, and run inside a couple of my own units. Same 12V 9Ah spec, lower price.
Honestly, all of these 12-volt 9-amp lead-acid batteries are basically the same. As long as you buy from a reputable manufacturer, you are good. Even the packs CyberPower ships are not all identical: the two replacement pairs they sent me were Leoch cells made in China, while the pair originally inside my CP1500 was Ritar, made in Vietnam.
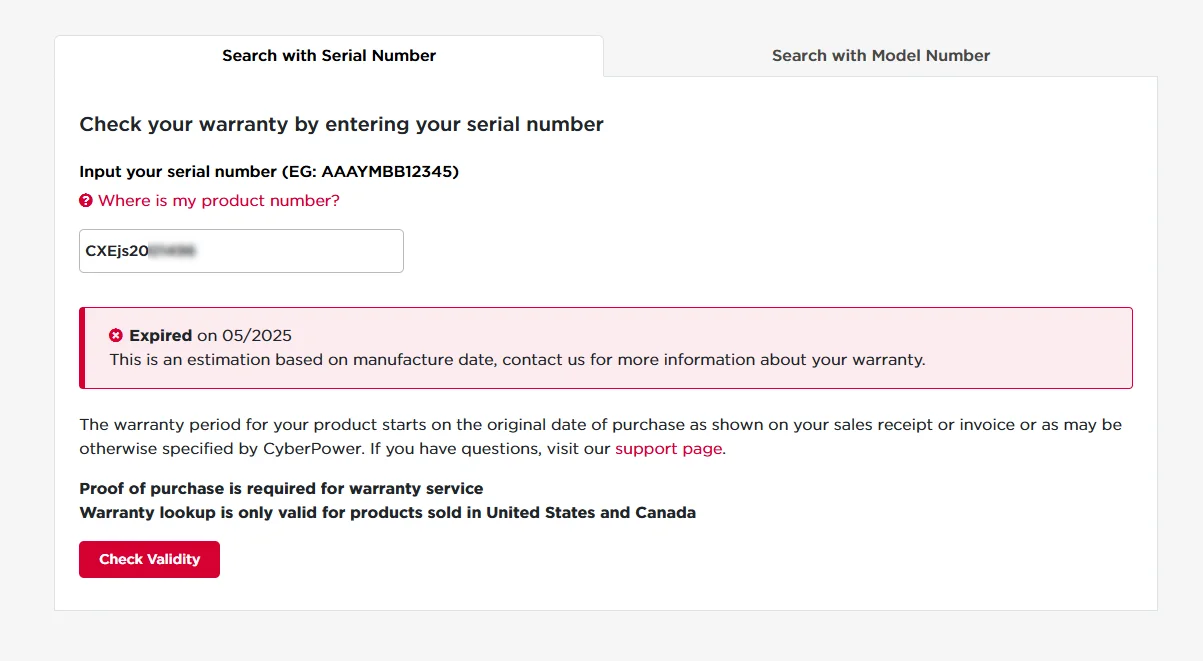
Tip: check your warranty first. CyberPower includes a three-year warranty that covers the batteries, and the clock starts on your purchase date, not the manufacturing date. So even if the website says your serial number is out of warranty, you may still be covered with proof of purchase.
I have done this myself, twice. I used the live chat on their site, uploaded my Amazon invoice, and they shipped a new battery pack within a week. Smooth process, very little friction.
What you need for the job
Moving on, you do not need much to get this done:
- A Phillips screwdriver.
- Your new battery pack (either option above).
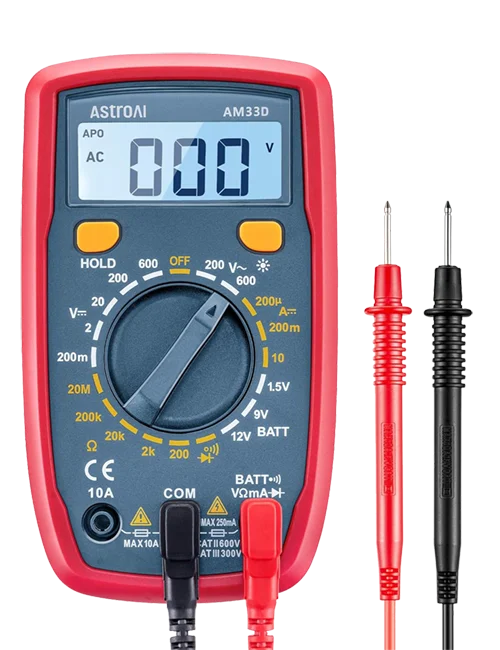
- Ideally a multimeter, if you want to test the old batteries and confirm the new ones are good to go.
- About 15 minutes.
The supplemental tool
AstroAI Digital Multimeter
Not strictly required, but it turns "I think the battery is dead" into a number you can trust. This is the exact meter I used to confirm the old cells were flat and the new pair was healthy.
Removing the old batteries
Let us get into it. I am doing this on a first-generation CyberPower CP1500. The battery layout is different in the second and third generations, but the steps are similar enough to guide you along. I also suspect the first generation is the one coming due for replacement in most units still out there.
Important disclaimer. This content is for informational purposes only, based on my personal experience. Attempt repairs at your own risk. Always unplug your UPS before servicing. If you are unsure, consult a qualified technician or the manufacturer.
- Power down and unplug. Unplug the UPS from the wall and disconnect all devices. If the batteries still hold enough charge to keep it running, hold the power button until it turns off completely. Ideally leave it unplugged for a few hours to discharge.
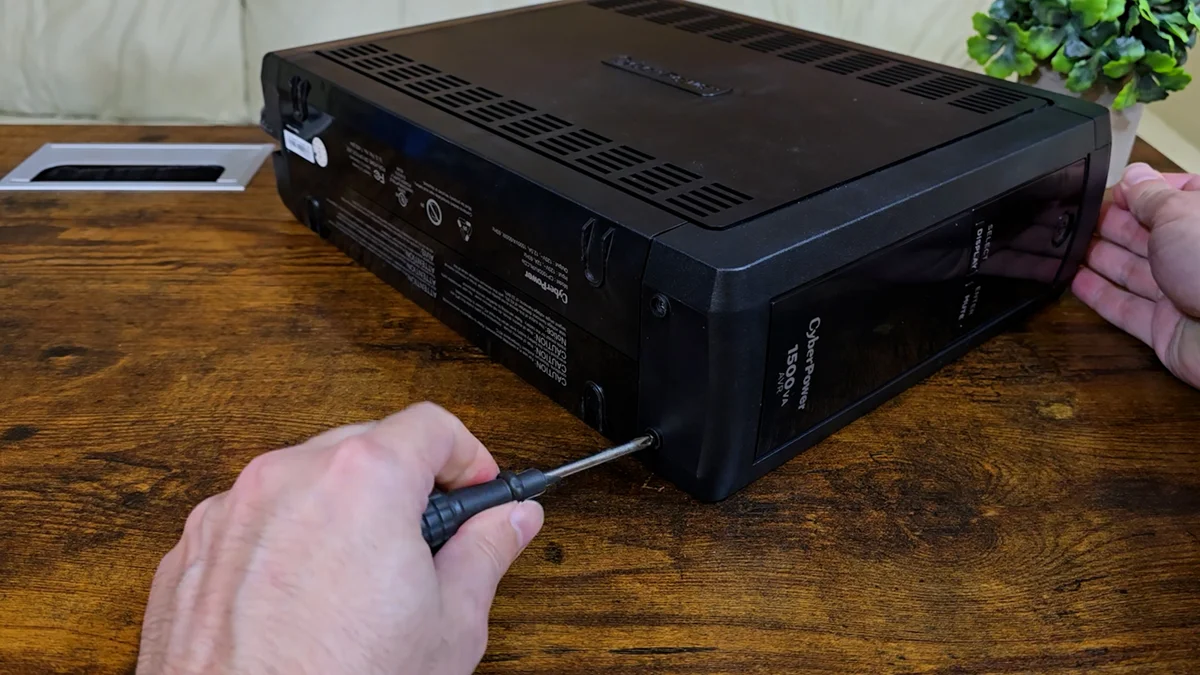
- Open the front panel. Lay the UPS on its side and remove the two Phillips screws on the bottom of the front panel.
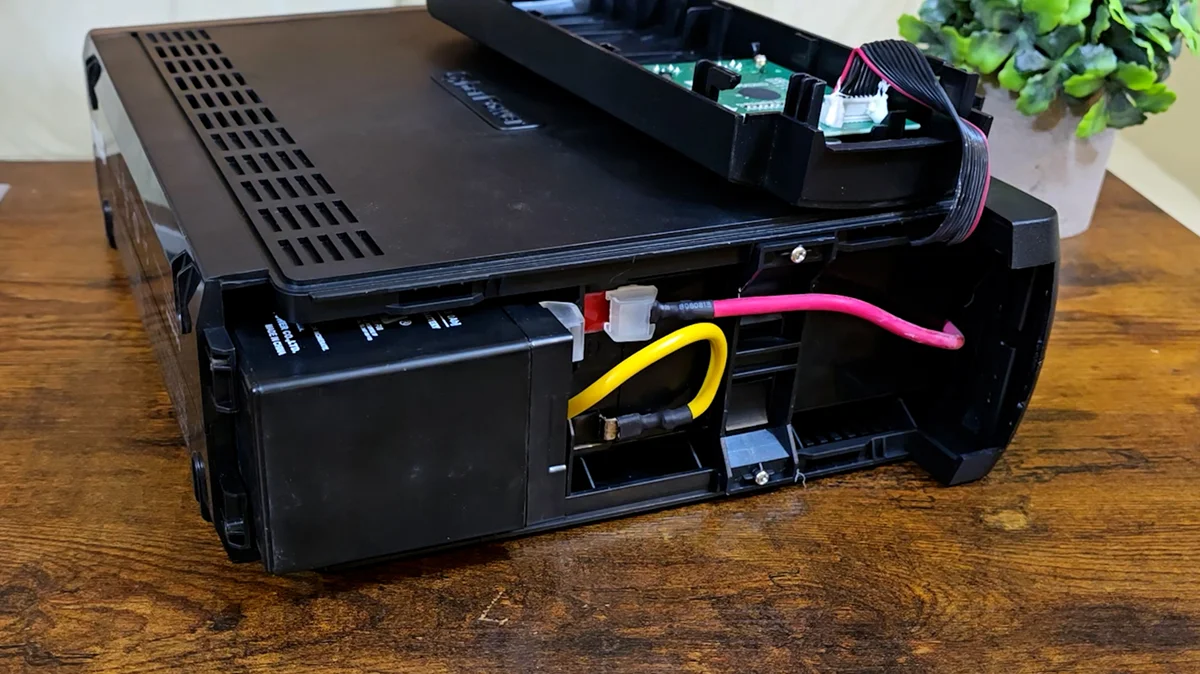
- Swing the panel aside. Slide the front panel down about half an inch until it stops, then swing it over and rest it on the side of the unit. The screen has a ribbon cable that is glued in place on mine, so the panel can just stay out of the way.
- Study the layout. Now you can see how the batteries sit, one upright on the bottom and the other on its front side. Take a few photos of how it all looks before you take anything apart.
- Free the bracket. A bracket holds the top battery in place with two more Phillips screws. The first time out it may take a little persuasion to pop loose thanks to a dab of glue inside.
- Disconnect the cables in order. Start with the yellow cable linking the two batteries in series, then the red positive cable on the top battery, and finally the black negative cable on the bottom battery. Pull the bottom battery out an inch first for leverage. The stock spade connectors are on tight, so wiggle them by the connector, never by the wire.
- Lift out both batteries. With every cable off, slide both batteries out of their compartments.
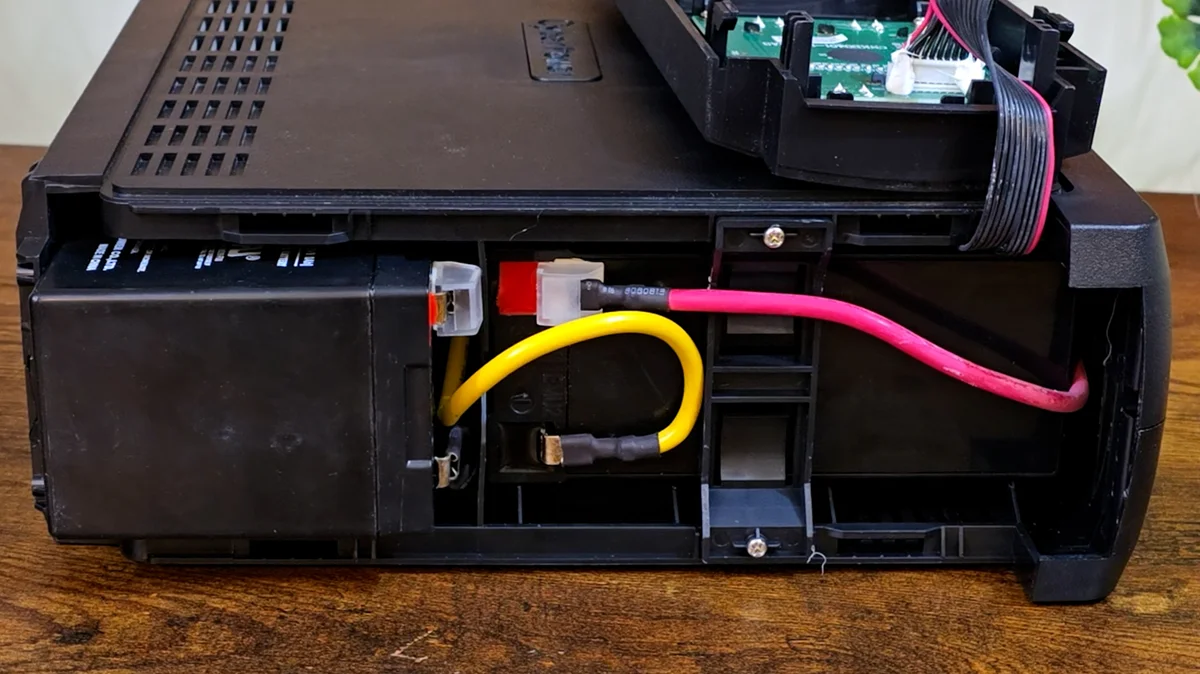
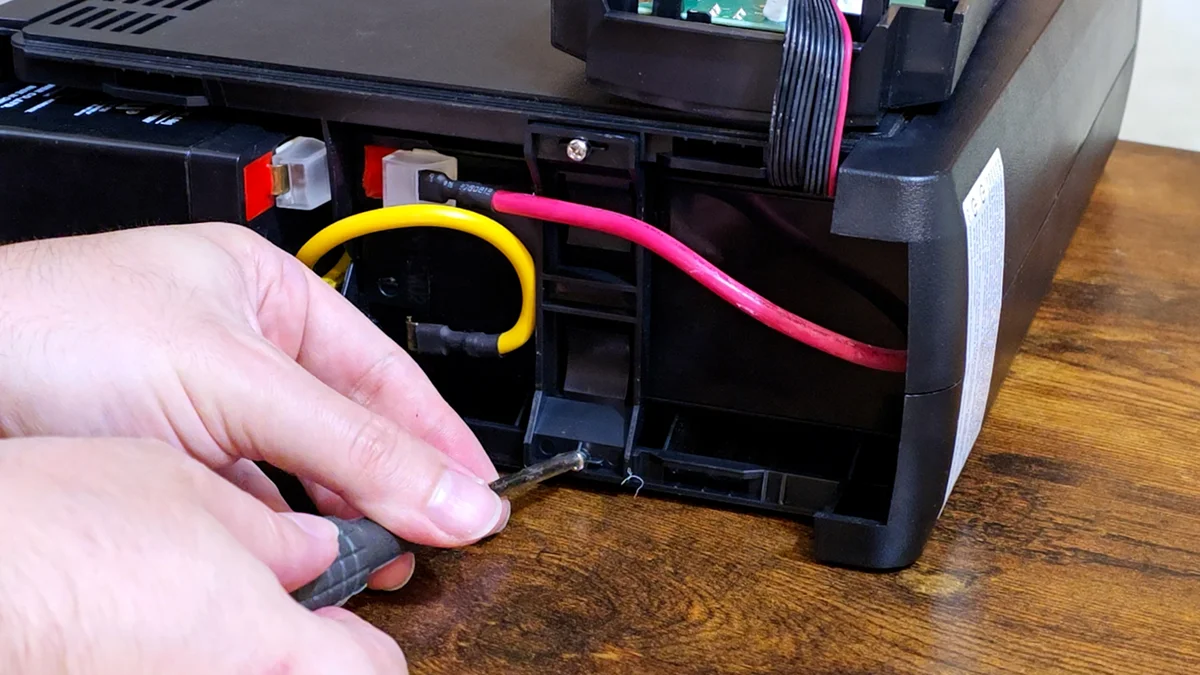
Be careful with the terminals. Never touch both battery terminals at once, and do not let any metal tool bridge them. Shorting the terminals can throw sparks, damage the batteries, or damage the UPS itself. Take your time and you will be fine.
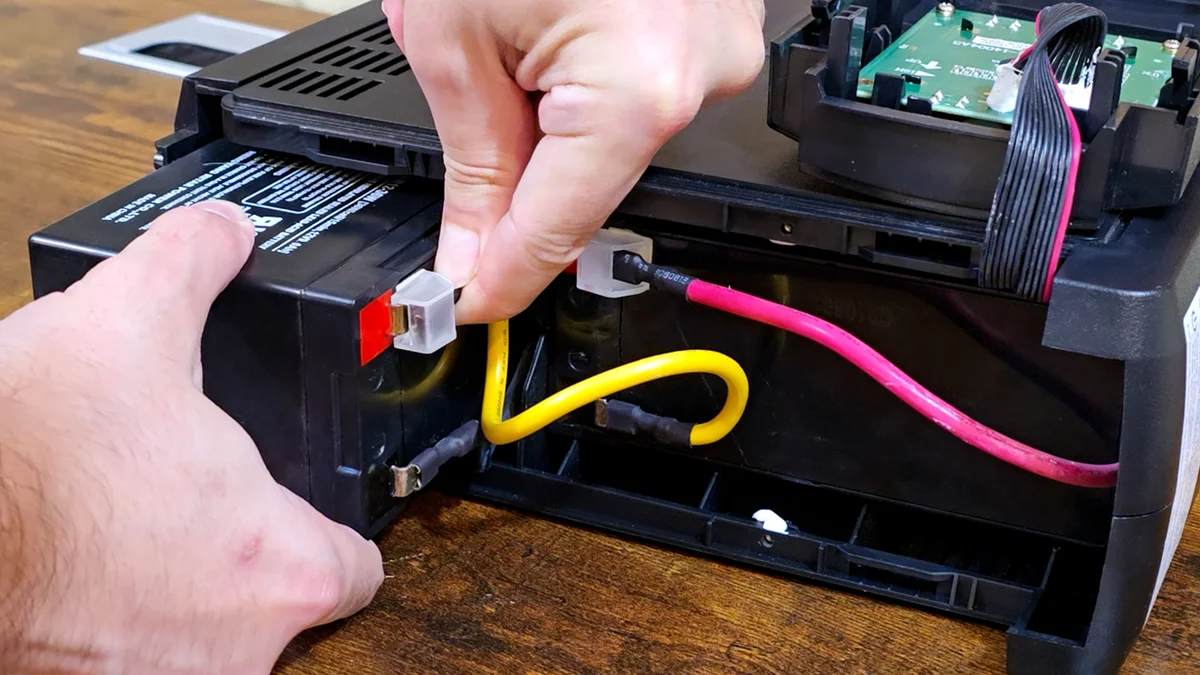
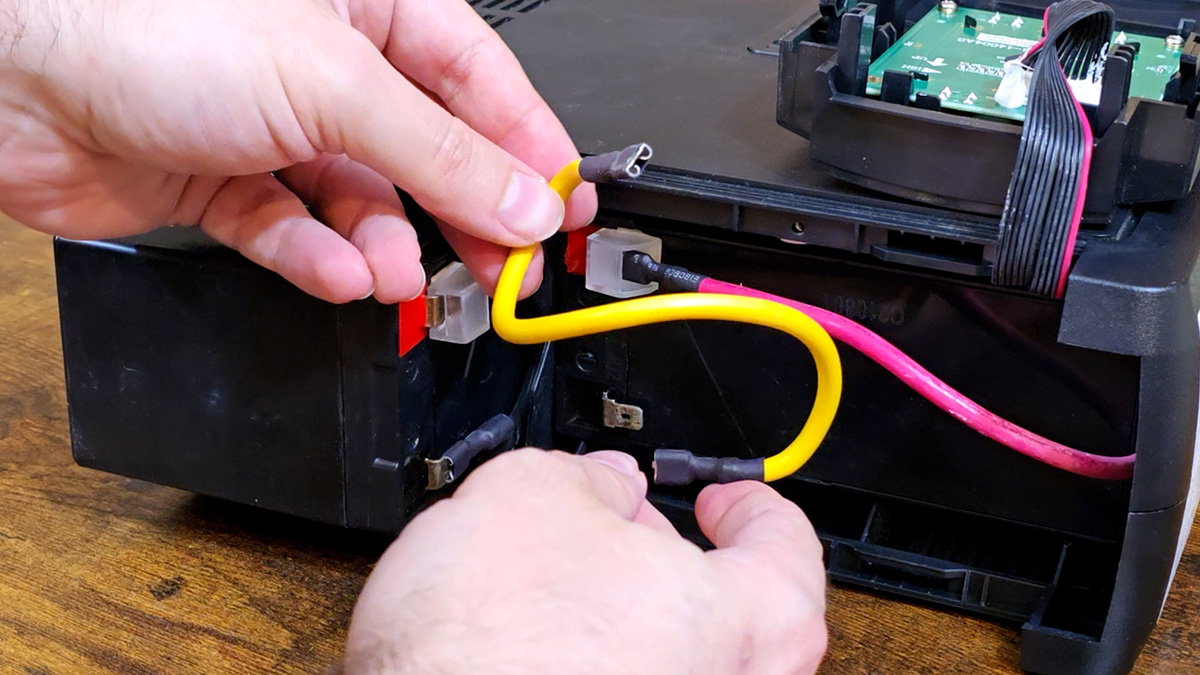
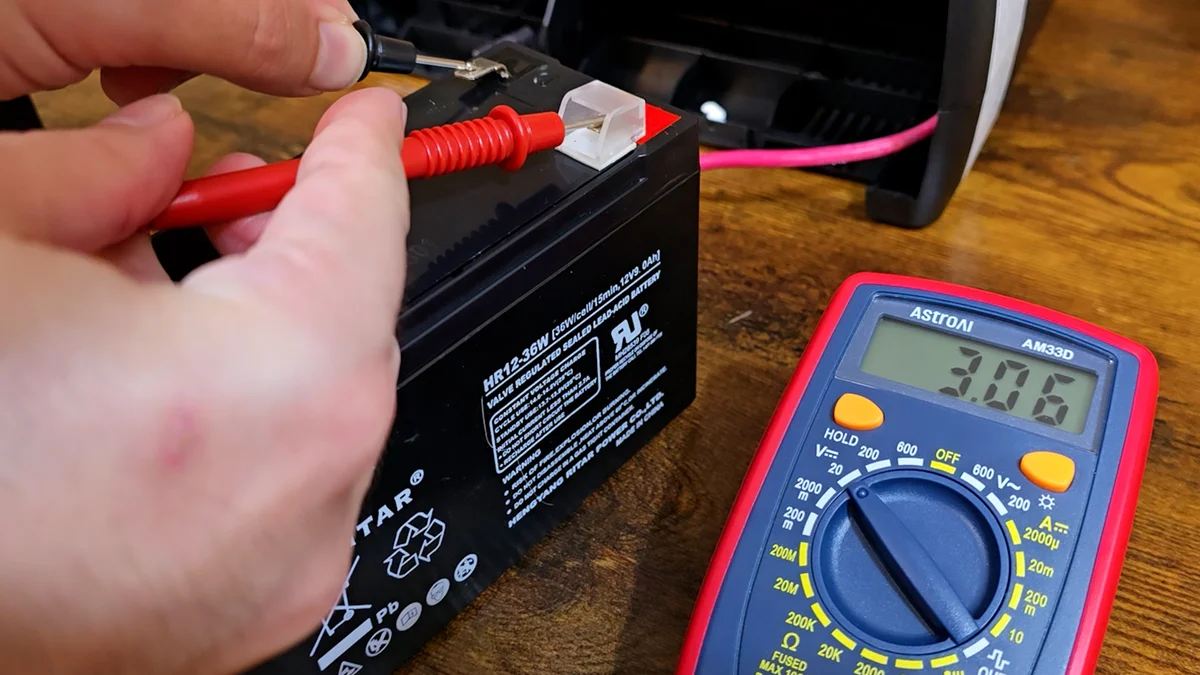
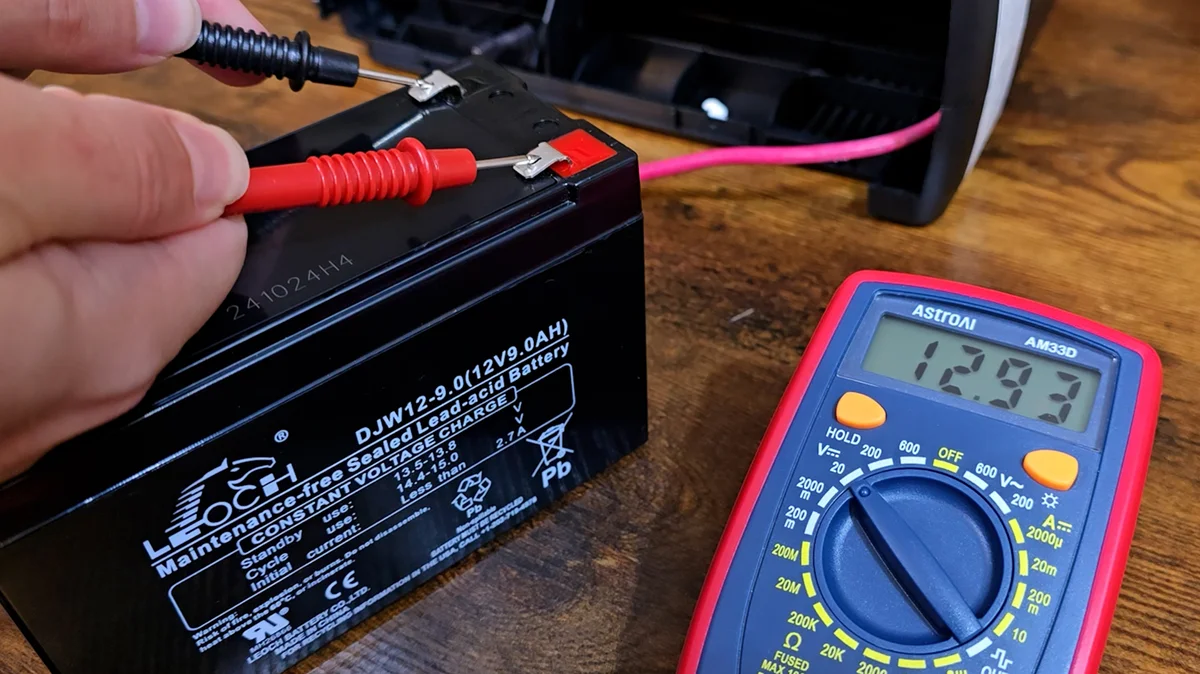
With the batteries out, this is the perfect moment to confirm they were actually the problem. Using the multimeter, my first old battery read an impressive 0.94 volts, meaning it is beyond dead and likely damaged internally. The other sat at 3.06 volts, also completely flat. Needless to say, the batteries were the cause of the E02 error. For comparison, the new pair measured 12.93 and 12.92 volts, a healthy, winning pair.
Installing the new batteries
With the old cells out and tested, the hard part is behind you. Reversing the process is quick.
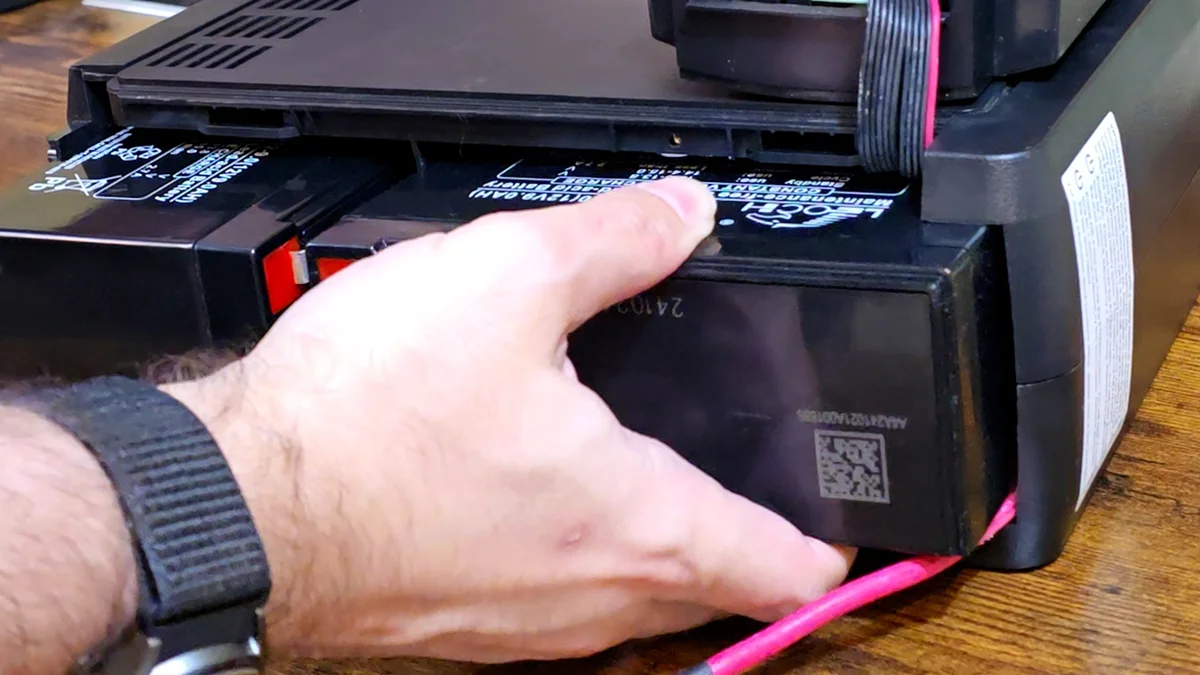
- Slide the new batteries in. Seat both in their compartments in the same orientation as the old ones came out.
- Reconnect in order. Start with the red positive wire on the top battery, then the black negative wire on the bottom battery.
- Connect the yellow jumper last. Position it the same way it came out, onto positive on the bottom battery first, then negative on the top battery to complete the circuit. Expect a small spark.
- Close it up. Reattach the bracket for the top battery behind the red cable, make sure everything is snug, slide the front panel back into place, and screw it in.
- Charge before use. Plug the UPS back in, hold the power button to turn it on, and let it charge, ideally overnight, before a full power test.
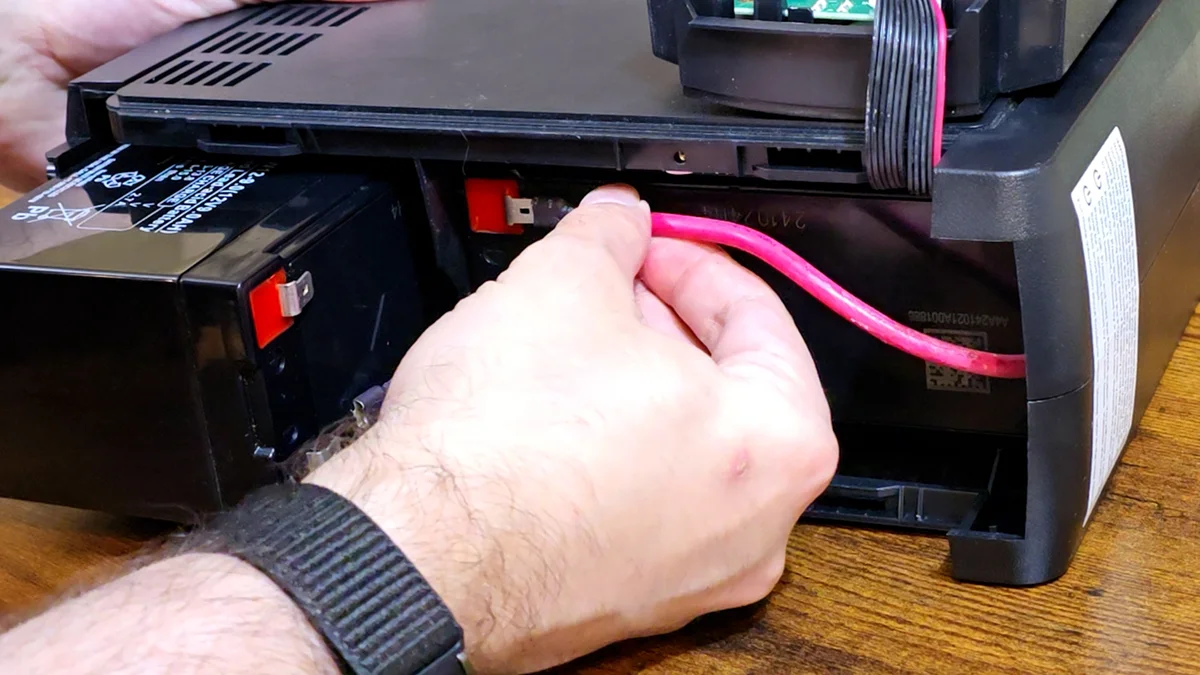
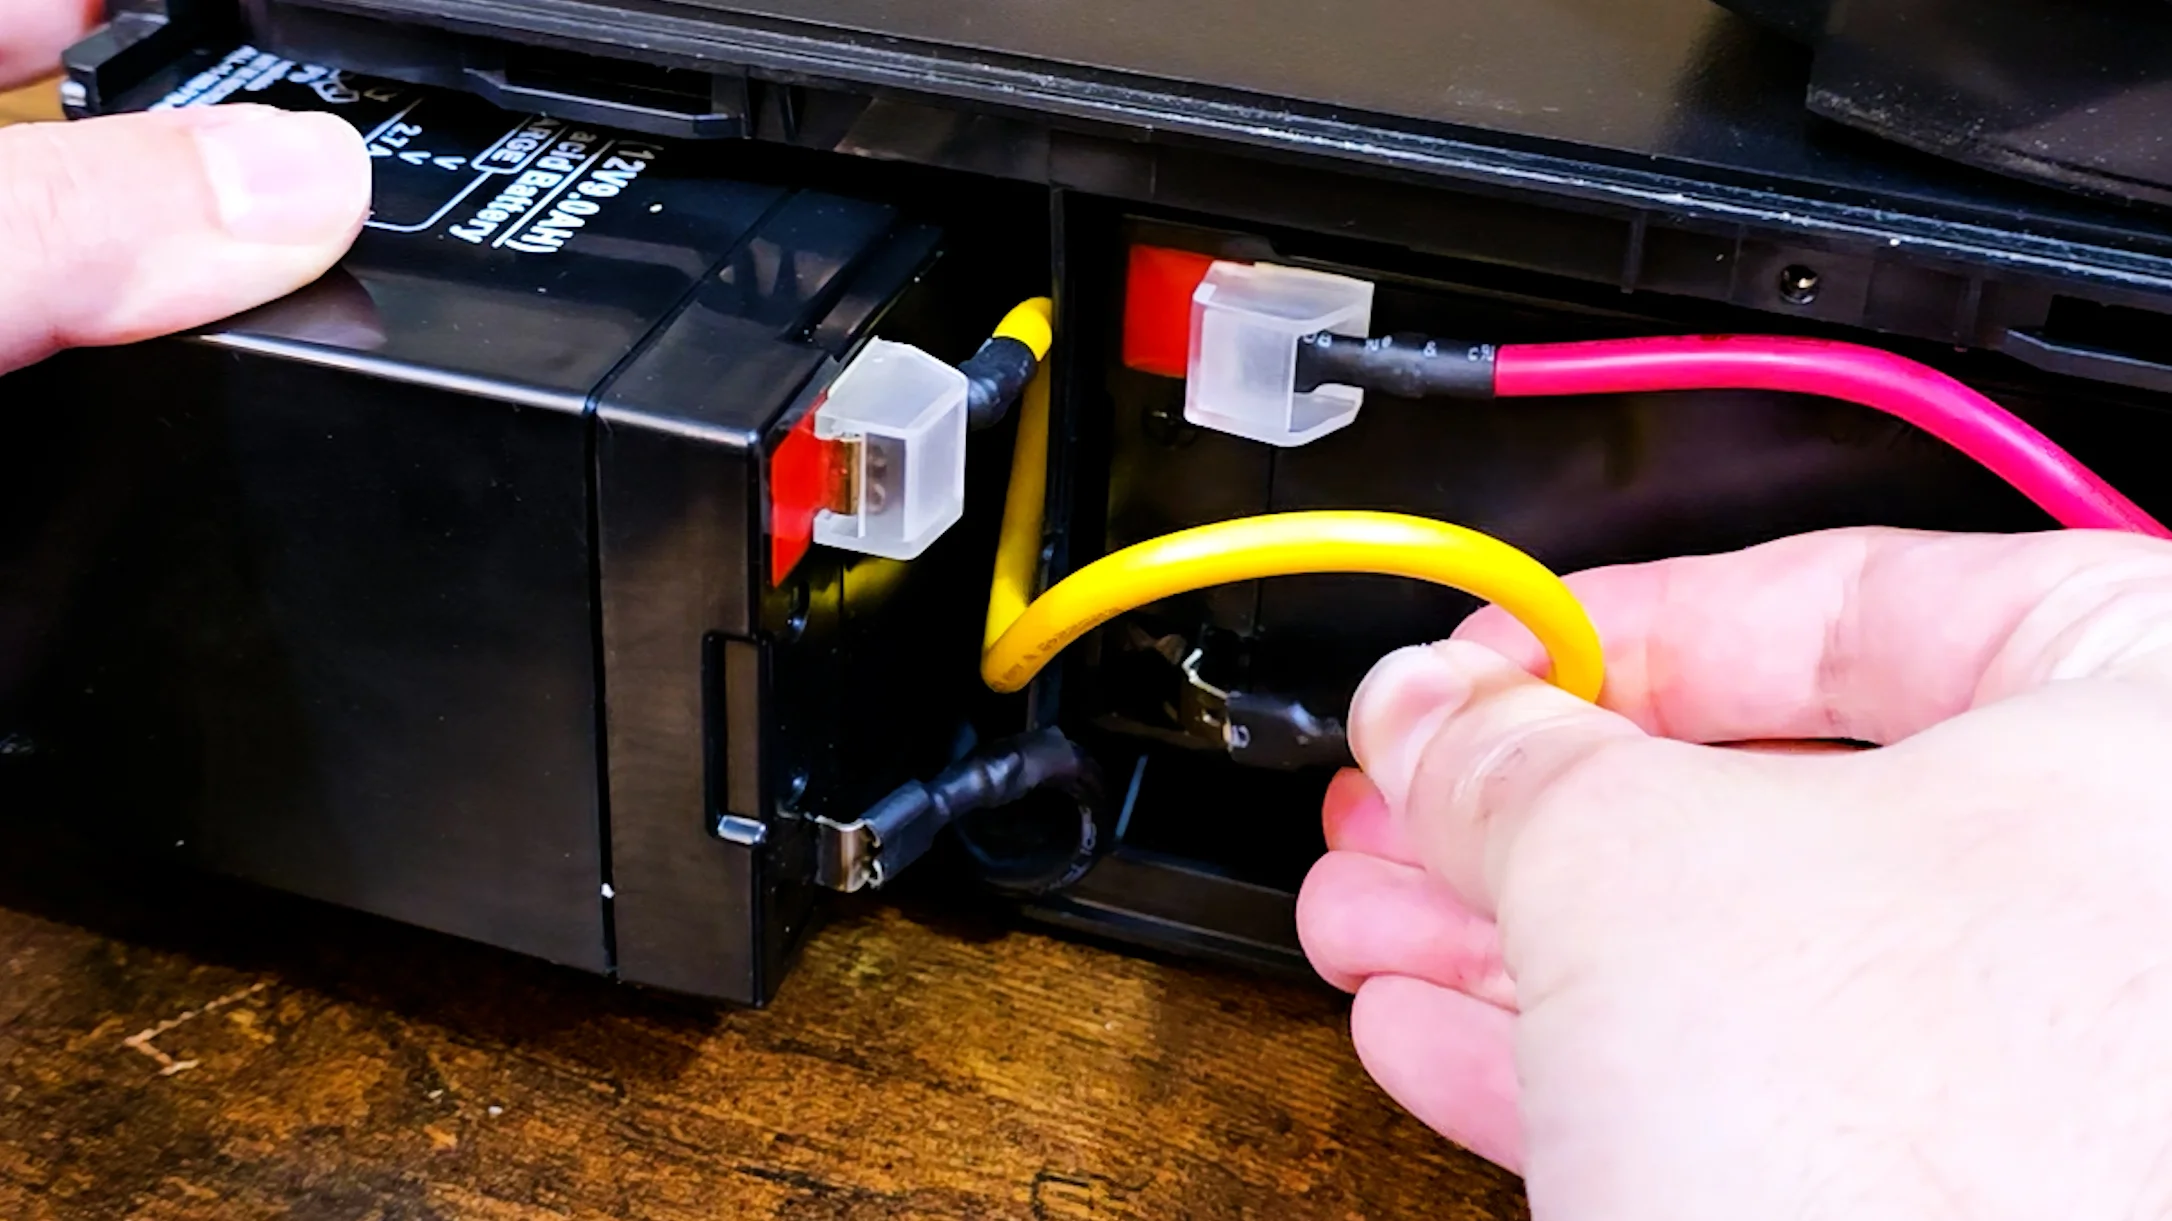
The spark is normal. When you connect that final yellow jumper you are completing the circuit, and the UPS draws a small inrush of current to charge its internal capacitors. As long as the unit is unplugged and you are connecting the terminals correctly, there is no danger. It just catches you off guard the first time.
Aftercare tips
Once it has charged, unplug the UPS from the wall and confirm your devices stay powered. The screen should show an estimated runtime.
With everything back up and running, write down today's date for your records. That gives you a reminder for when the batteries are due again, in roughly three to five years, and it helps you avoid surprises the next time the power goes out.
Lastly, please recycle your old batteries responsibly. I take mine to my local Batteries Plus, but most electronics or battery stores will accept them. Unlike a lot of things that merely claim to be recyclable, lead-acid batteries genuinely can be brought back to life when handled by professionals. Loose AA and AAA cells are a different problem, and I let a charger that tests every cell sort those.
That is it, refreshed for years
That is all there is to it. Your UPS is refreshed and ready to go for another few years.
I honestly do not know why I put this off for so long. I think it was because I am pretty inexperienced with anything electrical, but this really was not as bad as I had built it up to be in my head.
I hope this helps you keep your UPS running at peak performance for the next power outage.
Frequently Asked Questions
How do I know when the battery in my CyberPower CP1500AVRLCD needs to be replaced?
The most common signs include a flashing battery icon, frequent beeping, sudden shutdowns during power outages, or the UPS displaying an E02 error, which typically indicates a battery or charging fault. Runtime also drops noticeably when the battery is near the end of its life, usually around 3 to 5 years.
What does CyberPower UPS error code E02 mean?
The E02 error code on the CP1500AVRLCD indicates a battery or internal charging circuit fault. It can occur when the battery cannot hold a charge or when the charging system is malfunctioning. In most cases, replacing the battery resolves the error, especially if the UPS is more than a few years old.
What type of battery does the CyberPower CP1500AVRLCD use?
The UPS uses a 24V battery pack, made up of two 12V 9Ah sealed lead-acid (SLA) batteries connected in series. You can either buy the official CyberPower replacement pack or two compatible aftermarket batteries. Just make sure they physically fit and are properly wired in series.
Can I use third-party batteries to replace the original CyberPower UPS battery?
Yes. Third-party SLA batteries are widely available and often more affordable. Just make sure they are 12V 9Ah sealed lead-acid, the size matches the original tray, and you connect them in series to produce 24V. Keep in mind you will need to reuse the wiring harness or buy a compatible jumper cable.
Is it normal to see a spark when connecting the UPS battery jumper wire?
Yes. A small spark when connecting the final jumper wire, typically the yellow wire between the batteries, is normal. It happens when the UPS internal capacitors draw a brief inrush of current. As long as the UPS is unplugged and you are connecting the terminals correctly, there is no cause for concern.
Can I get a free replacement battery under warranty?
Possibly. CyberPower includes a 3-year warranty on most of its UPS systems, and that covers the internal batteries. Even if the serial number lookup says expired, you may still qualify with proof of purchase. Use CyberPower's live chat to submit a support request; the process is quick and straightforward.
How long do UPS batteries last in the CyberPower CP1500AVRLCD?
Under normal conditions, the internal batteries last 3 to 5 years. High ambient temperatures and frequent power outages shorten that lifespan. Regularly checking runtime and battery status helps you catch degradation early.