
The one-piece side-mount spool holder mod for the Ender 3 V3 SE
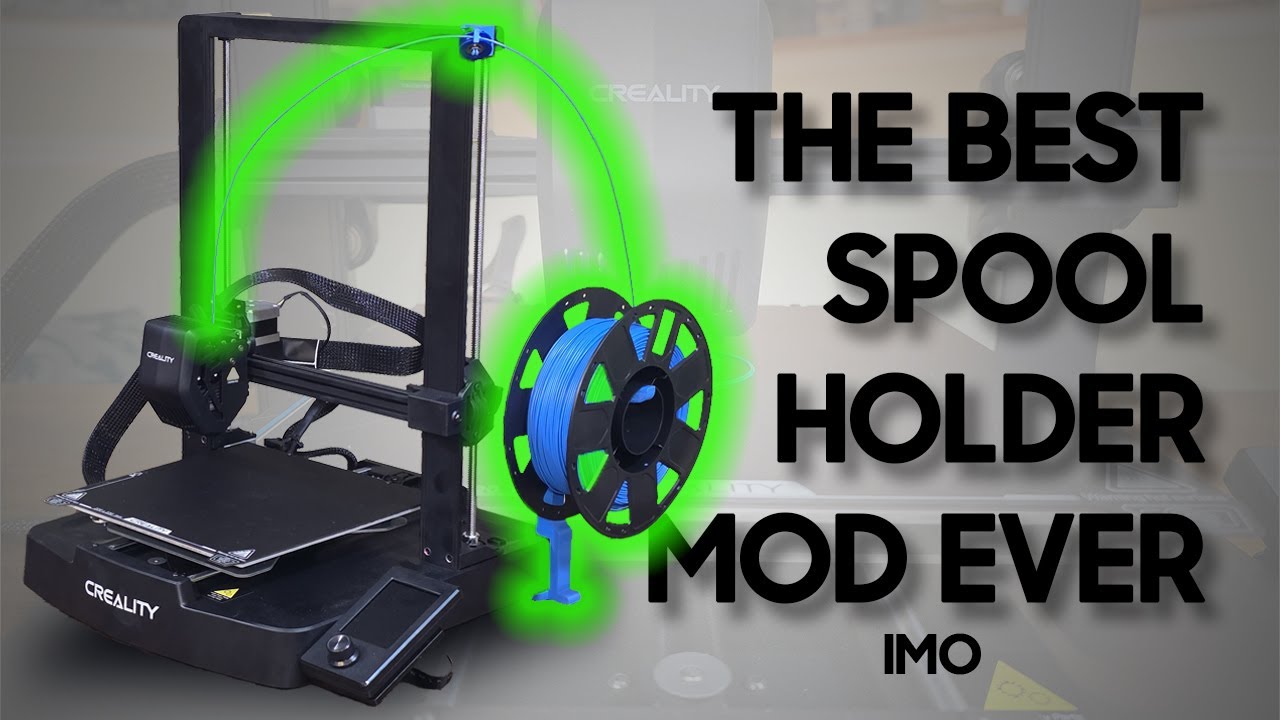
Move the spool off the top of the printer and onto the side, with no screws and no bolts. It slides around a rubber foot, uses the printer's own weight to stay put, and kills the wobble a top mount fights the whole print.
Plays via YouTube. Google may set cookies when the player loads. Privacy policy
The short version
This is a single-piece, screwless spool holder that slides around one of the Ender 3 V3 SE's rubber feet and lets the printer's own weight lock it in place. It drops the spool low and to the side, so the wobble and sympathetic vibration you get from a top mount mostly disappear. It prints at 20% infill, holds a full one-kilogram spool without sagging, and pairs with a snap-on filament guide for a genuinely clean, stable setup.
Verdict: a clean, hardware-free fix for spool wobbleDisclosure: This post contains affiliate links, including to the Creality Ender 3 V3 SE and the U-groove bearing. As an Amazon Associate I earn from qualifying purchases, at no extra cost to you. The mod files are free.
The spool holder side mount mod
Instead of mounting the spool on top of the printer, where it gets violently shaken during fast movements, this design puts the spool off to the side in a clean and stable way. It uses the printer's own weight to hold it in place. There are no screws and no bolts. It just slides around one of the rubber feet underneath and stays put.
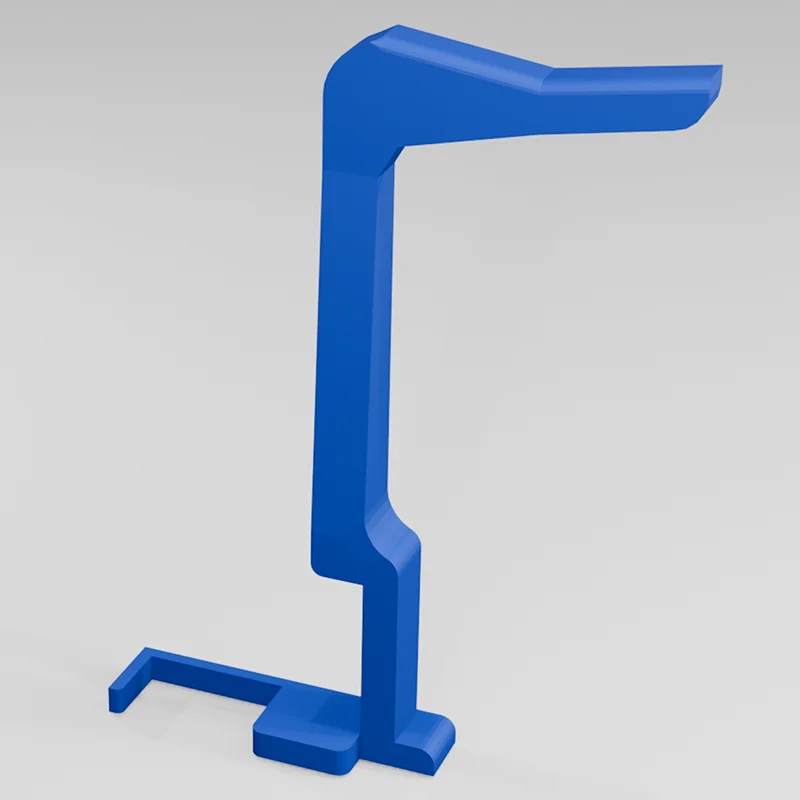
It is a super simple design with a few key features that make it work so well with the Ender 3 V3 SE. At the top there is a subtle inward V-shape that keeps the spool centered and keeps self-centering it during printing. It also makes swapping spools as easy as it gets: no clamps to screw on and off, no cones or bearings to align like other mods. That said, I do suggest mounting the spool so it feeds over the top rather than under, which I am sure will trigger some people.
The overall thickness gives it plenty of rigidity too. It does not flex or sag, even holding a full one-kilogram spool, and I printed mine at just 20% infill, so it is efficient without giving up strength. The beveled lip on the top edge also lets the spool spin surprisingly freely, even without adding any bearings like I used in previous mods.
Printing the mod
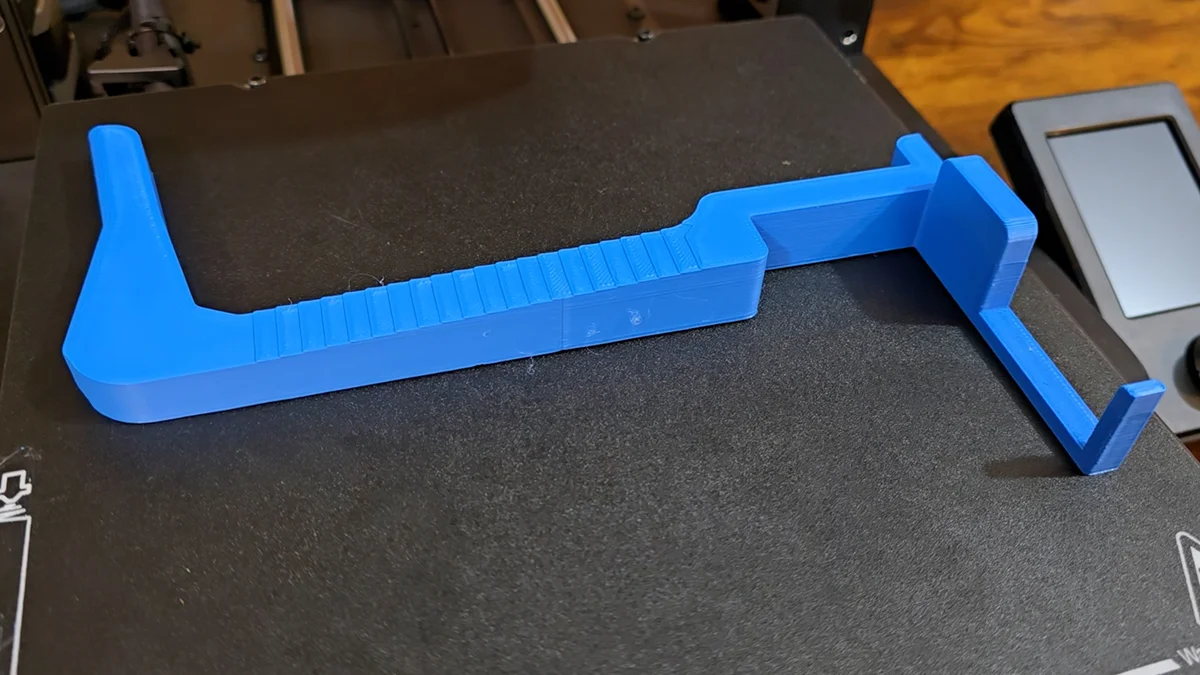
One thing to know up front is that this model is big. On its longest side it measures just over 200mm, which means it barely fits on the Ender 3 V3 SE's bed. Because of that you will not be able to use a skirt or a raft for adhesion, though you may get away with a very small brim.
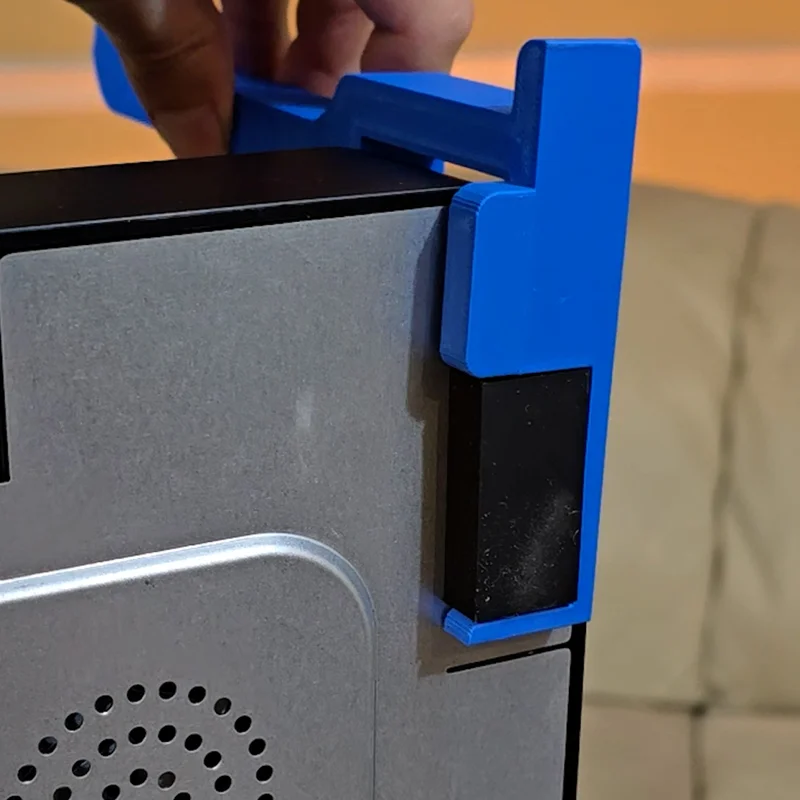
Installing it is about as simple as it gets. You slide the holder under the back-right corner of the printer and it stays firmly in place on its own, thanks to a hook that grips around one of the rubber feet plus the weight of the printer sitting on top of it.
Just keep in mind that this design is custom-made specifically for the Creality Ender 3 V3 SE, so it may need tweaks to fit properly on another machine. That said, the concept adapts quickly to almost any printer.
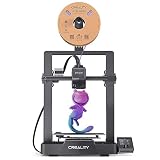
The machine behind the mod
Creality Ender 3 V3 SE
Every part on this page was printed and tested on this machine. It is a fast, auto-leveling starter printer that is genuinely easy to live with, and it is the printer this whole mod is designed around.
Guiding the filament
The whole reason I wanted to move the spool to the side was actually my other printer, the Monoprice MP10 Mini. It comes stock with a side-mounted spool holder, which I always thought was cleaner, more stable, and more compact. The difference is that on the MP10 the filament feeds through a built-in tube that guides it from the side all the way to the print head. The Ender 3 does not have that, so I needed a new solution. That is where this filament guide comes in.
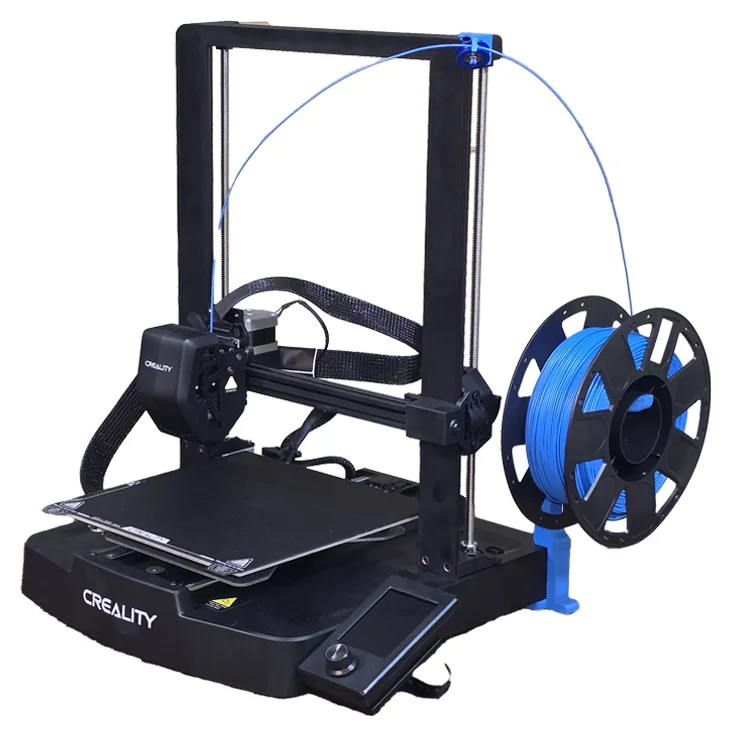
To make the side-mounted spool work smoothly, I designed a small guide that clips onto the edge of the top gantry. Its job is to route the filament around the frame cleanly so it does not scrape, snag, or get tugged awkwardly on its way to the extruder. The angle of the guide arm was designed to help the spool unwind evenly and straight. Without the guide, the spool can get pulled to one side, which can cause feeding issues.
What is really nice is that the guide simply snaps into place: a lip underneath the frame and two studs on top that drop into the existing bolts holding the gantry together. Just like the spool holder, you do not need any tools or replacement screws, and the snap when it slots home is deeply satisfying. It is a snug fit and it is not going anywhere. I made two versions. The first has a simple open loop on the arm, so all you do is slide the filament into the opening at the top and you are good to go.
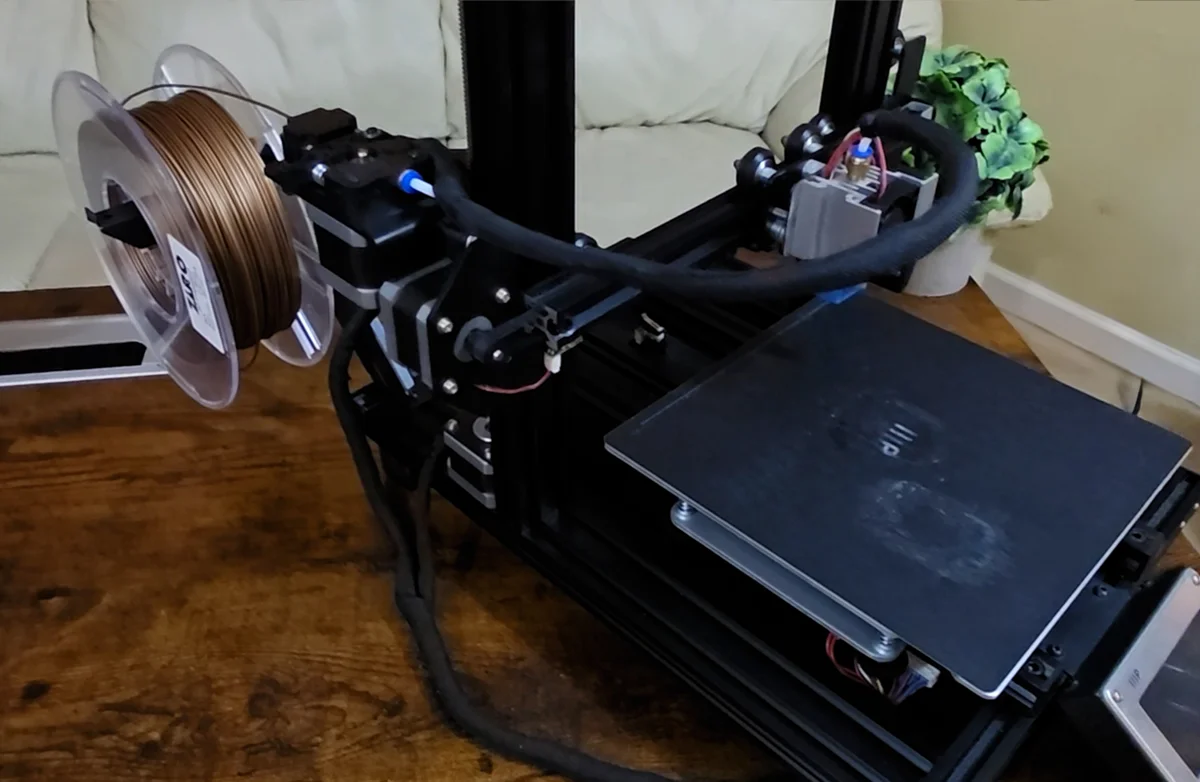
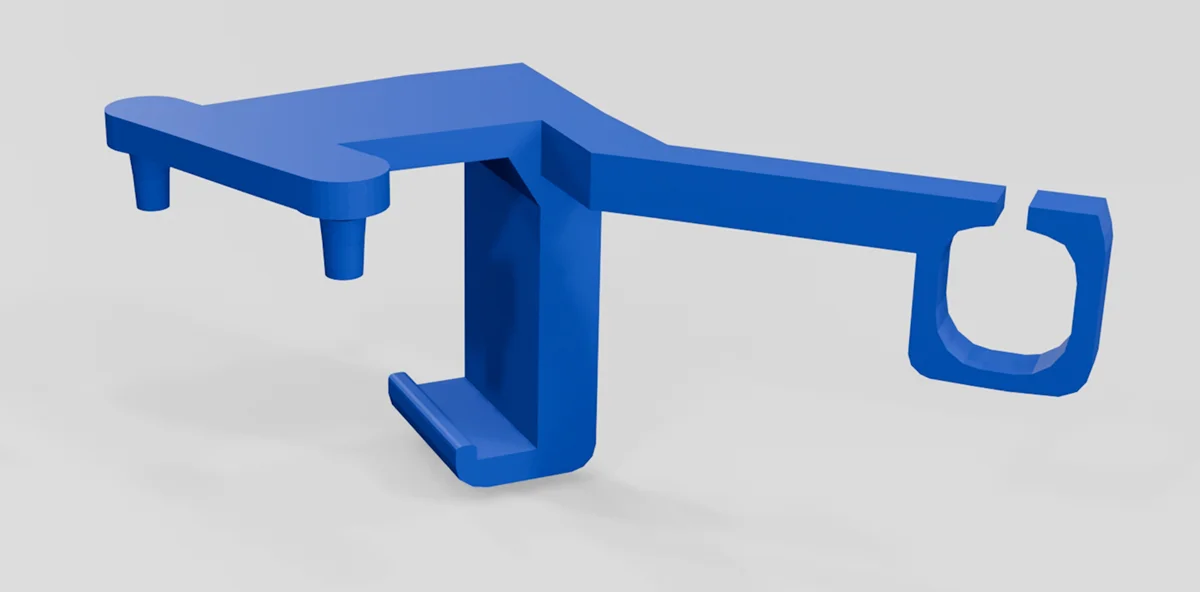
The ultra filament guide
If you are after ultra-smooth filament movement, the other version is for you. It swaps the open loop for a barbed clip that holds a U-groove bearing, plus a guard that keeps the filament seated. To set it up, pinch the clip and slide on the bearing, then push the filament under the guard until it sits in the groove of the bearing, and you are done. I love the tolerances on this one: just enough room for the bearing to spin freely while keeping the filament from sliding out. It is a beautiful thing.
I designed this version around one specific bearing, so if you want a drop-in match you can grab the exact U-groove bearing I used on Amazon. You can absolutely use a different bearing, just know you will have to adjust the barb and the guard to fit another size.
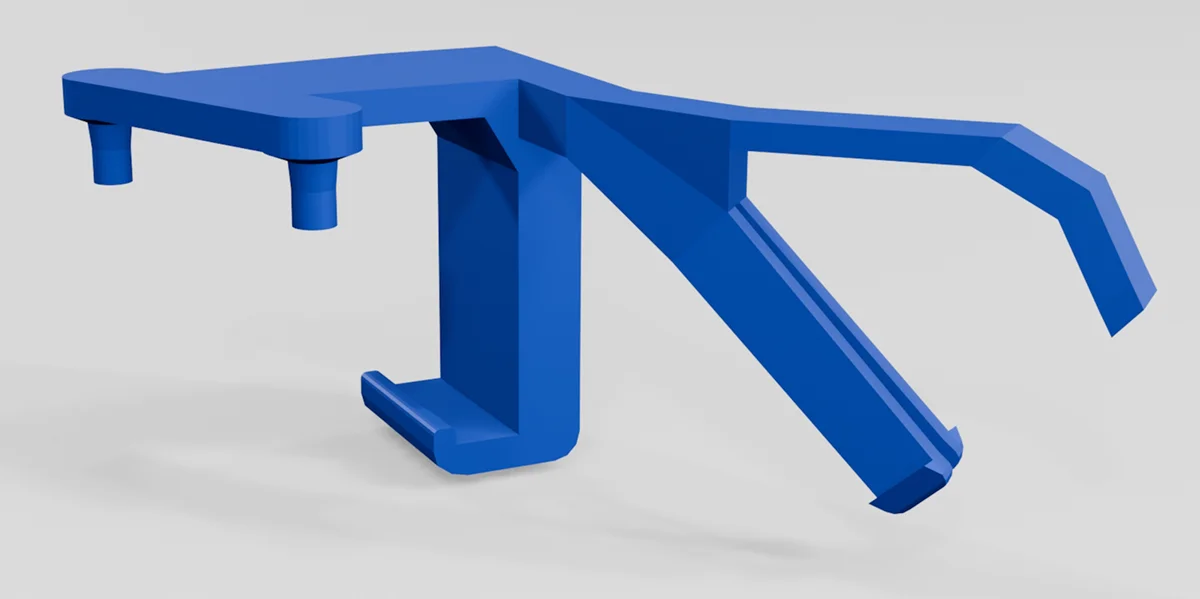
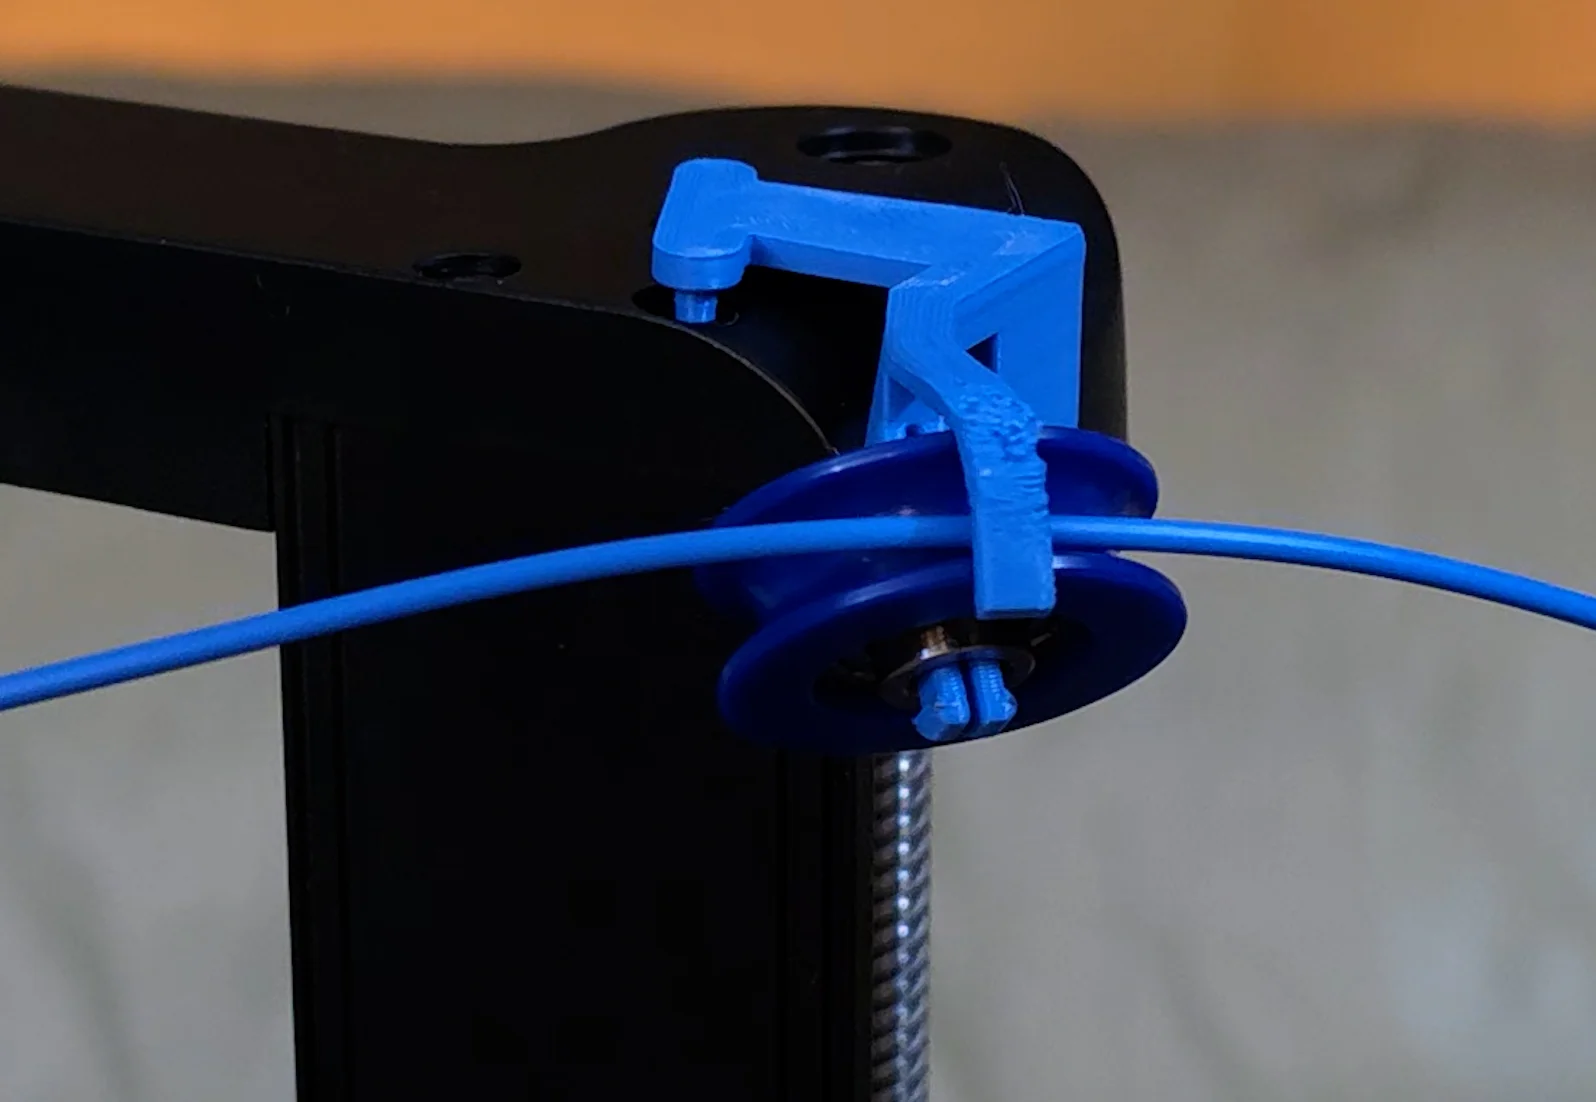
Let the guide cool completely before you try to snap it in place. I learned that one from experience. This version is also a slightly trickier print because of the overhangs, so it needs supports. I used the default tree support settings in Cura 5.9 and it came out great, printed upside down to make things easier.
What actually changed
With both mods together, the side-mounted holder and the clip-on guide, the whole setup becomes clean and extremely stable. It honestly made a huge difference for me. The printer looks better, runs smoother, and I do not sit there nervous watching the spool shake. Part of why it is steadier is that there is a lot more slack in the filament path, so when the extruder makes quick moves it is not constantly yanking on the spool and setting off more wobble.
Top mount the stock spot
- Spool shakes during fast moves
- Sympathetic wobble can show in prints
- High center of gravity, tippy feel
- Quick moves yank the filament
Side mount this mod
- Rock solid, no more excessive wobble
- Lower center of gravity
- More slack, so the extruder stops tugging the spool
- Cleaner, more compact machine
The printer looks better and runs smoother, and the spool no longer shakes like it is about to launch off the frame.
Download the files
Grab the spool holder and both versions of the filament guide, free. The same files live on both platforms, print-ready, with no account needed to download. Pick whichever you already use.


My Ender 3 V3 SE start and end G-code
A few people asked what start and end G-code I run for these prints. This is the Cura setup I use on the Ender 3 V3 SE, nothing exotic, but here it is if you want to match my results.
M220 S100 ; reset feedrate
M221 S100 ; reset flowrate
G28 ; home all axes
M420 S1 ; use saved mesh leveling data
G92 E0 ; reset extruder
G1 Z2.0 F3000 ; move Z up
G1 X-3 Y20 Z0.28 F5000.0 ; move to start position
M190 S{material_bed_temperature_layer_0} ; set bed temp and wait
M109 S{material_print_temperature_layer_0} ; set hotend temp and wait
G1 X-3 Y100.0 Z0.28 F1500.0 E15 ; draw first prime line
G1 X-2 Y100.0 Z0.28 F5000.0 ; move over a little
G1 X-2 Y20 Z0.28 F1500.0 E30 ; draw second prime line
G92 E0 ; reset extruder
G91 ; relative positioning
G1 E-2 F2700 ; retract a bit
G1 E-2 Z0.2 F2400 ; retract and raise Z
G1 X5 Y5 F3000 ; wipe out
G1 Z10 ; raise Z more
G90 ; absolute positioning
G1 X0 Y{machine_depth} ; present print
M106 S0 ; turn off fan
M104 S0 ; turn off hotend
M140 S0 ; turn off bed
M84 X Y E ; disable all steppers but Z
Why this one stuck
I am honestly really happy with how this turned out. It is clean, it is simple, and it just works. Coming up with the idea and iterating through different versions is exactly what makes 3D printing so much fun for me, and this is one of those mods that solved a real annoyance instead of just looking cool.
The STL files for the spool holder and both versions of the filament guide are up on my Printables profile, and there are more Ender 3 V3 SE mods and prints over on the Fun with 3D Printing page. If you print one, mount the spool so it feeds over the top, and enjoy the quiet.
Frequently asked questions
What is the side mount spool holder for the Ender 3 V3 SE?
It is a custom, one-piece 3D-printed spool holder designed specifically for the Ender 3 V3 SE. It relocates the spool from the top of the printer to the side, which reduces vibration and improves stability during prints.
Why move the spool to the side of the printer?
Mounting the spool on the side reduces the wobble and sympathetic vibration that can affect print quality. It also lowers the center of gravity and makes filament feeding more consistent, especially at higher print speeds.
Will the side mount spool holder fit other 3D printers?
It was custom designed for the Ender 3 V3 SE and hooks around that printer's existing rubber feet, so it may not fit other models without modification. The concept adapts easily, but the dimensions are tuned for the V3 SE.
What print settings should I use for the spool holder and filament guide?
20% infill is plenty for both parts. The spool holder needs no supports and prints flat with no brim or skirt, since it barely fits the bed. The ultra filament guide prints upside down and does need supports (tree supports in Cura worked well). PLA is fine, and PETG or ABS will also work.
Where can I download the STL files?
The files are free on both Printables and Thingiverse, linked in the Download the files section above. They include the spool holder and both the open-loop and bearing versions of the filament guide.