Intro
Hey everyone Patrik CK with part 3 of my guide to help make the transition from SketchUp to Blender. Before we start I just want to give a quick thanks for all the feedback and comments so far, it’s much appreciated!
In case you haven’t reviewed the first two guides please take a moment to make sure you are to date as we will be building on everything we’ve learned so far.
Full Guide
Watch the overview video or keep reading the full article below
Table of Contents
This Lesson
We are all fans of SketchUp’s Push/Pull tool because it allows for a quick and fun way to manipulate shapes by adding and removing geometry at will. This is especially helpful if you want to cut into geometry such as creating doors or windows in a wall.
At the onset Blender does not have a one to one tool to compare but if we split up the pull and push functions into two separate features we do find a tool that preforms the pull part of the equation and takes it up a notch, this is the aptly named Extrude Region tool.
Using the Extrude Region Tool
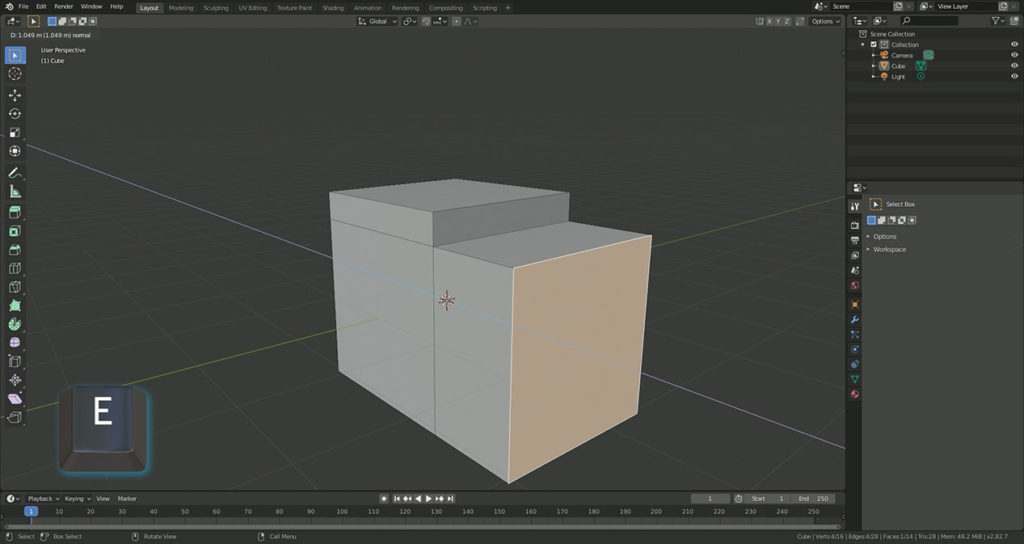
To extrude select the geometry you want to manipulate in Edit Mode and either press the Extrude Region button on the left menu and use the on screen interface or of course as I prefer press the E key and proceed in the same manner as if we were using the grab tool. Just remember holding the Shift key will slow down the rate of pulling for more accuracy.
Key Differences
Just like in SketchUp you can use the Extrude tool to pull on faces to expand the geometry but there are some key differences. Unlike in SketchUp you are not limited to faces. You can extrude vertices to creates edges or extrude edges to create faces giving you that much more versatility with your work.
Another key difference is the ability to select multiple pieces of geometry at the same time and extrude them all simultaneously. By default it will extrude along the average perpendicular line but of course you can choose to move along any axis or combination of axis as we have done before or go free range.
The last key difference is whenever you extrude you always create new pieces of geometry. For instance if I extrude the top face of a cube you’ll see I create new faces all around. This is different from SketchUp where by default if I pull a face it just extends the geometry from which I started as if I was just moving it. You would have to hit the CRTL key to create new faces.
Creating new faces is important for clean topology which is a whole discussion of its own but needless to say if you were to Pull a bunch of faces along one side of an object you’ll end up with a face that has a ton of edges which is not considered best practices, be it Blender or SketchUp. We’ll get a glimpse of why this is important in a minute.
No Push and why?
Here is where things get a little tricky. The Push part of the Push/Pull tool is technically missing in Blender. This is pretty much the only time I’ll admit that Blender is deficient to SketchUp as far as features go. Just to be clear though the Extrude Region tool can be used to push say a face into geometry but it won’t destroy geometry it interacts with such as making a hole in a face on the opposite side of a cube like you can in SketchUp.
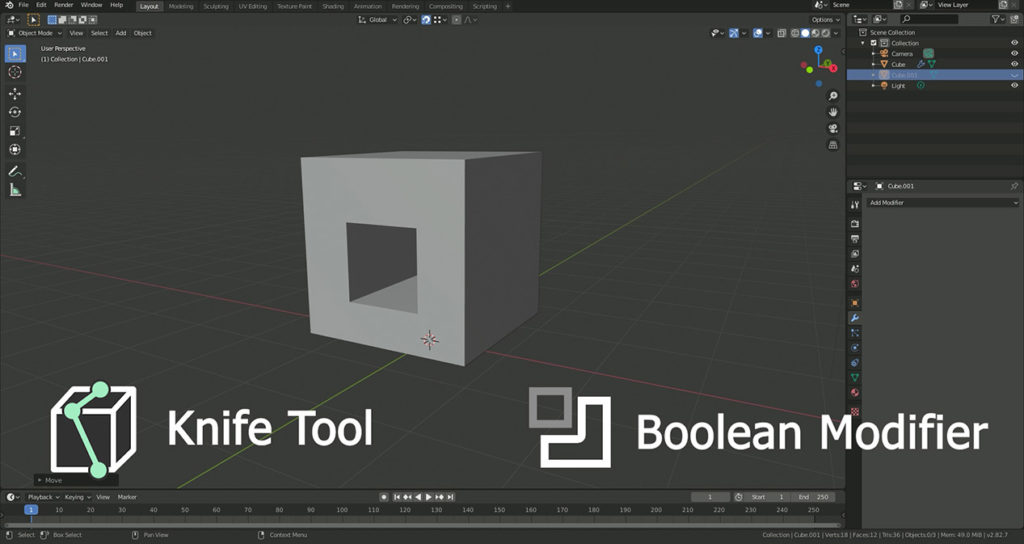
From what I can tell the reason that Blender doesn’t have this kind of ‘destructive extruding’ feature is that there are actually a lot of ways to cut into objects but they require using different tools such as the Knife tool or one of the modifiers known as the Boolean. These will be part of another lesson as we move into the intermediate level of Blender. There are also extensions or add-ons to Blender that can accomplish this function but I want to stick to stock Blender as much as possible for now.
The Basic ‘work around’
With all that being said we can roughly mimic the push part of the push/pull feature from SketchUp in Blender but it will take a little forethought to accomplish but it’s good practice for the next tool that we are about to learn which is not found in SketchUp.
Loop Cut Tool
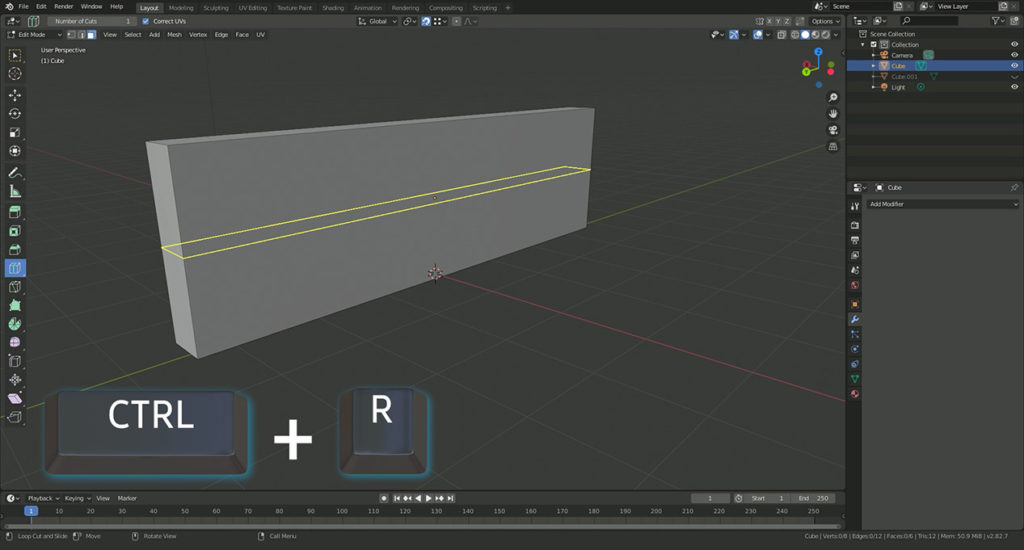
Let’s take the example of creating an opening for a door and a couple of windows. First we’ll add a cube, make into a shape of wall. Now to create the holes for the door and windows we are going to cut up our cube object using a feature called a Loop Cut. A Loop Cut does just as the name implies and cuts a loop around our cube or wall. To create a Loop Cut either press the loop cut icon in the left menu or press CRTL plus R. If you use the shortcut you can hover over the area you want to cut and use the mouse wheel to add more or less loop cuts, then hold down the mouse button to move the cut or cuts up and down the geometry or right mouse click to leave it where it is. I’m going to start with the door by making a loop cut horizontally near the top and two more vertical cuts to outline the door.
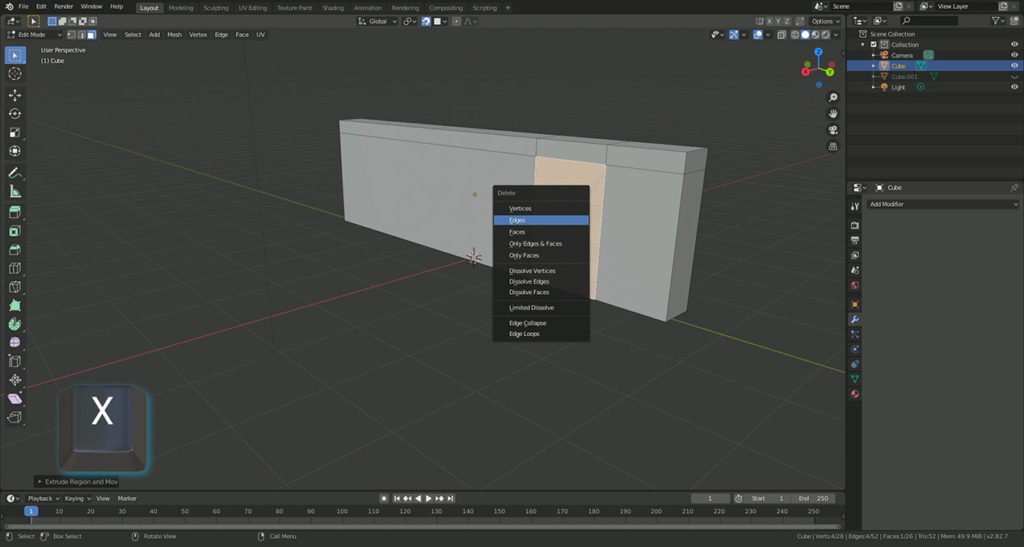
With those cuts in place we can use the extrude tool to push into the wall and if we turn on face snapping you will snap to the other side. Now delete the remaining face by selecting it and pressing the X key to bring up the geometry deletion menu and select faces. You’ll note that there are two faces to delete since all we did was pull one face and put it on top of another, again in SketchUp this would have deleted both faces automatically.
Loop Cut Tool
To the Window to the Wall
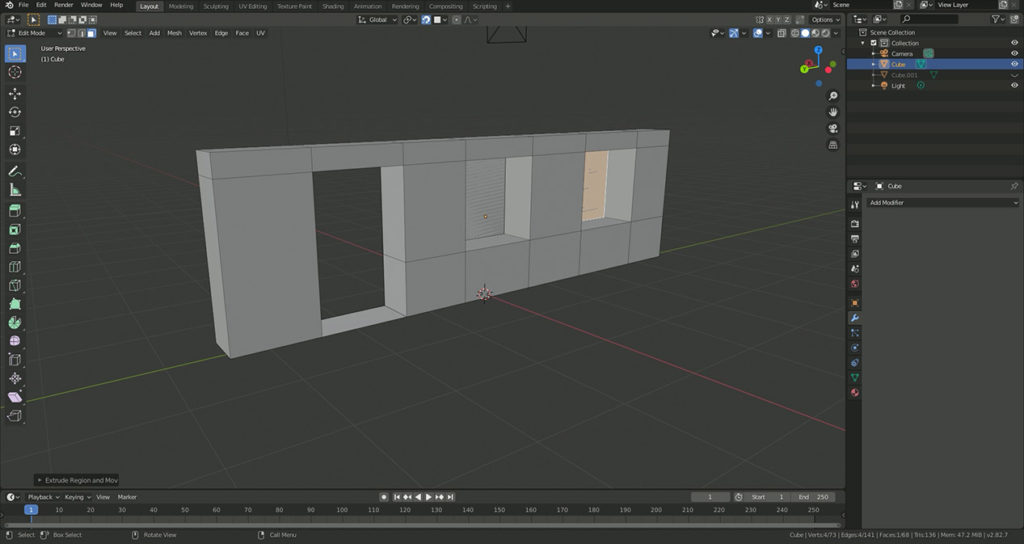
For the windows we’ll do pretty much the same thing. We already have the top of the windows cut. We’ll add another loop cut to frame the bottom of the window like this then a few more loop cuts to separate the individual windows and again with the extrude tool push into the wall snapping to the other side and deleting the respective faces. That’s how we make a wall with some windows and a door using the extrude tool. Again there are many other ways to do this but for the sake of throwing too many things at you at once we’ll leave it at that.
A Note About Loop Cuts
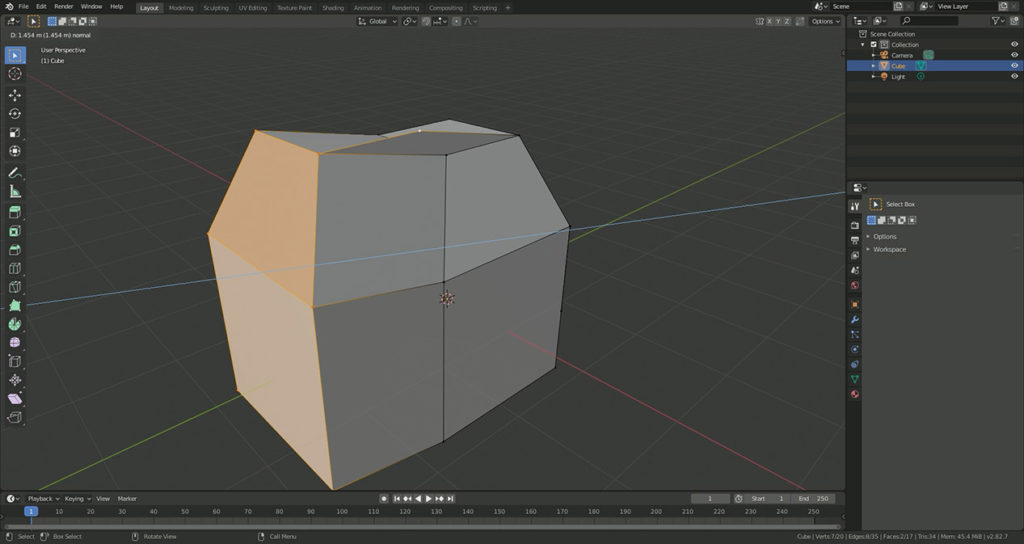
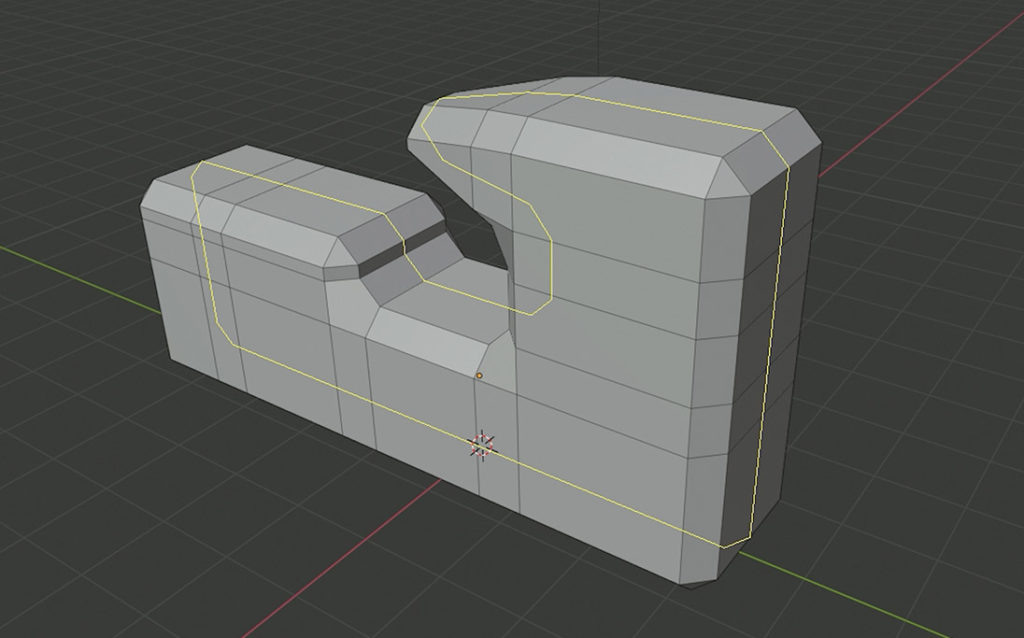
One thing I want you to note as you practice using the Loop Cut tool is that you will only have a complete loop around a model as long as each face along the loop’s path has four edges also known as a quad. You can see in this example I can get a complete loop here, but not here because this corner along the path has a three sided face also known as a tri. You can start seeing why clean geometry and making sure all your faces are quads is important in Blender.
You will only have a complete loop around a model as long as each face along the loop’s path has four edges
I do hope that Blender adds a destructive extrude feature in the future to match that of SketchUp, but I honestly wouldn’t hold my breathe because again there are other ways to accomplish what’s missing from the Extrude tool.
Part 3 Close
Now that we know how to grab, move, and extrude geometry, in the next part, we’ll talk about how to do this to a precise measurement, something that took me a while to figure out but once I did it made getting exact measurements for my 3D printing prototypes so much easier.
Until then practice and practice some more and if you found this tutorial helpful please leave a like so more people can find this content in the future, until next time this has been Patrik CK, good bye.

