
Learning Blender after SketchUp: navigation and the basics
Blender looks intimidating on day one, but the core moves map cleanly onto what you already know from SketchUp. Part one covers getting in, moving around 3D space, and adding your first objects.
Plays via YouTube. Google may set cookies when the player loads. Privacy policy
Editor's note (July 2026): This series was written for Blender 2.8, and the good news is that the fundamentals below have not changed. In current Blender (4.x and the newer 5.x) the same navigation, the G move with X / Y / Z constraints, Shift+A to add, and the numpad views all work exactly as described. Two small updates since 2.8: installing Blender is now a normal installer or a one-click Steam install (no manual file extraction), and deselect-all is Alt+A (early 2.8 briefly used a double-tap of A, which was removed).
The short version
Blender's navigation is all middle mouse button: hold it to orbit, add Shift to pan, scroll to zoom. Move objects by pressing G then an axis key. Add objects with Shift+A, and they land at the 3D cursor, not your mouse. Learn those few moves and Blender stops feeling foreign fast.
Orbit, pan, zoom, move, add. Start here.Why switch from SketchUp to Blender
I used SketchUp for over fifteen years, so this was not a decision I made lightly. A round of changes to the program finally pushed me to look elsewhere, and Blender won. The interface can look intimidating at first, but once you push past the initial learning curve you start to appreciate just how powerful it is. Here is what sold me:
- It is 100% free. There is no Pro version and no feature limits. The whole thing, forever, costs nothing.
- The feature set is enormous. Real lighting, PBR materials, sculpting, and physics simulators are all built in.
- It handles serious geometry. Millions of polygons run on a fairly basic computer.
- It animates. You can keyframe almost every element for full animation, not just static models.
- It exports everywhere. STL and a long list of other formats make it ready for 3D printing and beyond.
- The community is growing fast. A big, active user base means assets, materials, and add-ons for days.
- It is just capable. The ceiling is so high that there is always something new to experiment with.
This guide assumes you already know the basic CAD vocabulary: orbiting, panning, zooming, and the idea of the three 3D axes. If you are coming from SketchUp, you have all of that.
Getting Blender installed
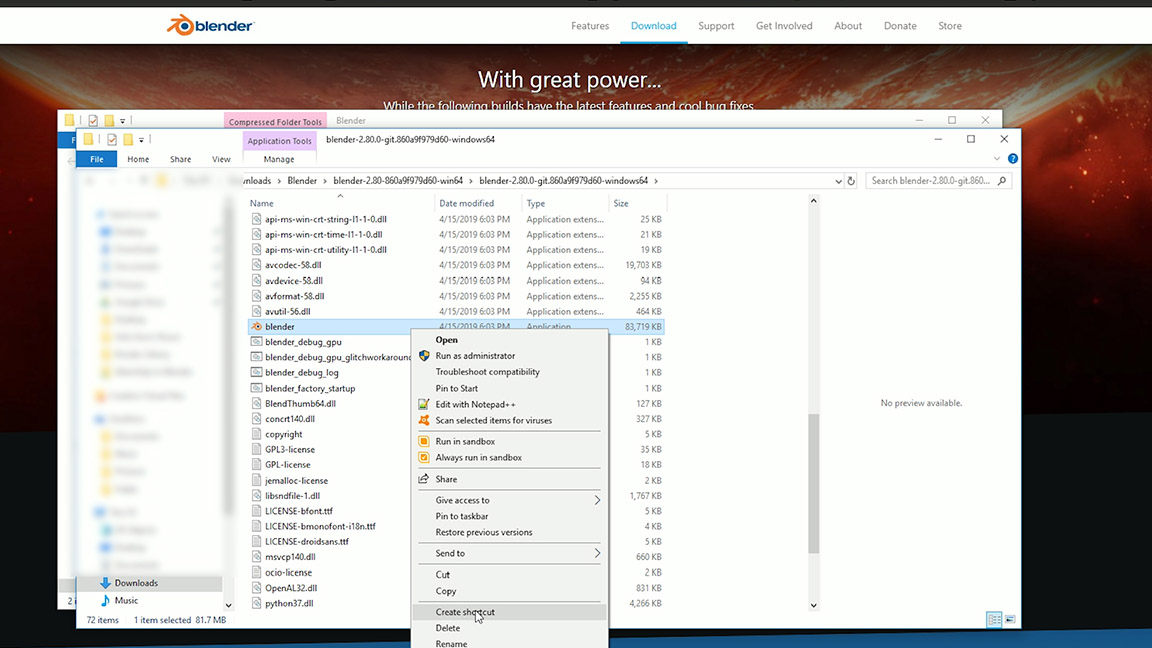
When I first wrote this, Blender 2.8 was still in beta, so you had to download the archive, extract the files, and launch it from the Blender icon, ideally making a shortcut so you could find it again.
These days it is much simpler. Grab the normal installer from blender.org, or install it through Steam so it updates itself automatically. No manual extraction required.
Navigating 3D space: orbit, pan, and zoom
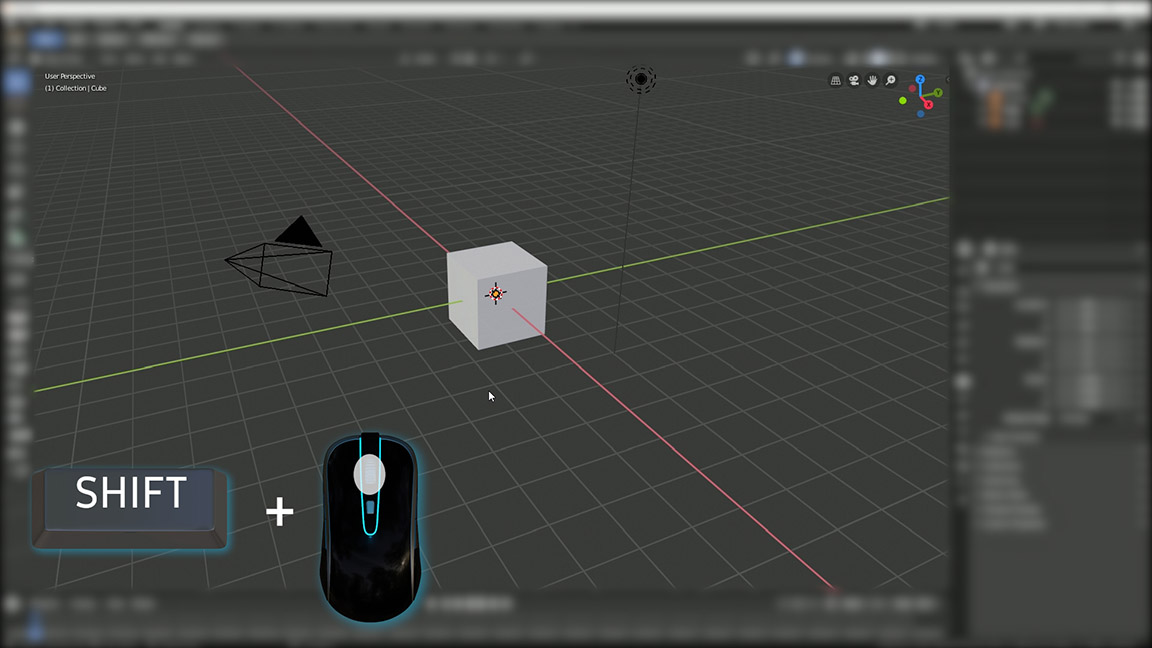
The default scene has the familiar furniture: the three axes running off to infinity, a default cube most people delete first, a grid floor, the 3D cursor, a camera, and a light. Getting around it comes down to three moves, and they all live on the middle mouse button.
- Orbit: hold the middle mouse button and move the mouse. You orbit around a fixed point in the view, not around your cursor like SketchUp does. No middle button? Grab the axis gizmo in the top right corner instead.
- Pan: hold Shift+middle mouse button and move. There is no edge-of-screen limit like in SketchUp, so you can pan as far as you like. The hand icon in the top right does the same thing.
- Zoom: scroll the mouse wheel. Blender zooms toward the center of the view, not toward the mouse cursor, which trips up a lot of SketchUp switchers. The magnifying-glass icon works too.
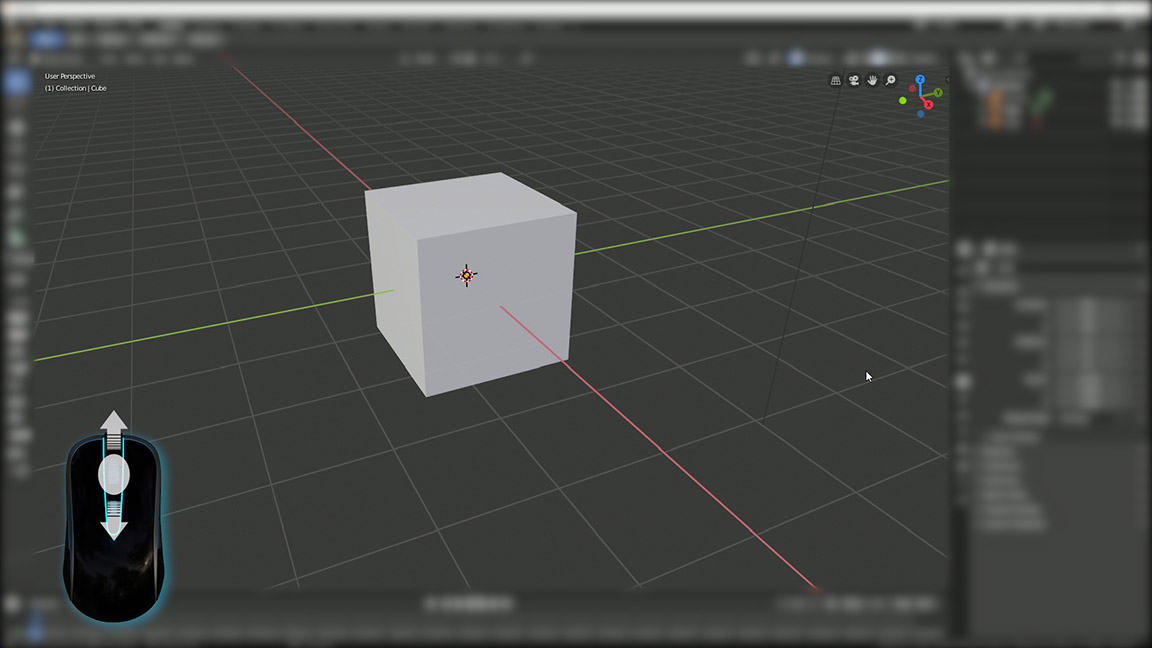
Handy trick. Select an object, or several with Shift+click, then press the . (period) on your number pad to zoom and center the view on the selection and set the orbit point at its center. Click empty space or press Alt+A to deselect.
Moving objects with the G key and axis constraints
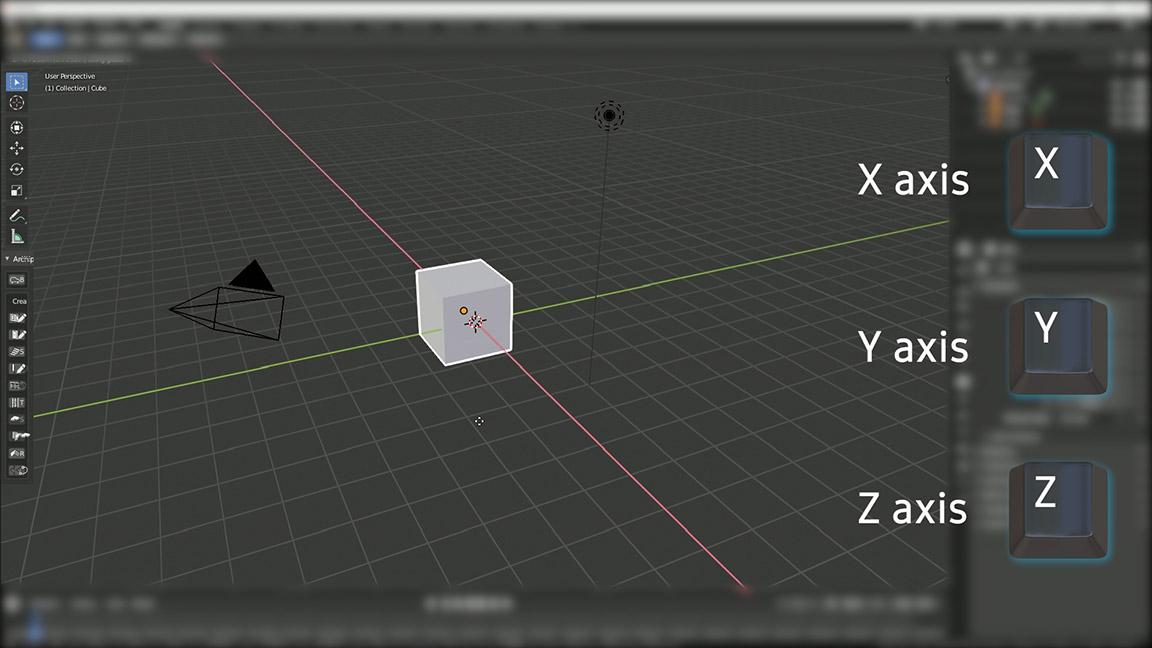
You can move an object with the Move button in the left toolbar, which pops a 3D gizmo on the object, but the fast way is the keyboard. Select your object, or several with Shift+click, then press G for grab. The object outline turns pale blue and it follows your mouse. Now constrain it to an axis:
- Press X, Y, or Z to lock movement to that single axis.
- Left-click to drop the object in place, or right-click to cancel and snap it back to where it started.
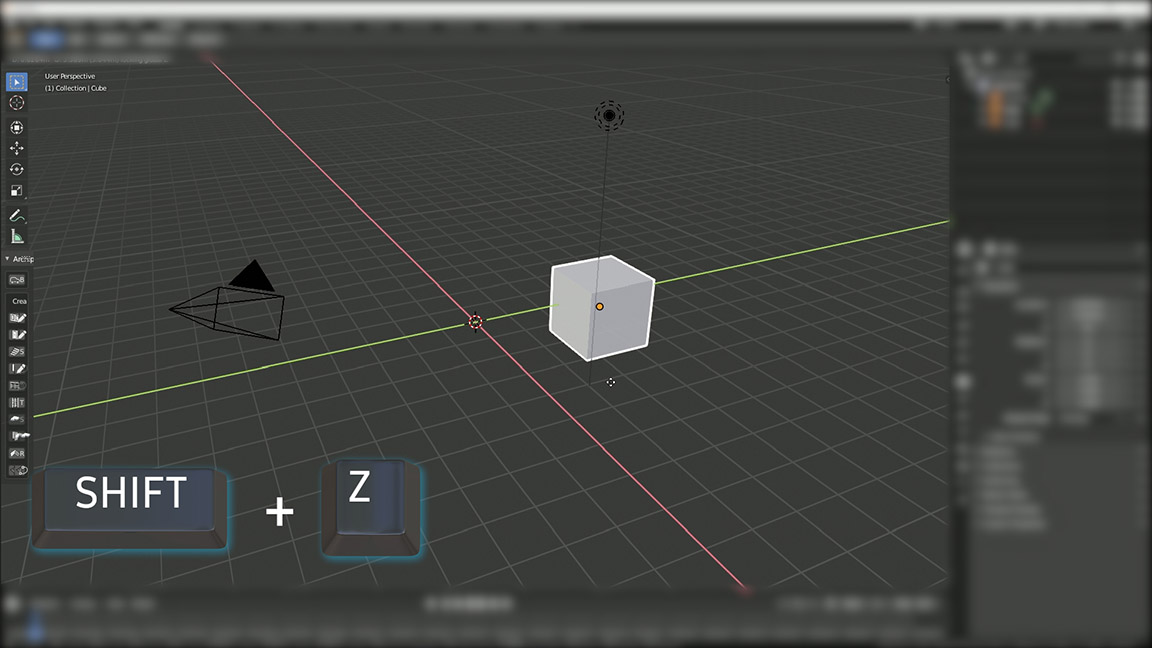
- To move on two axes at once, press G, then hold Shift and press the axis to exclude. For example G then Shift+Z moves freely on X and Y but never up or down.
With no axis chosen, movement runs parallel to the viewport plane, which can be disorienting, so constrain when precision matters. If you forget the sequence mid-move, the options row along the bottom of the window spells out what to press.
Standard views help you stay oriented, and they are on the number pad: 7 for top, Ctrl+7 for bottom, 1 for front, Ctrl+1 for back, 3 for right, and Ctrl+3 for left. They are also under the View menu.
Adding primitives and doing math in the inputs
First, clear the default cube: select it and press Del, or X then Enter, or use Object then Delete. Anything you regret undoes with Ctrl+Z.
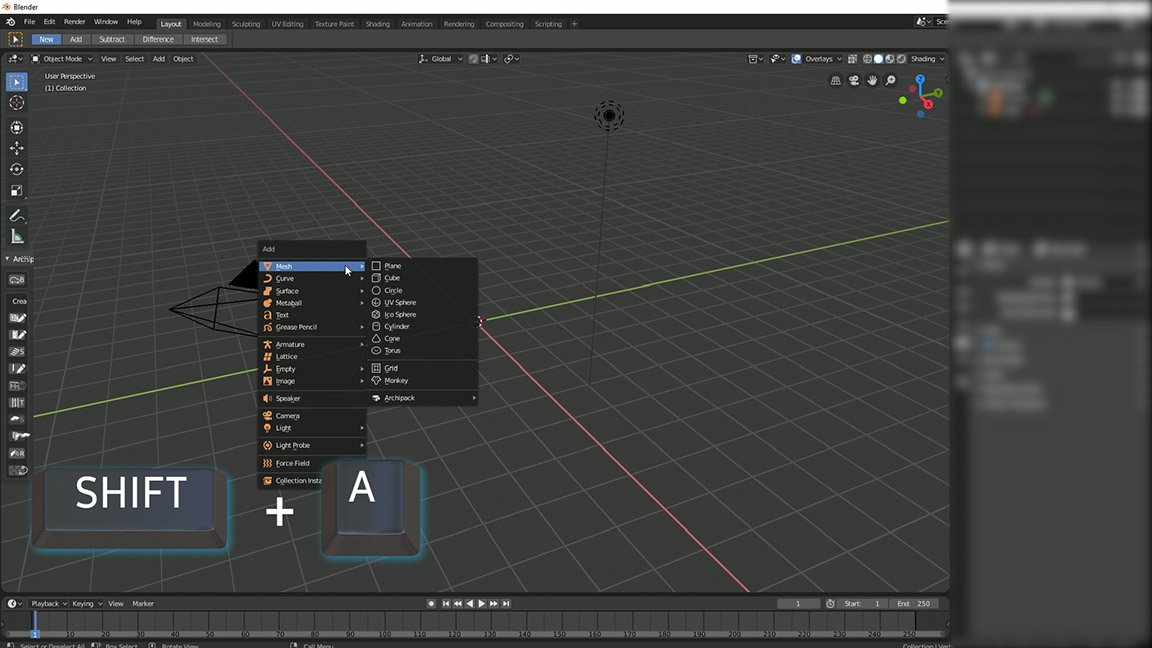
One thing that catches SketchUp users out: new objects appear at the 3D cursor, not wherever your mouse is. Wherever the cursor sits is where the next object lands. It feels odd at first and genuinely useful once you get used to it. To add something, click Add in the top left, or press Shift+A, and dig into the Mesh submenu for 2D and 3D shapes. Pick, say, a UV Sphere and it drops in at the cursor.
Grab the options window right away. The moment you add an object, an options panel (Segments, Rings, Radius, Location, Rotation) appears in the bottom left. It is only available immediately after adding: deselect the object and it is gone for good.
Those input fields are more capable than they look. You can type a value, use the little left and right arrows to nudge it, or hover and hold the left mouse button to slide it. Best of all, most inputs of this kind do math: type 2 + 2 and hit enter and Blender outputs 4. Need a radius from a diameter? Type 7 / 2 and it fills in 3.5. It saves a surprising amount of mental arithmetic.

Frequently Asked Questions
Is Blender a good replacement for SketchUp?
For many users, yes. Blender is free with no feature limits, handles millions of polygons, adds real materials, lighting, sculpting, physics, and animation, and exports STL for 3D printing. The tradeoff is a steeper initial learning curve, which this series is meant to smooth out.
How do you navigate in Blender coming from SketchUp?
It is all on the middle mouse button. Hold it to orbit, add Shift to pan, and scroll to zoom. Unlike SketchUp, Blender orbits and zooms around the center of the view rather than your mouse cursor.
How do you move an object along one axis in Blender?
Select the object, press G to grab, then press X, Y, or Z to lock to that axis. Left-click to place it or right-click to cancel. To move on two axes, press G then Shift plus the axis you want to exclude.
Why do new objects appear in the wrong place in Blender?
New objects appear at the 3D cursor, not at your mouse like in SketchUp. Move the 3D cursor to where you want objects to land, then add them with Shift + A. It feels strange at first but becomes a precise placement tool.
Can you do math inside Blender's input fields?
Yes. Most numeric inputs accept expressions. Type 2 + 2 and it becomes 4, or 7 / 2 for 3.5. It is handy for things like converting a diameter to a radius without leaving the field.
Practice these until they are second nature
None of this is advanced, and that is the point. Spend a little time navigating, adding primitives, tweaking their options, zooming between objects, selecting one and many, moving them around, and deleting them. These moves become automatic quickly, and once they do, the rest of Blender opens up.
That is Part 1. Next in the series we get into snapping, then push and pull, measurements, the dimension tool, materials, custom images, and viewport transparency. Work through them in order and the SketchUp-to-Blender jump gets a lot smaller.
Disclosure: This post contains affiliate links. As an Amazon Associate I earn from qualifying purchases, at no extra cost to you. Affiliate links like these and my YouTube channel are what keep the site running.